Understanding the Bill Screen
This guide explains navigating to the Bill screen, selecting company/entity and vendor, using previous-bill peek for consistent coding, toggling bill/credit, entering ref/terms/memo, and ensuring the expense lines match the amount due. It also covers attaching files.
How to Access the Bill Screen
1. From the navigation menu, select Accounting > Select Payables.
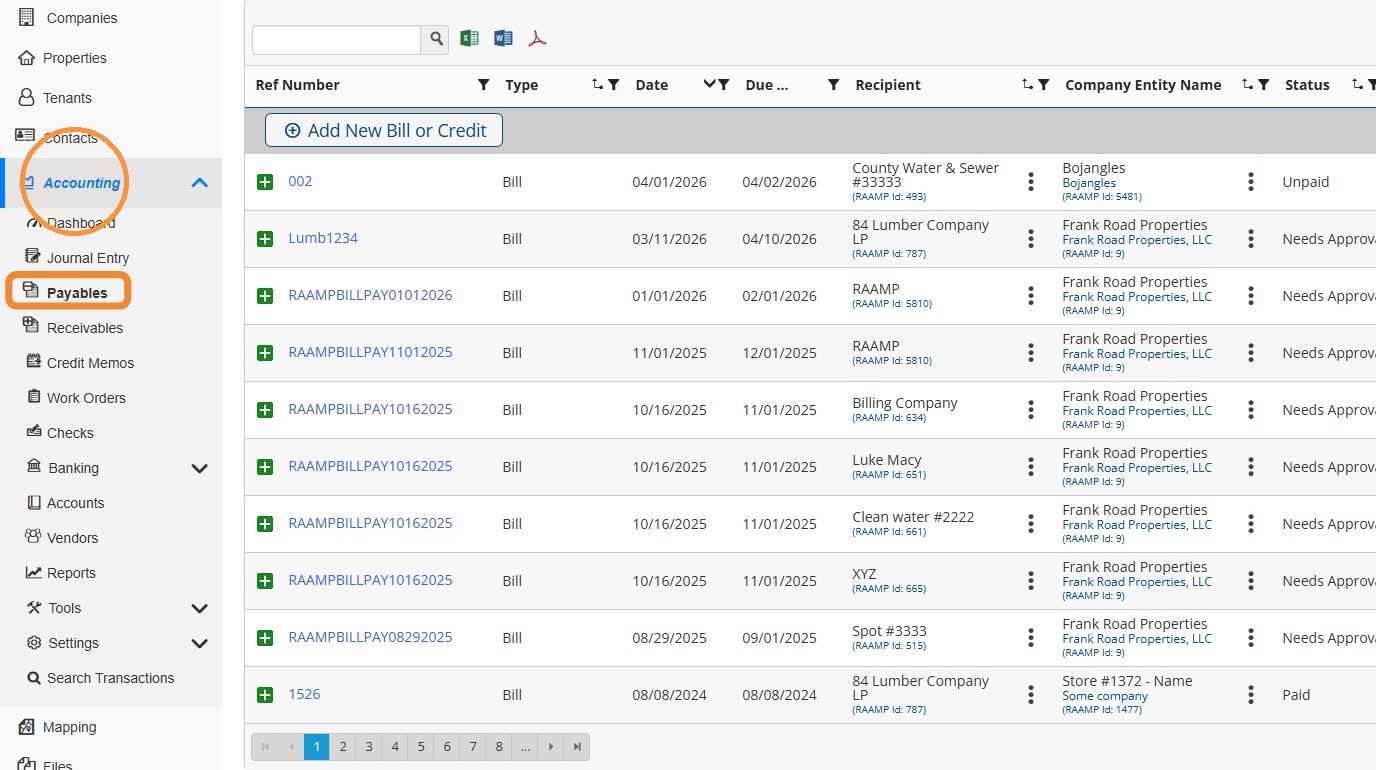
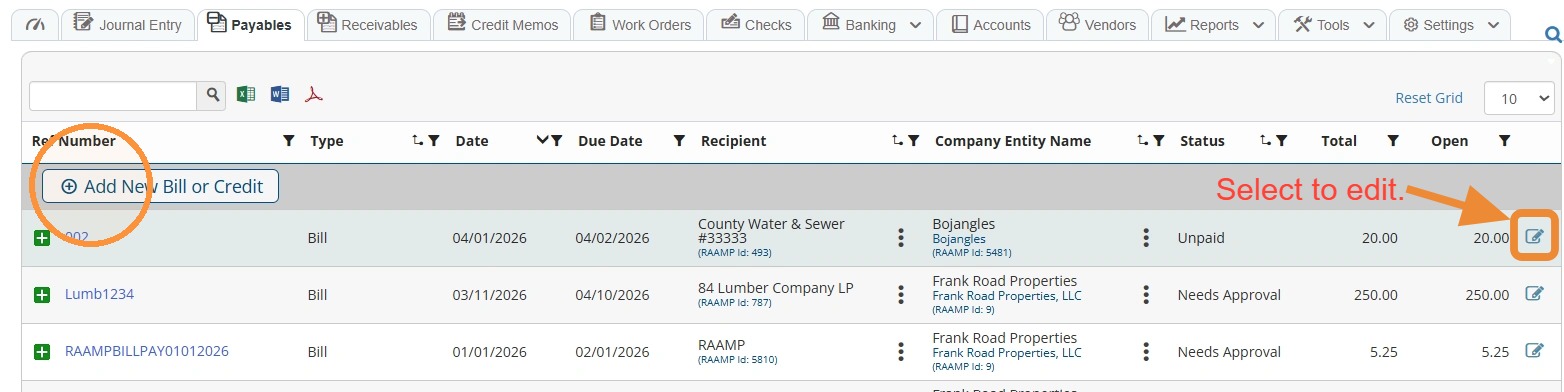
2. To view the Bill screen, select Add New Bill or Credit.
To edit a specific bill from the list, select the edit icon for that bill.
Bill Screen Overview
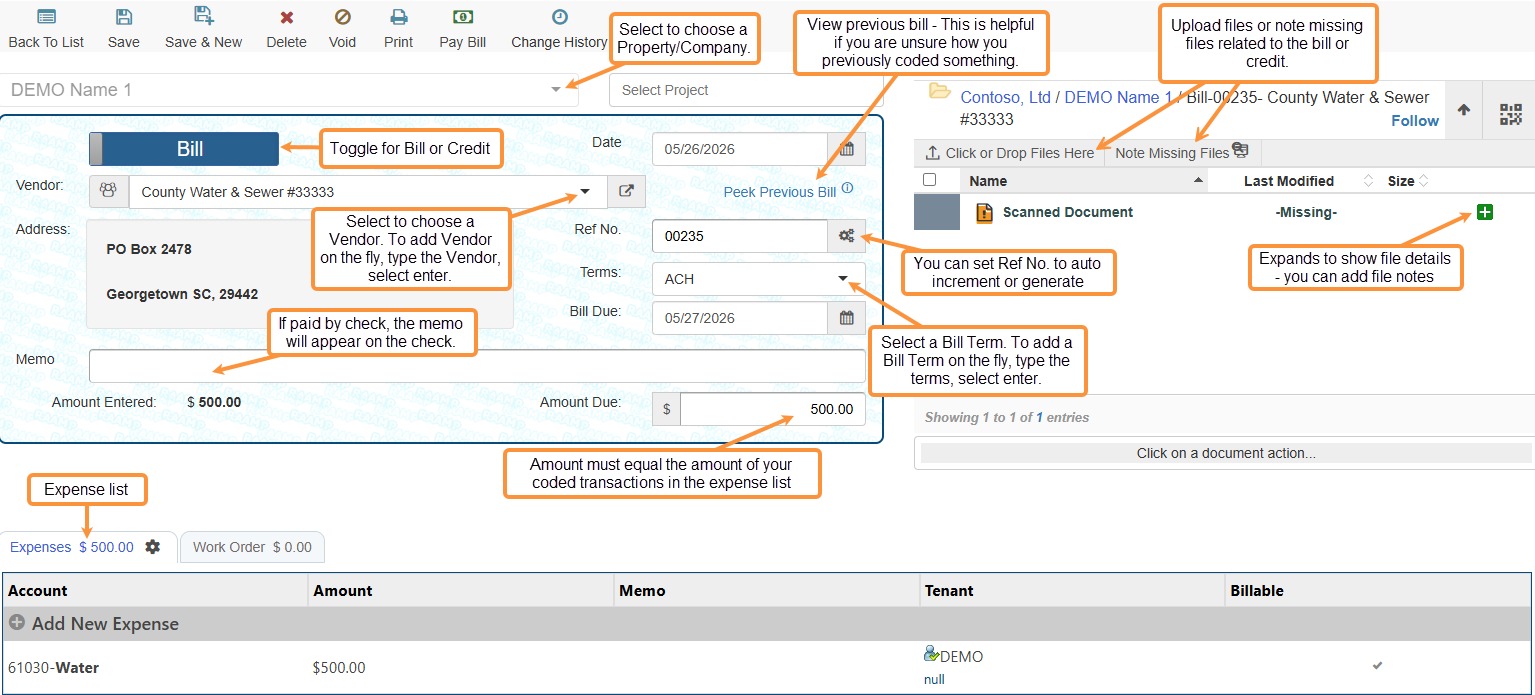
3. Bill Screen Overview
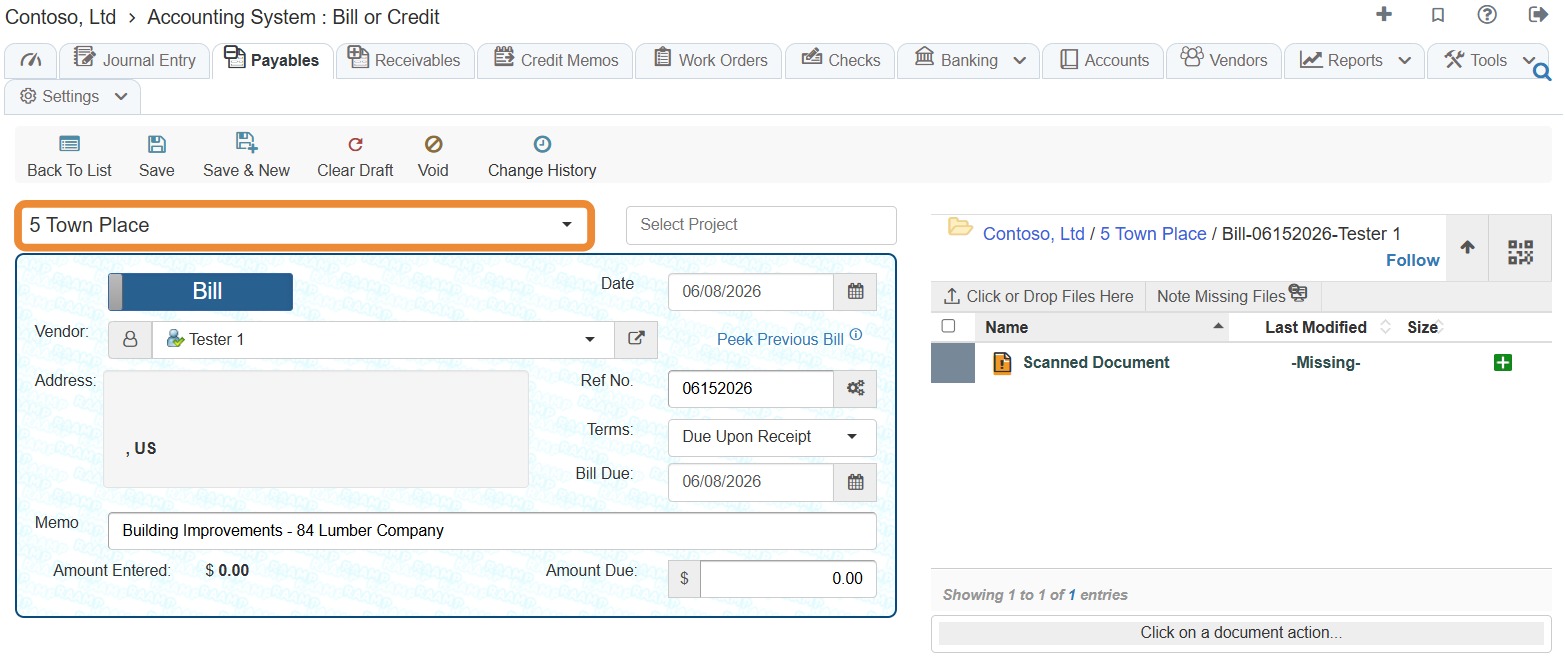
4. Company Entity dropdown: This can be a property or company.
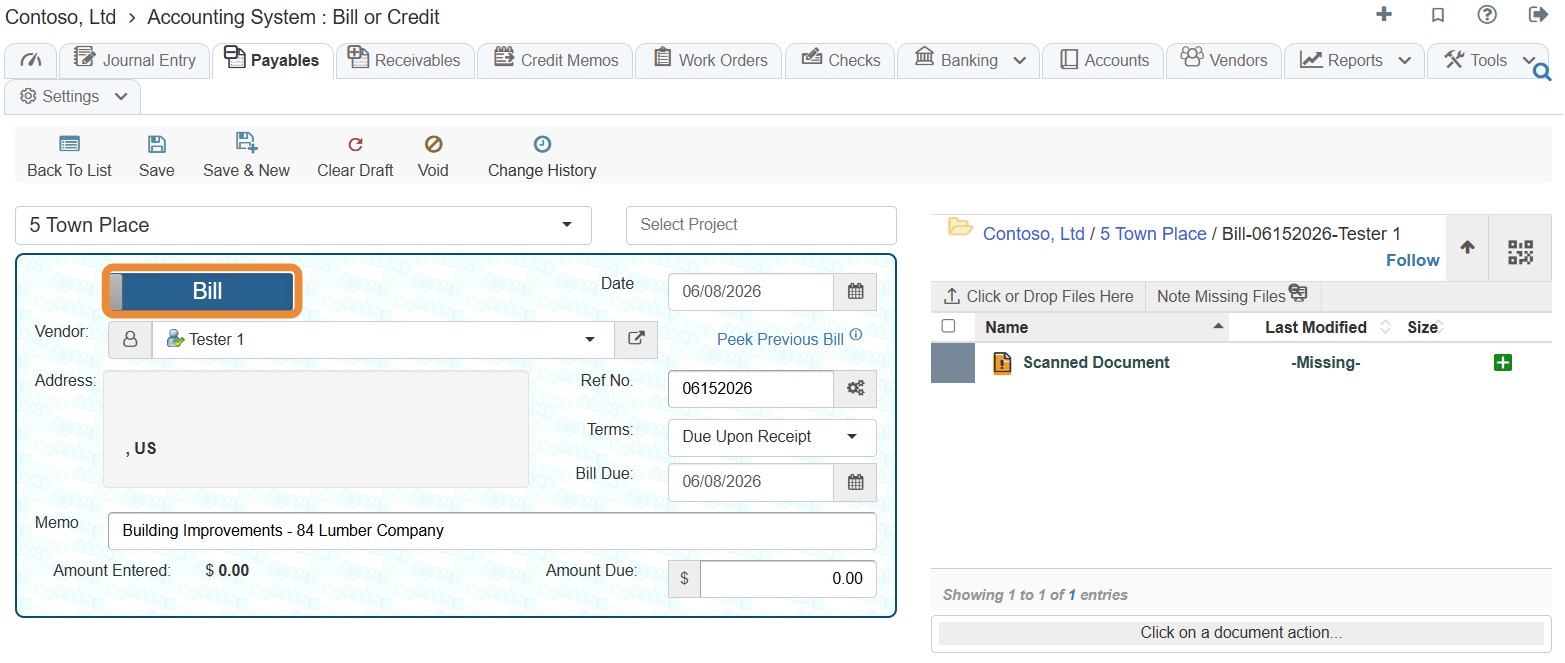
5. Toggle between a Bill and a Credit
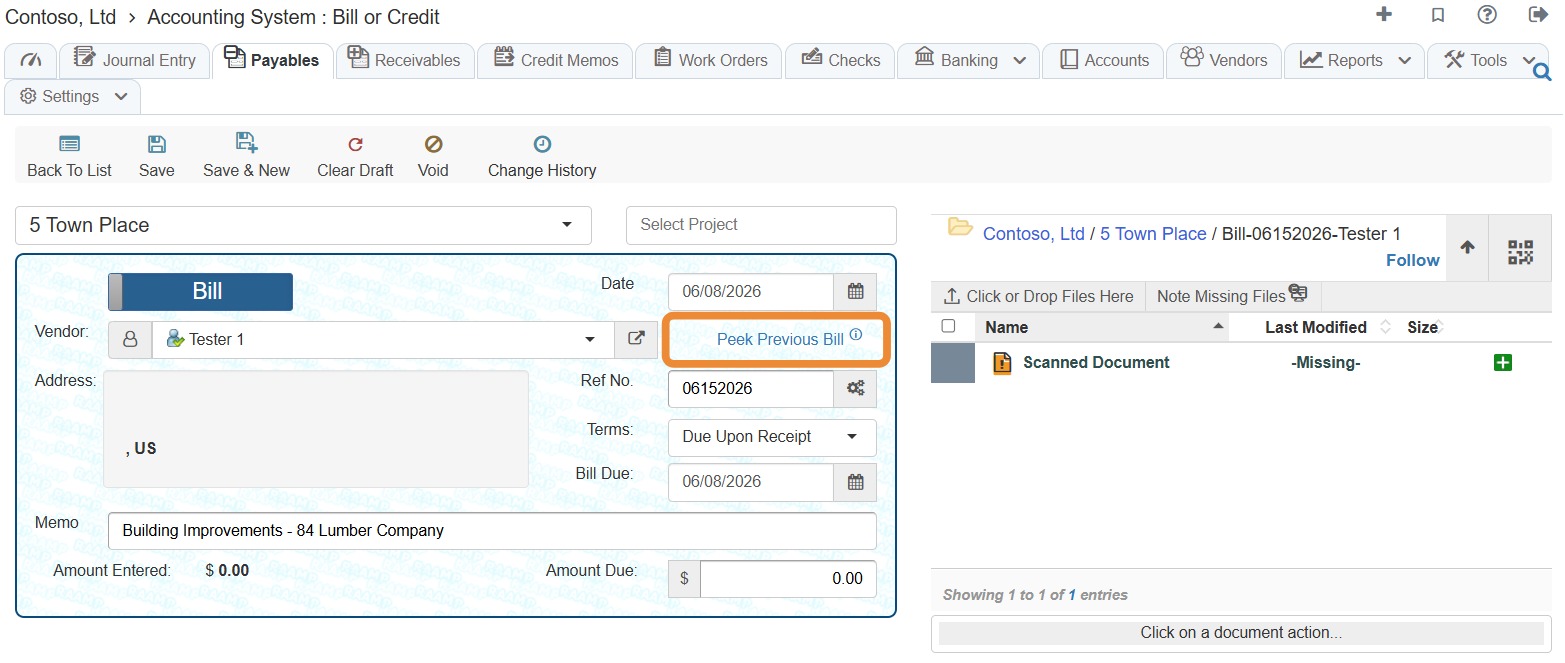
6. Peek Previous Bill: This is helpful if you aren't sure how you coded something previously.
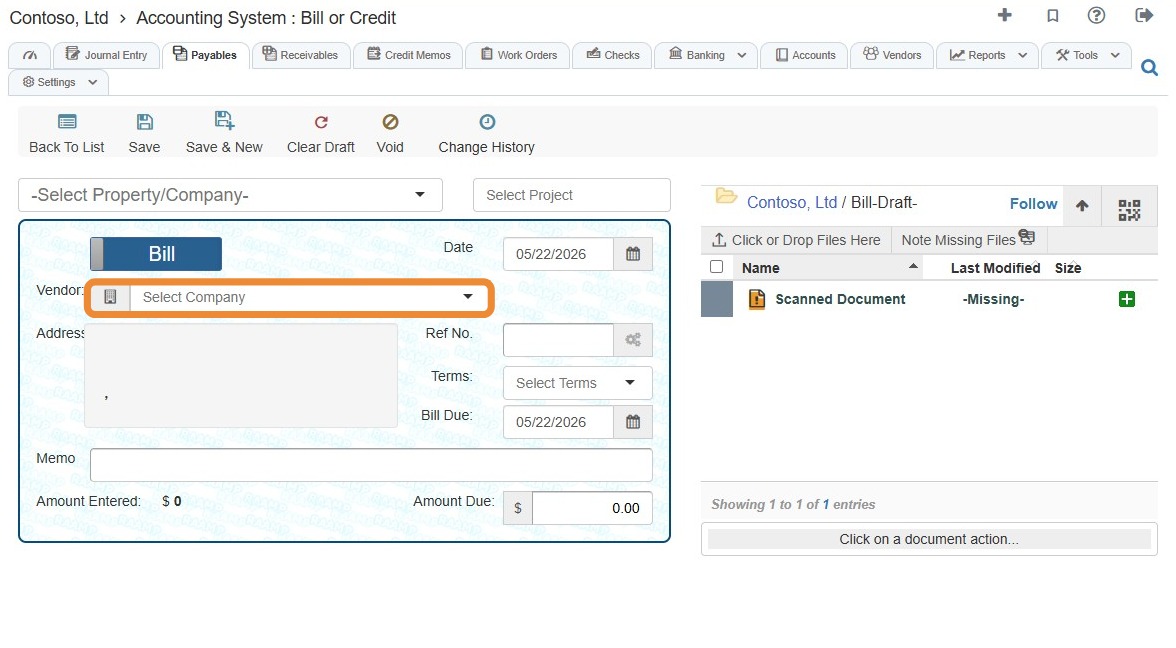
7. Vendor Selection: You can add a new vendor on the fly or change the entity type.
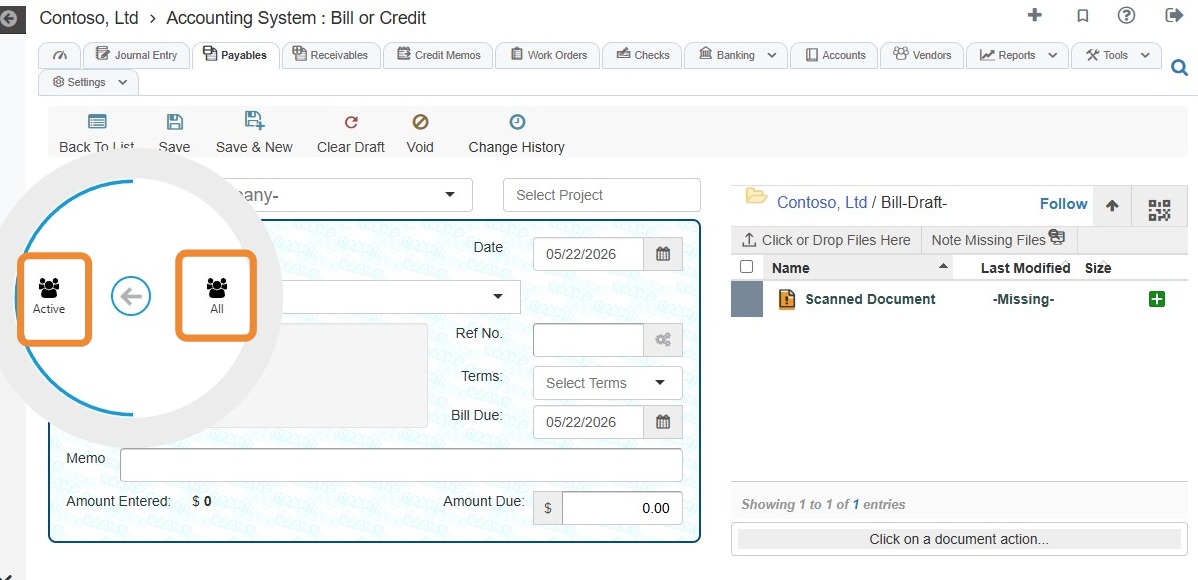
By default, RAAMP invoices active tenants and pays active vendors. However, RAAMP allows you to invoice or pay any Company Entity, regardless of its status, using an integrated menu.
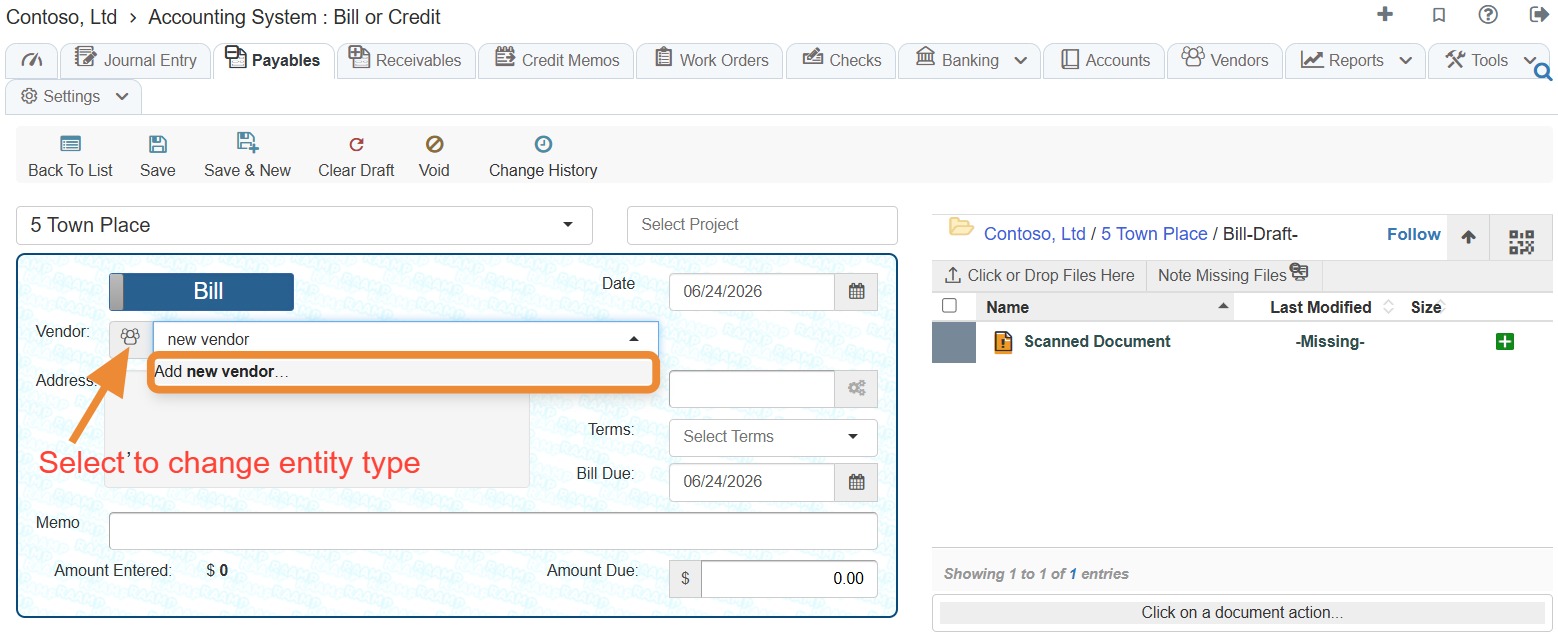
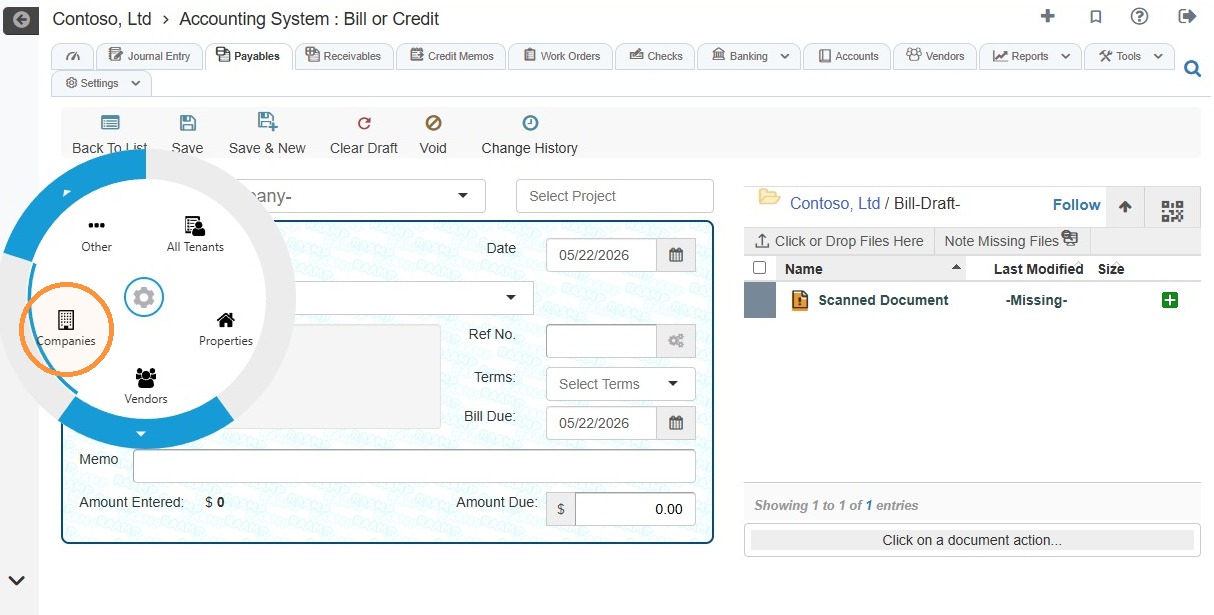
8. To change the entity type, select the Vendor icon.
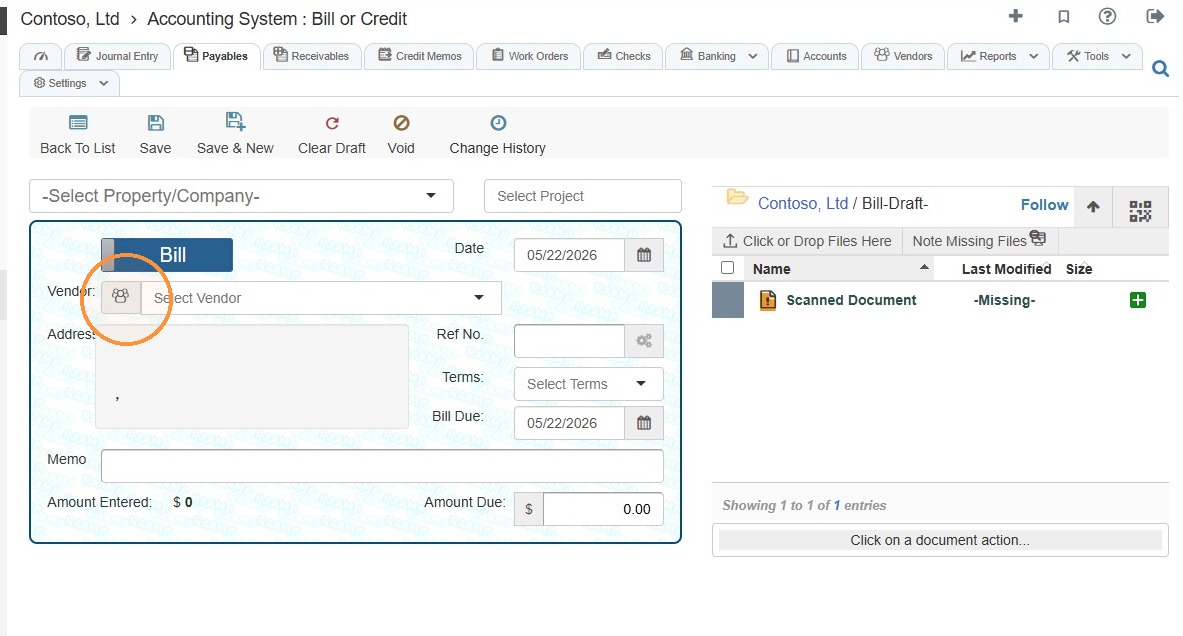
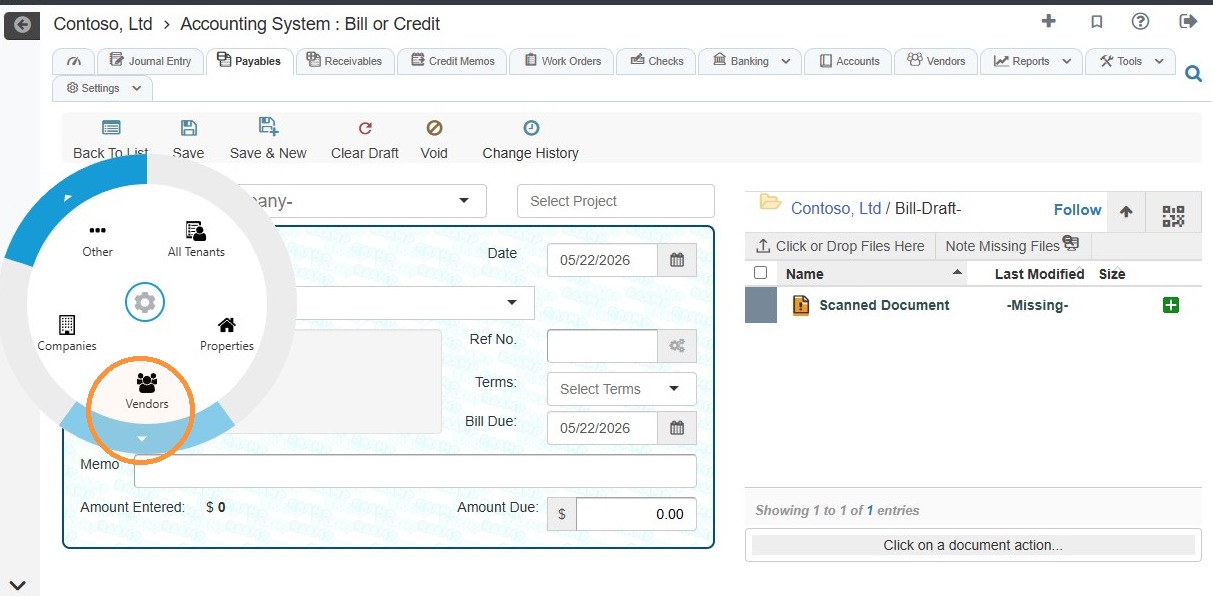
9. Choose the entity type from the radial menu.
For example, if you want to pay a company, select Company.
10. You can choose between Active or All vendors/tenants.
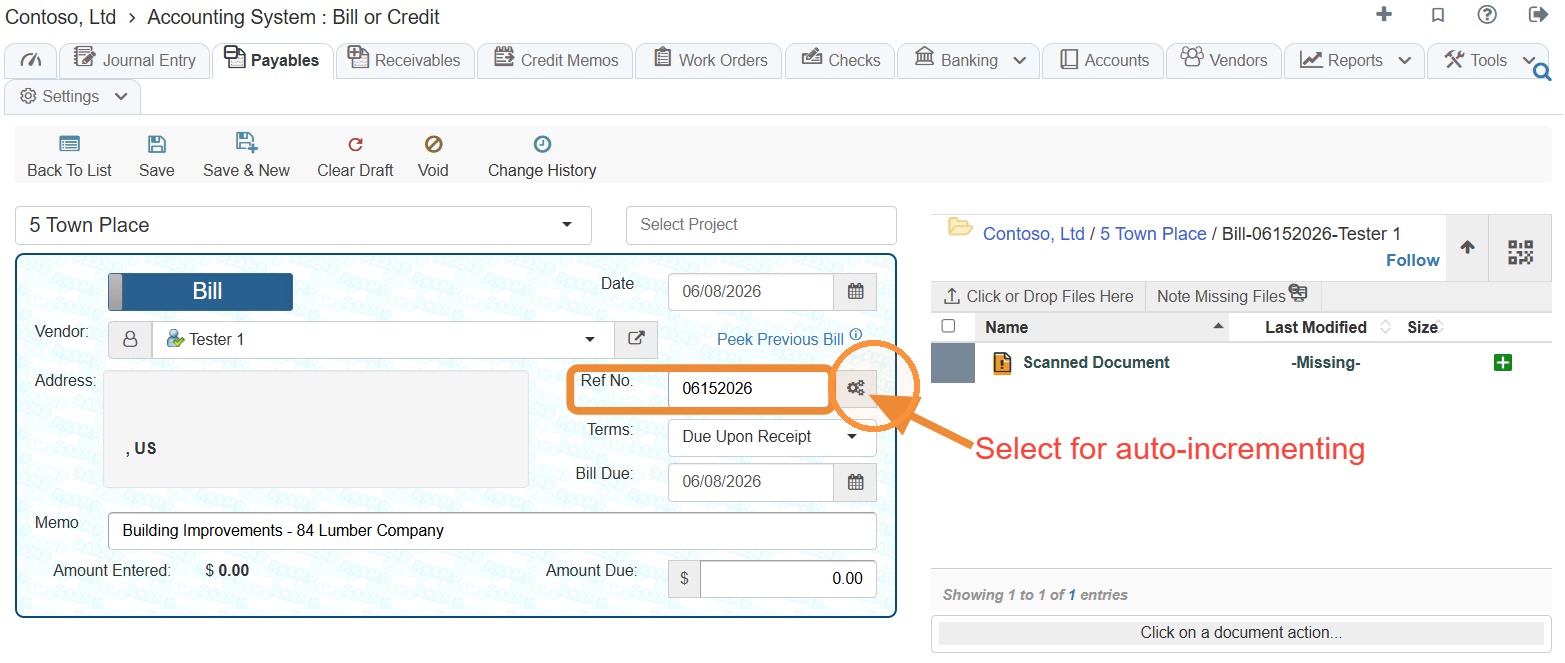
11. Ref No.: Enter the reference number.
You can set ref numbers to auto-increment or generate. Learn how here.
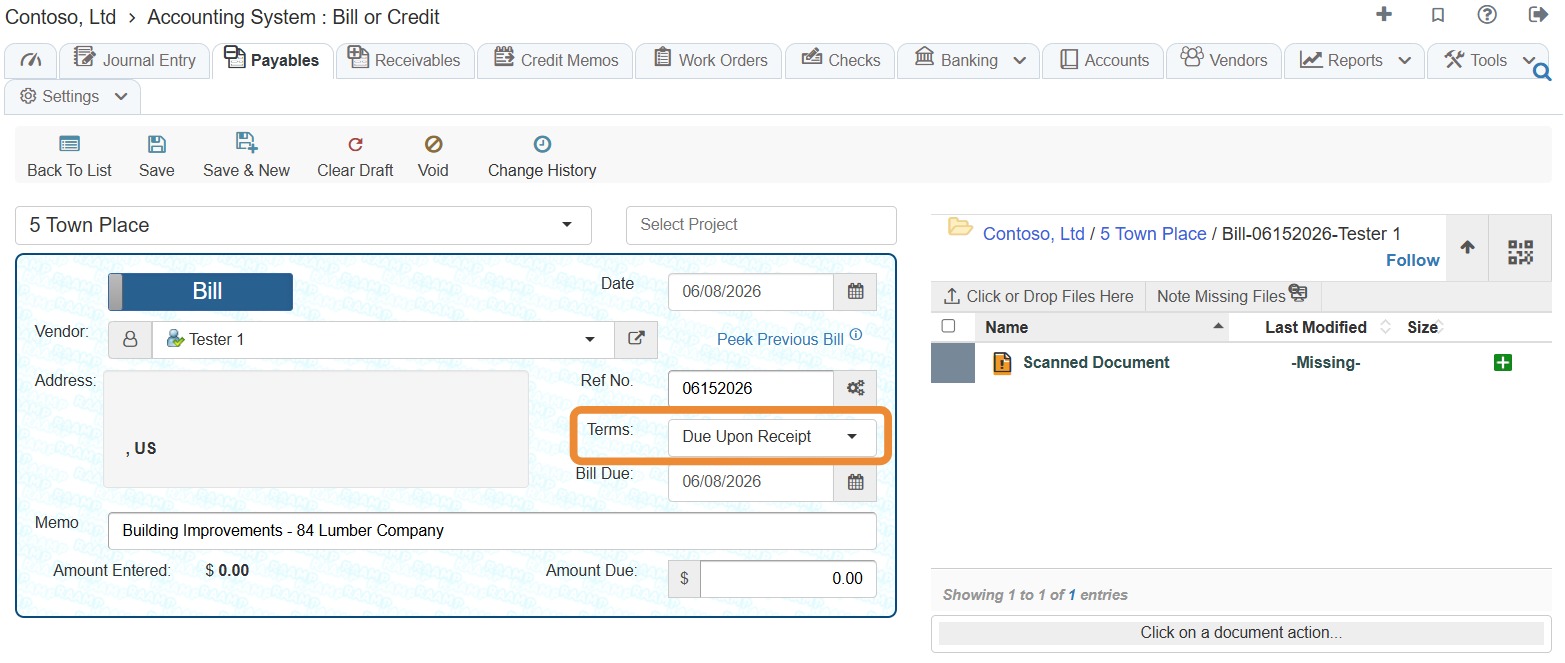
12. Terms: If the terms you need are not available, you can type the terms and add them on the fly.
Learn how to add bill terms here.
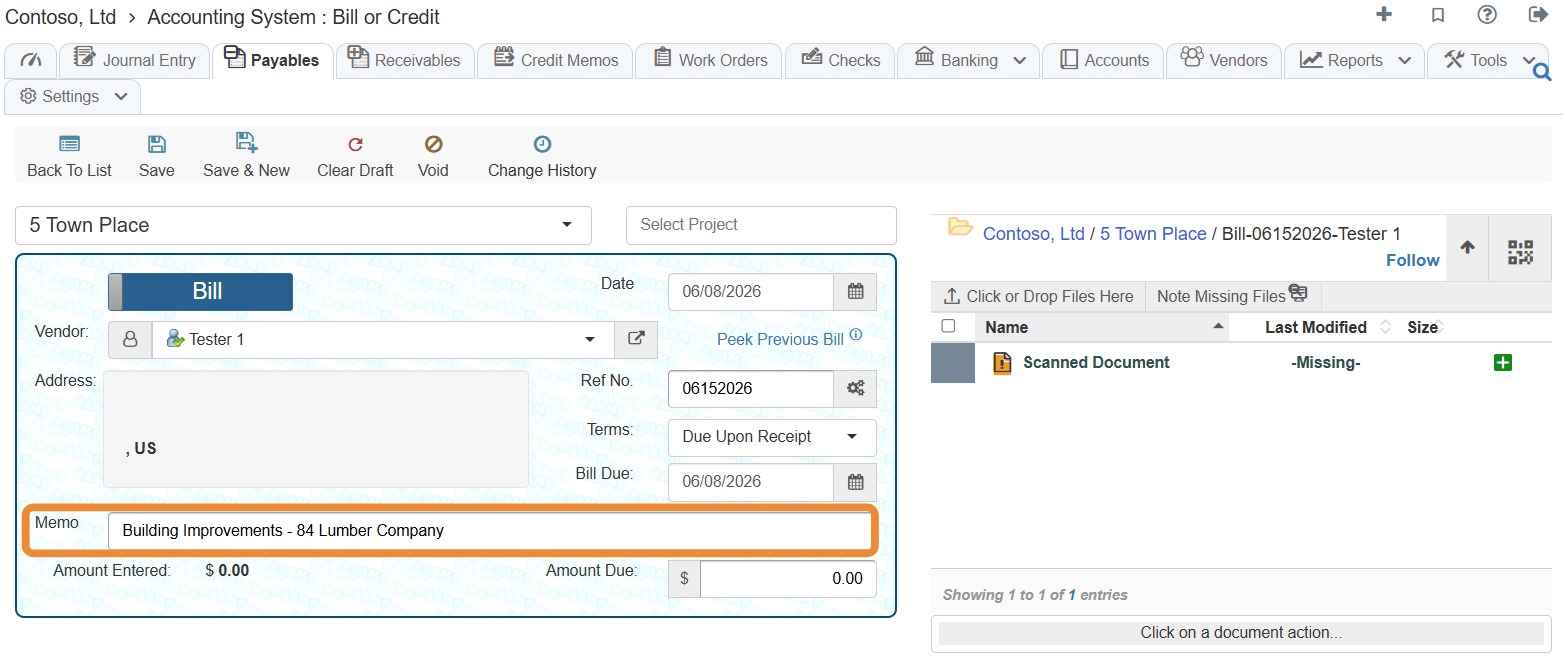
13. Memo: This memo will appear on the check if the bill is paid by check.
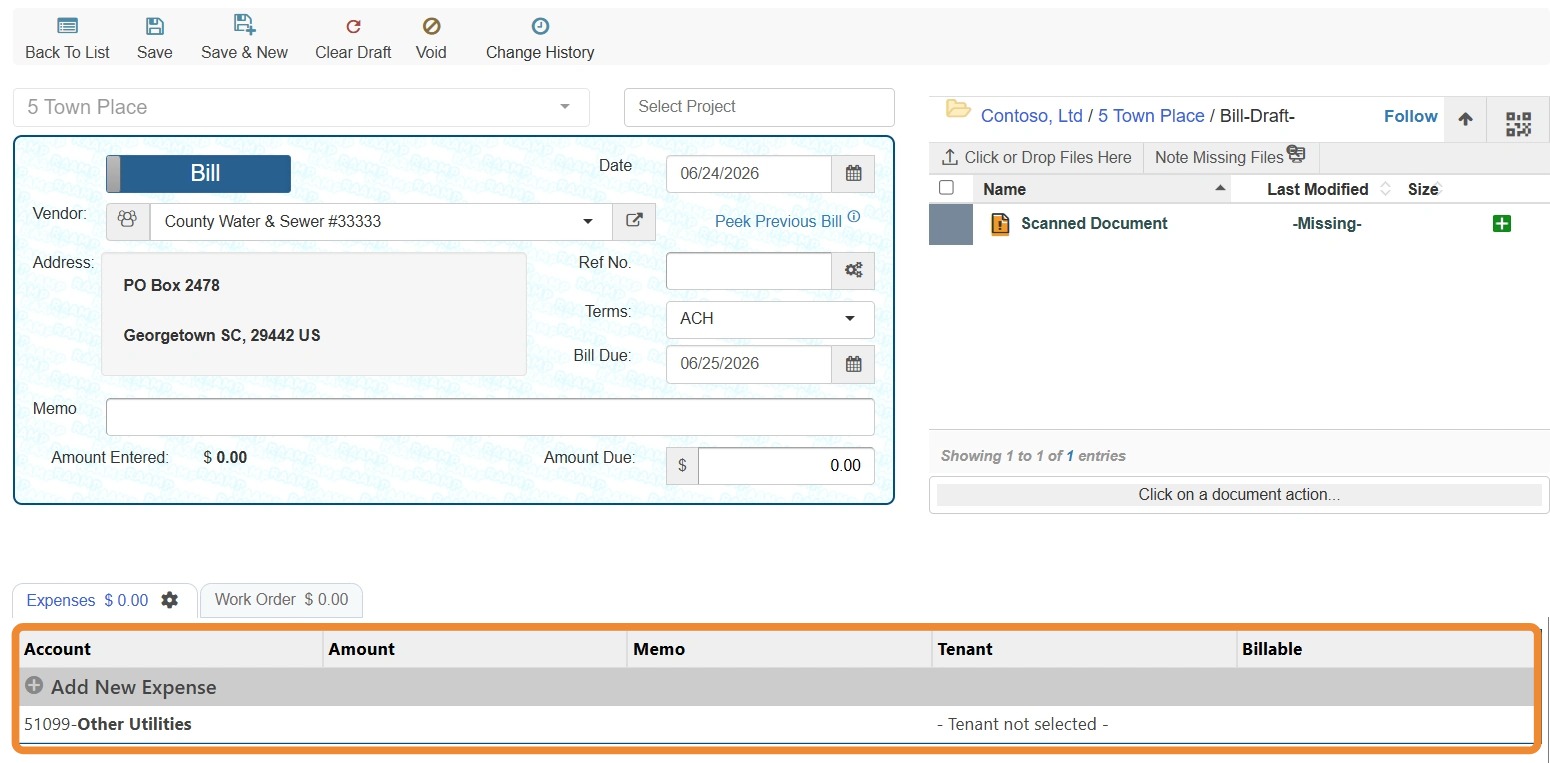
14. Amount Due: This amount must equal your coded transactions in the expense list.
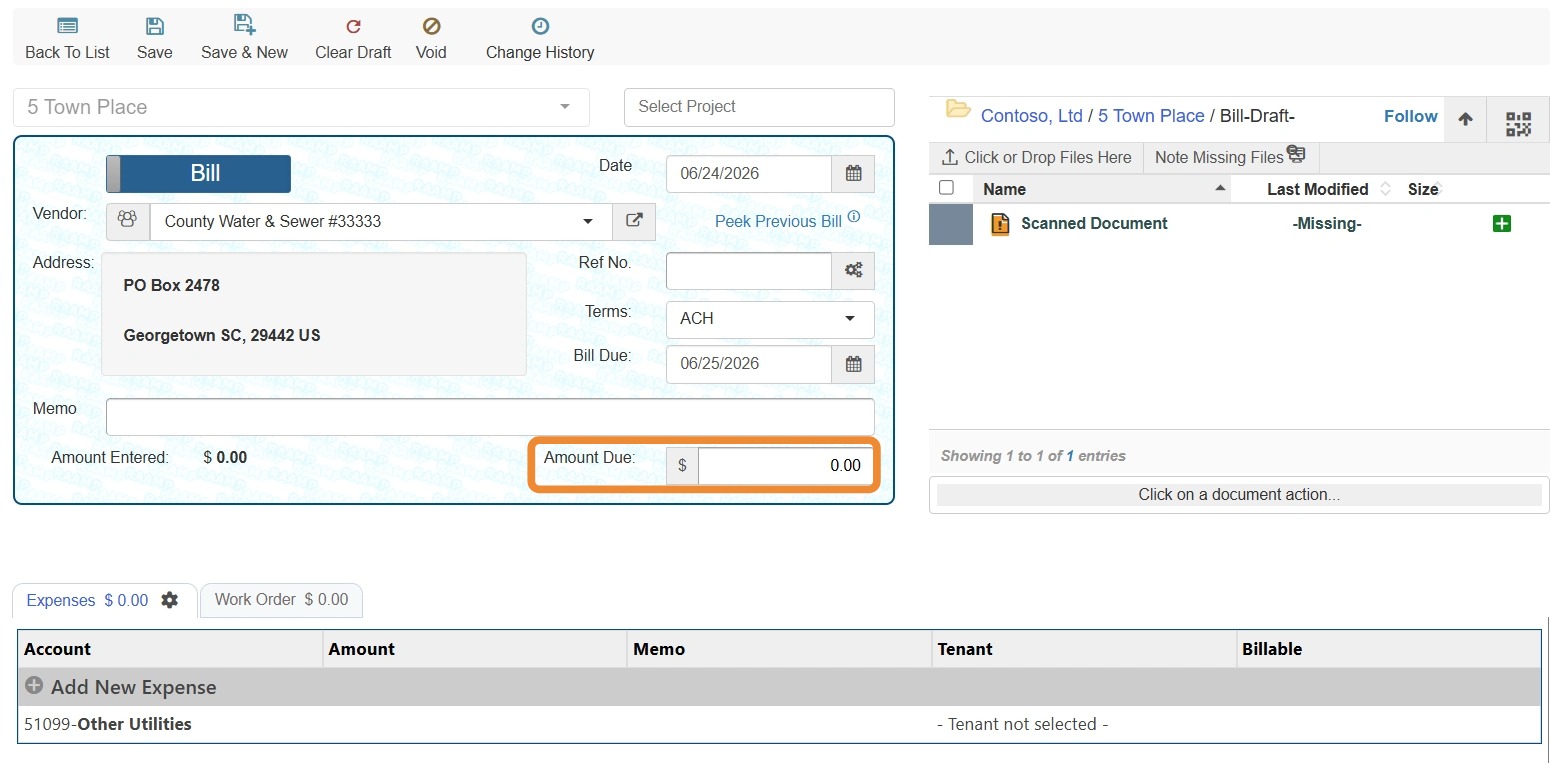
15. Expense List: Your coded transactions in the expense list must equal the amount due.
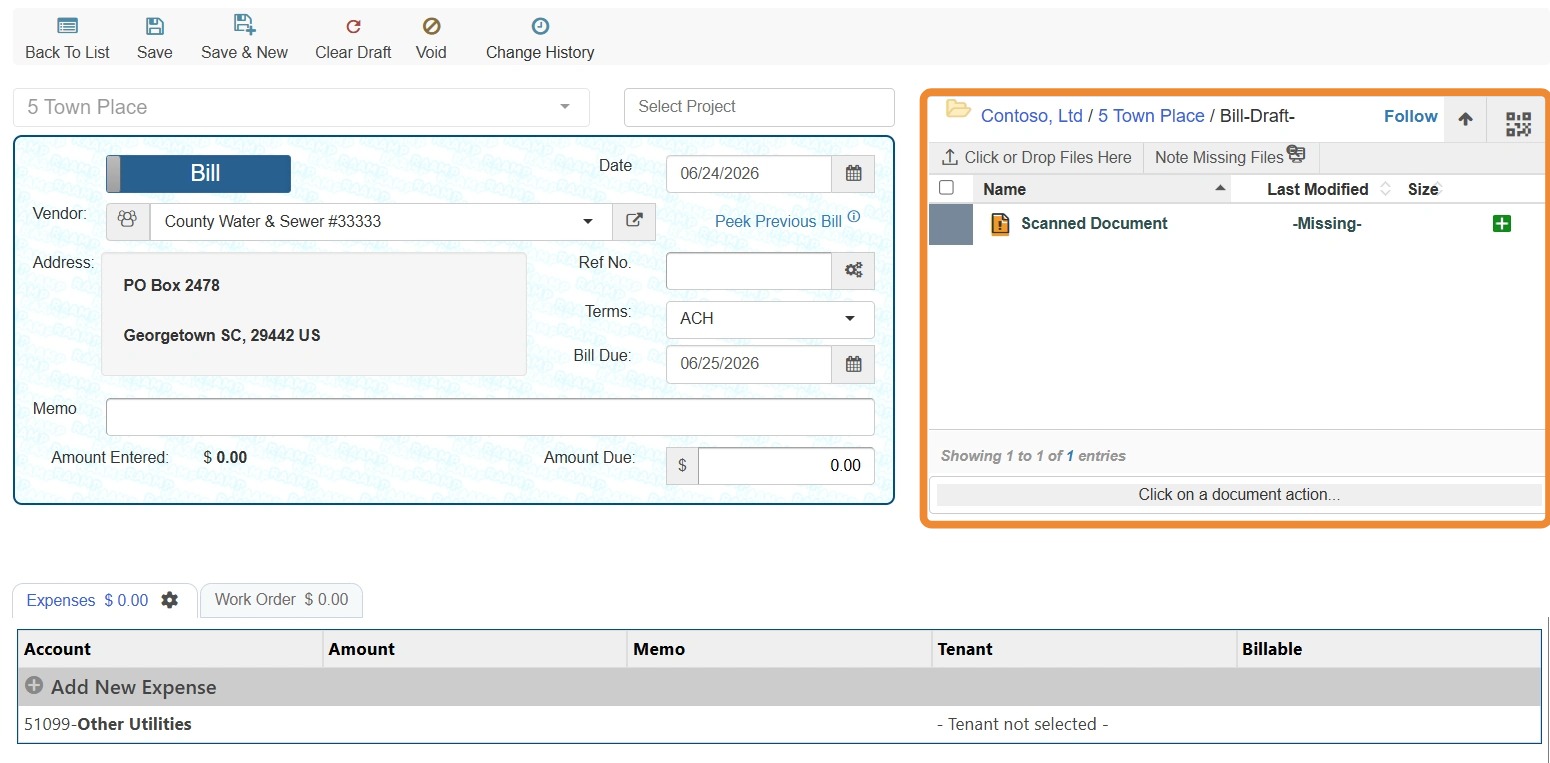
16. Files associated with the Bill or Credit.
Related Tutorial(s):