How to Configure Custom Reference Numbers for Payments
This guide shows how to set up automatic, configurable reference numbers for payments so you don’t have to type them manually each time. It walks through enabling auto-incrementing IDs, adding prefixes/suffixes and digit length, and saving the rule at the property/company level. Use it to ensure consistent, predictable payment references while still allowing manual overrides when needed.
The configuration option is available only to users with Create, Edit, or Full Make Payment permission for the selected Property/Company.
Navigating to Make Payments
1. From the navigation menu, select Accounting > Banking > Make Payment.
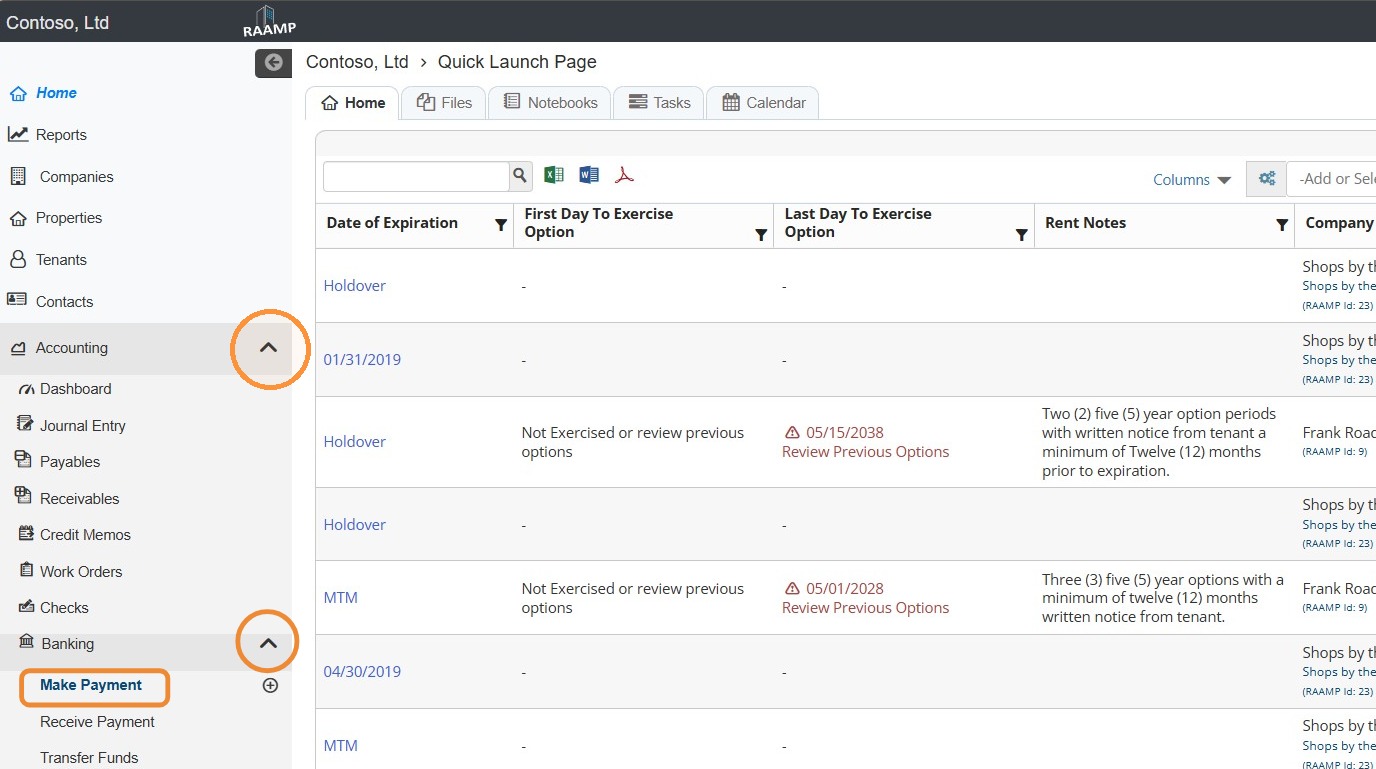
How to Configure Custom Reference Numbers
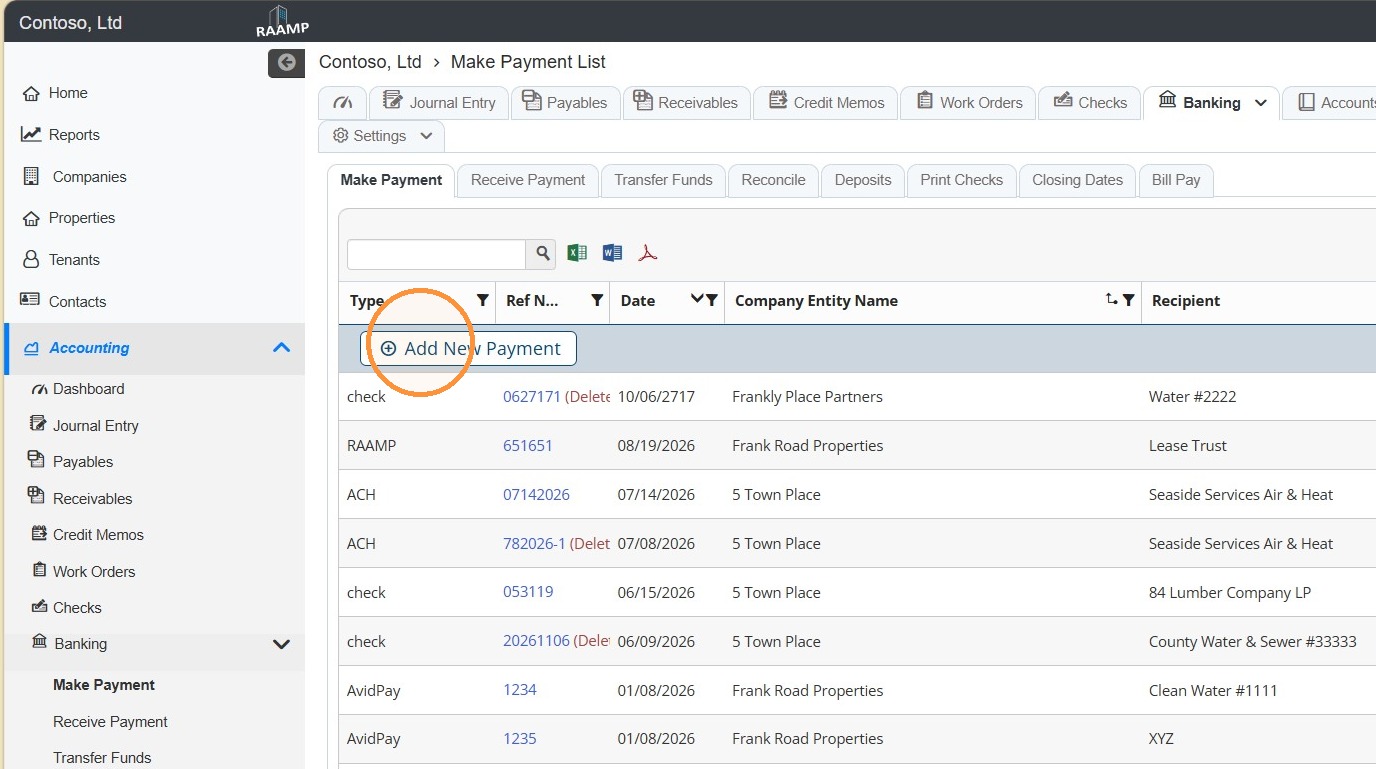
2. Select Add New Payment.
3. Select a Property/Company.
The Property/Company must be selected before the configuration icon becomes available.
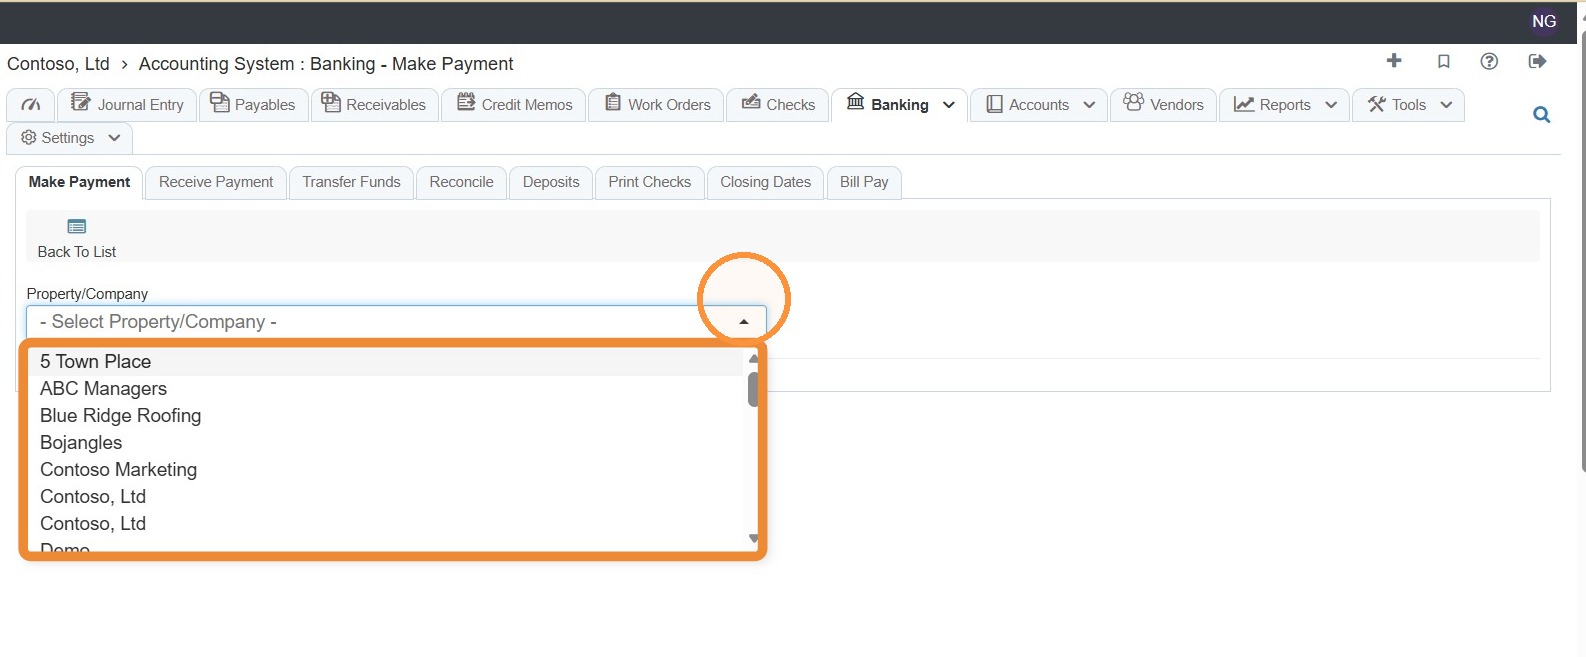
Tip: Reference-number settings are saved separately for each Property/Company. Selecting another entity may display different settings.
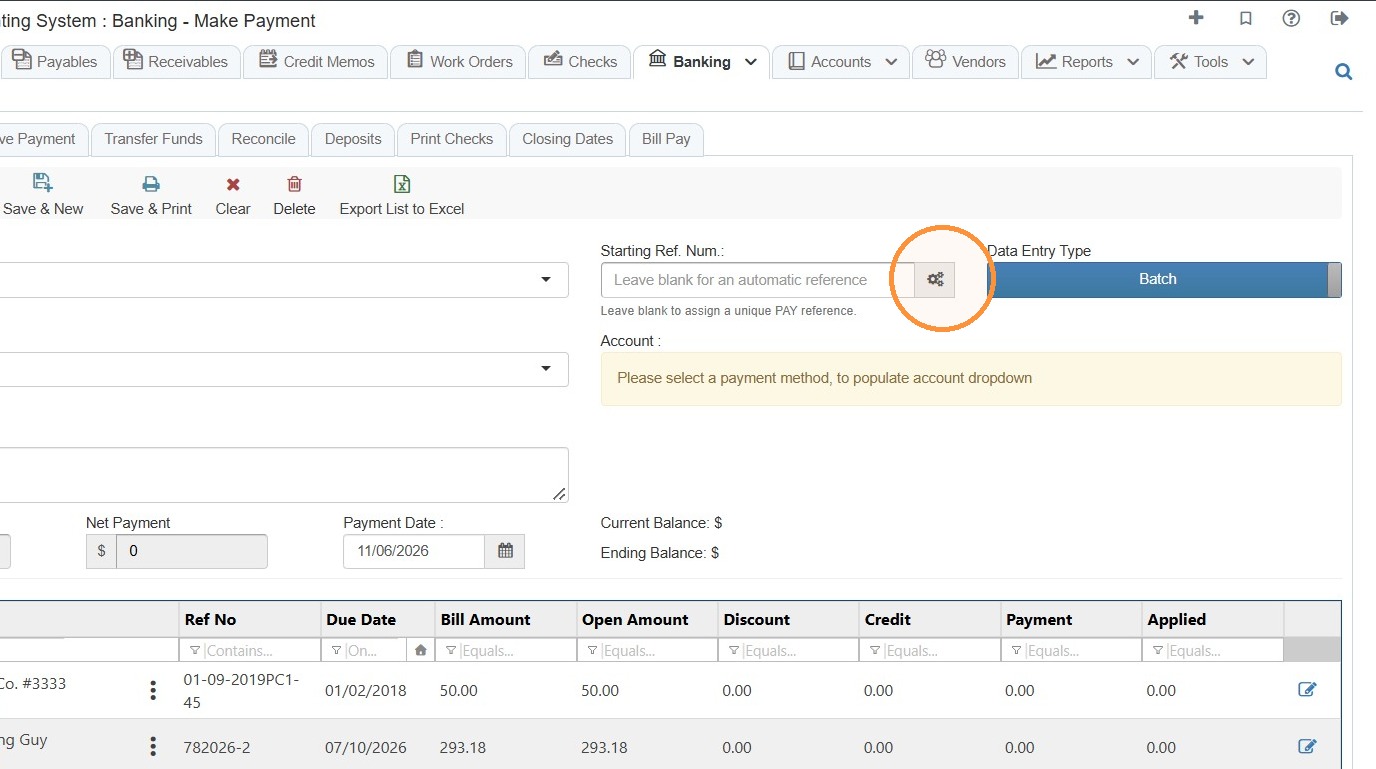
4. Select the Configure auto incrementing reference number icon.
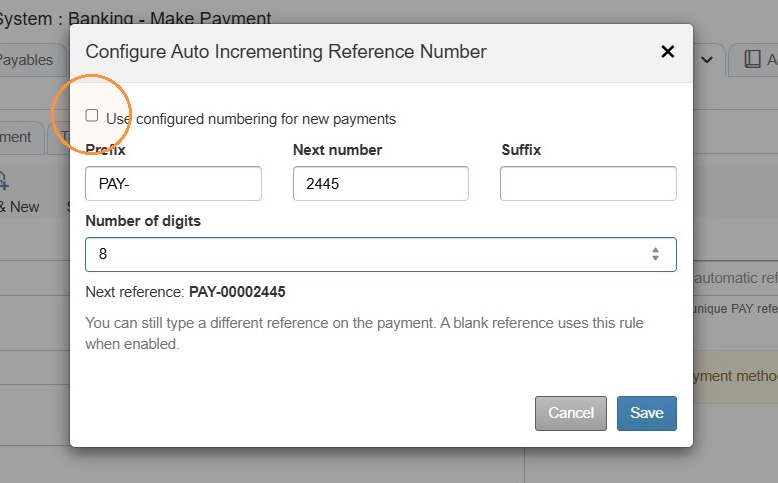
5. To enable, select the Use configured numbering for new payments checkbox.
- When configured numbering is enabled, RAAMP uses the displayed next reference.
- When it is disabled, RAAMP assigns a unique default
PAY-########reference.
NOTE: The configured numbering applies to new, non-check payments. Check payments continue to use their check-number workflow.
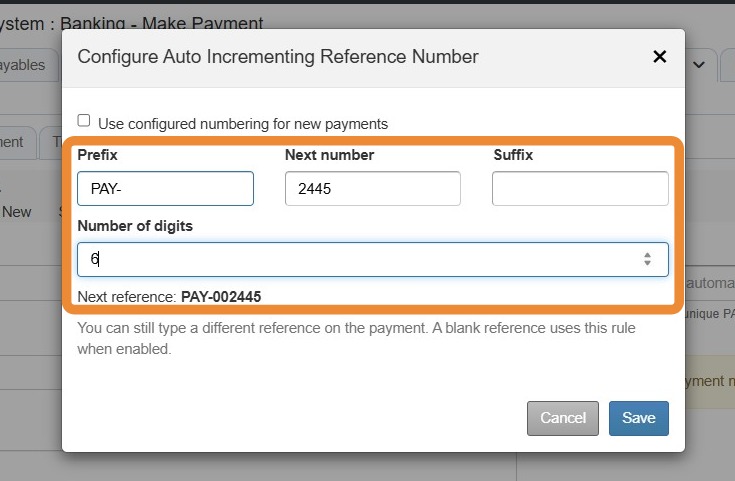
6. Enter a prefix, next number, and suffix > Enter the Number of digits.
- Prefix: optional text before the number.
- Next number: the next numeric value RAAMP should use; must be at least 1.
- Suffix: optional text after the number.
- Number of digits: 1–12, controls zero-padding for the numeric portion. For example, next number
2445with six digits becomes002445. It is a minimum width and does not truncate larger numbers.
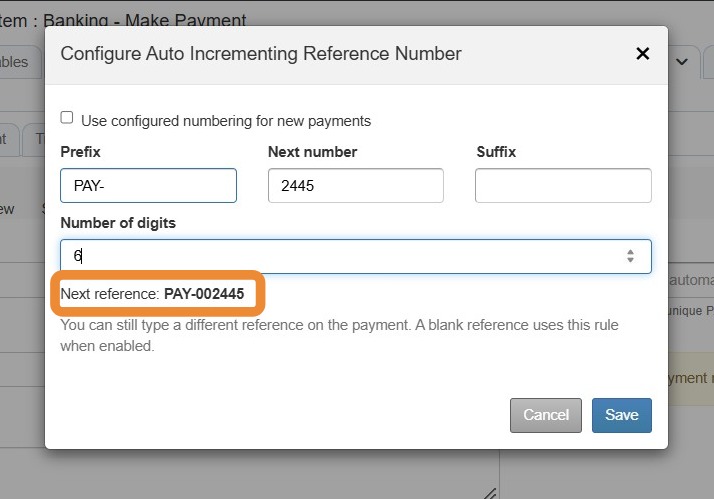
7. Confirm the next reference (example: PAY-002445).
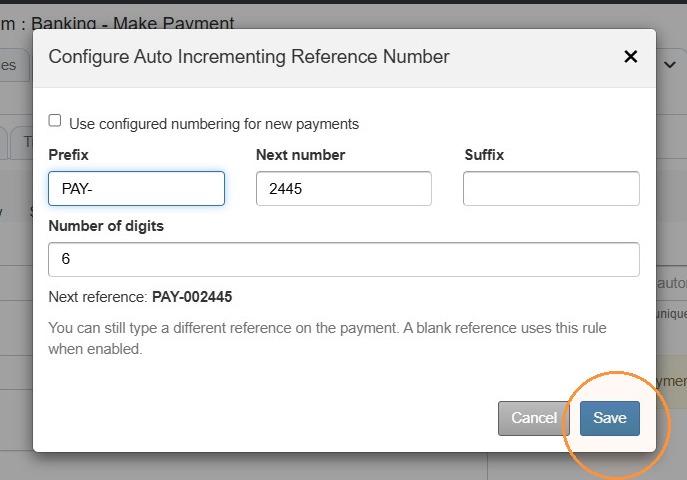
8. Select Save.
NOTE:
- You can still type a different reference on the payment.
- A blank reference uses the rule when enabled.
- Saving these settings does not renumber existing payments. The next number advances as new payments receive generated references.
- Deleted or voided references are not automatically reused.
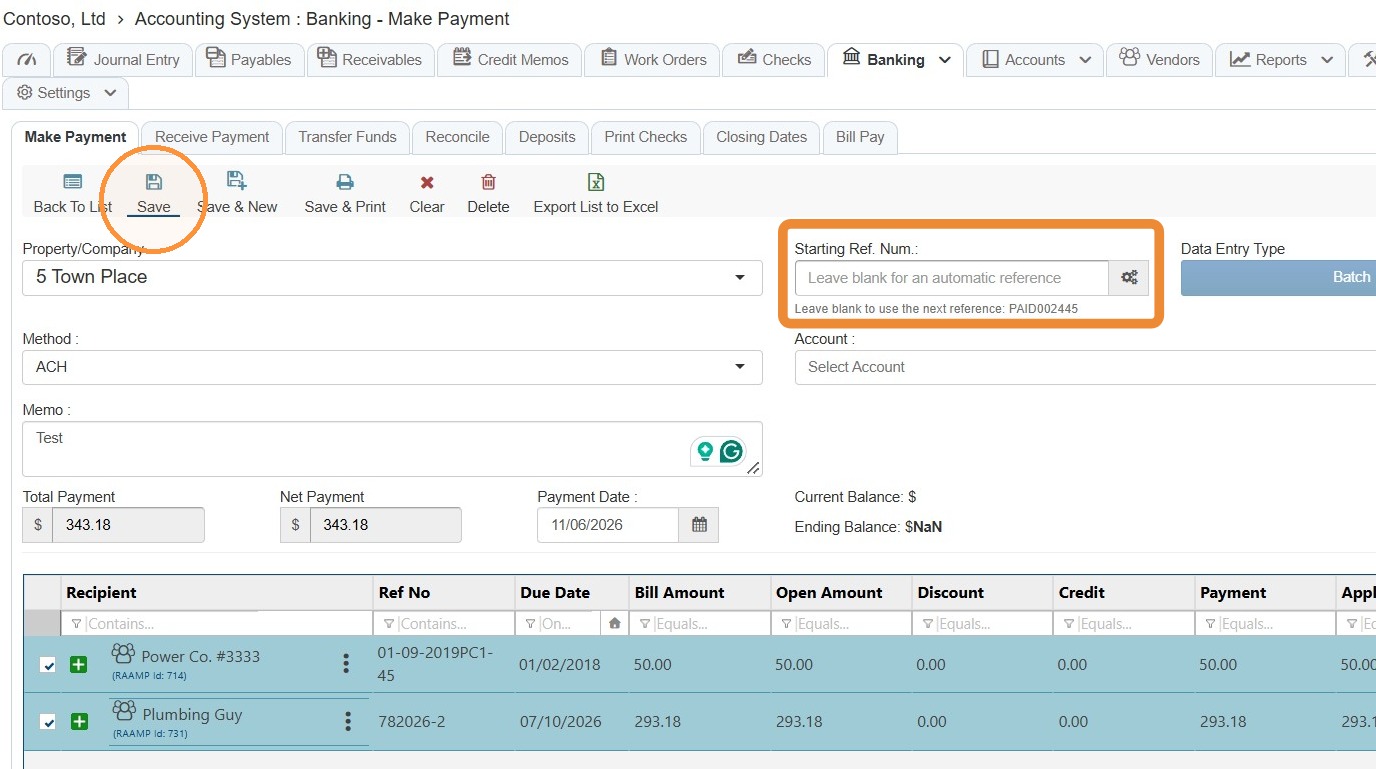
9. Complete the remaining payment information > Leave the Starting Ref Num blank to let RAAMP assign the reference > Select Save.
NOTE: In Batch mode, RAAMP may create a separate payment for each recipient. A manually entered Starting Ref Num. is incremented for subsequent payments. Leave it blank to generate each reference automatically.
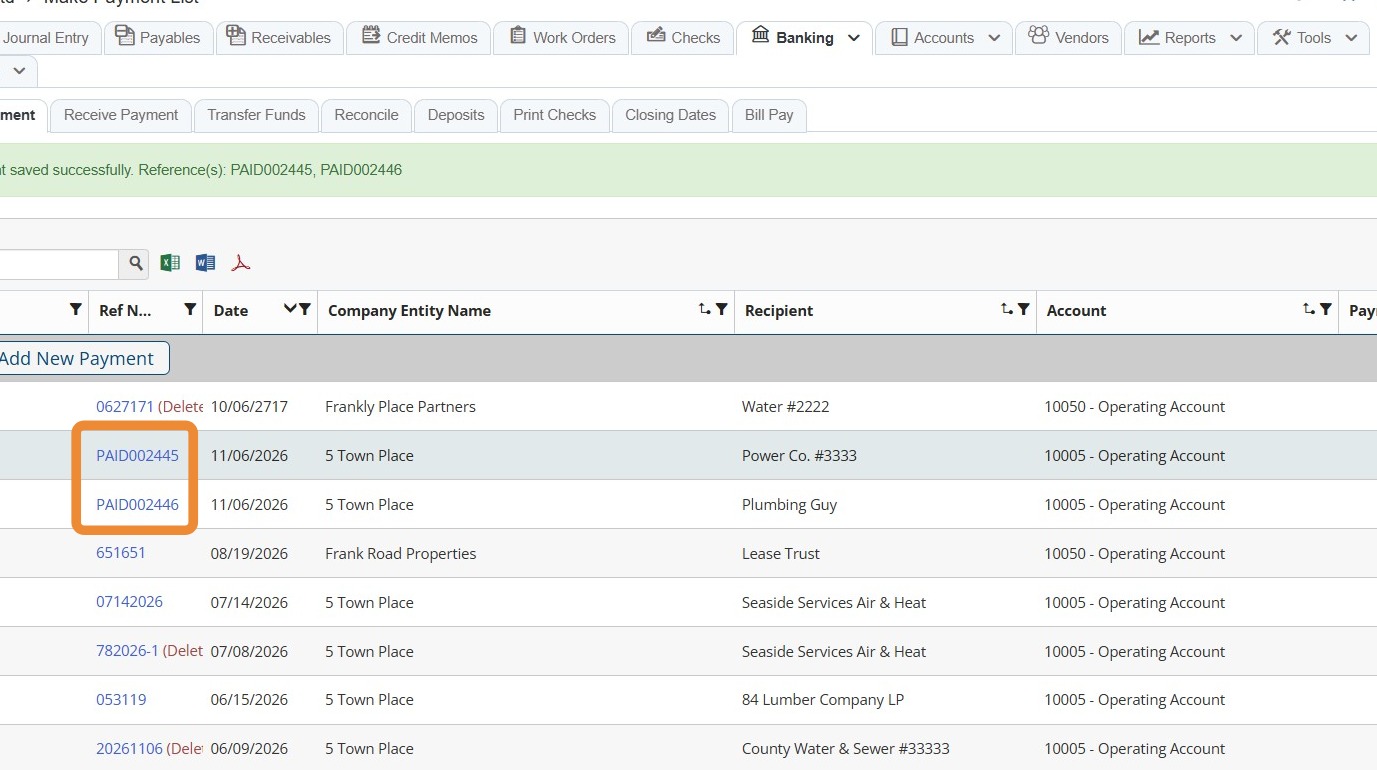
10. Review the Make Payment list to confirm the custom reference number.
Recommended: Open the saved payment and check the list, particularly after a batch payment.
TIP: You may enter a different reference for an individual payment. Payment references must be unique; RAAMP will reject a reference already used by another payment.