How to Import a Non-Template Trial Balance into RAAMP
Learn how to efficiently upload and map trial balance data into the RAAMP accounting system. This guide provides a step-by-step walkthrough for configuring account mappings and finalizing the journal entry import process.
How to Navigate to Journal Entry
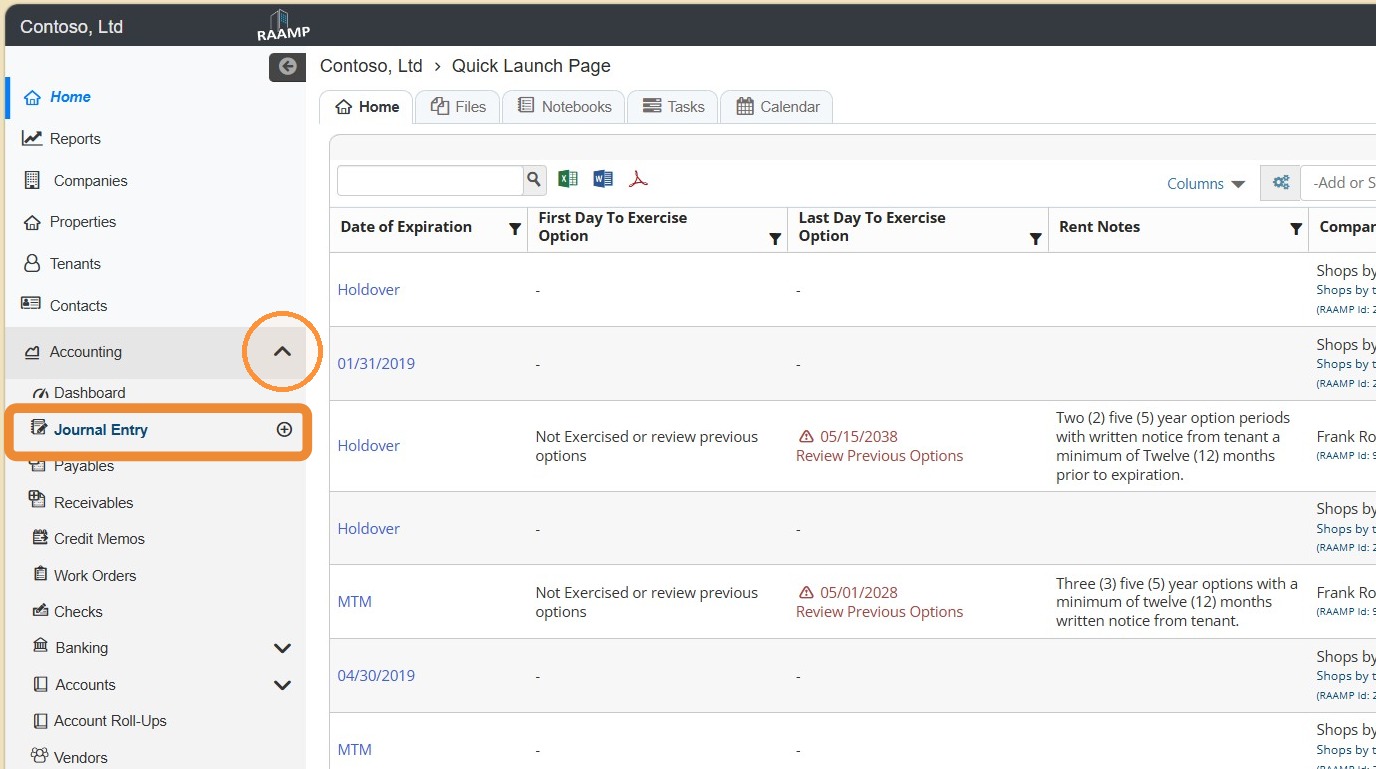
1. From the navigation menu, select Accounting > Select Journal Entry.
How to Import Trial Balances
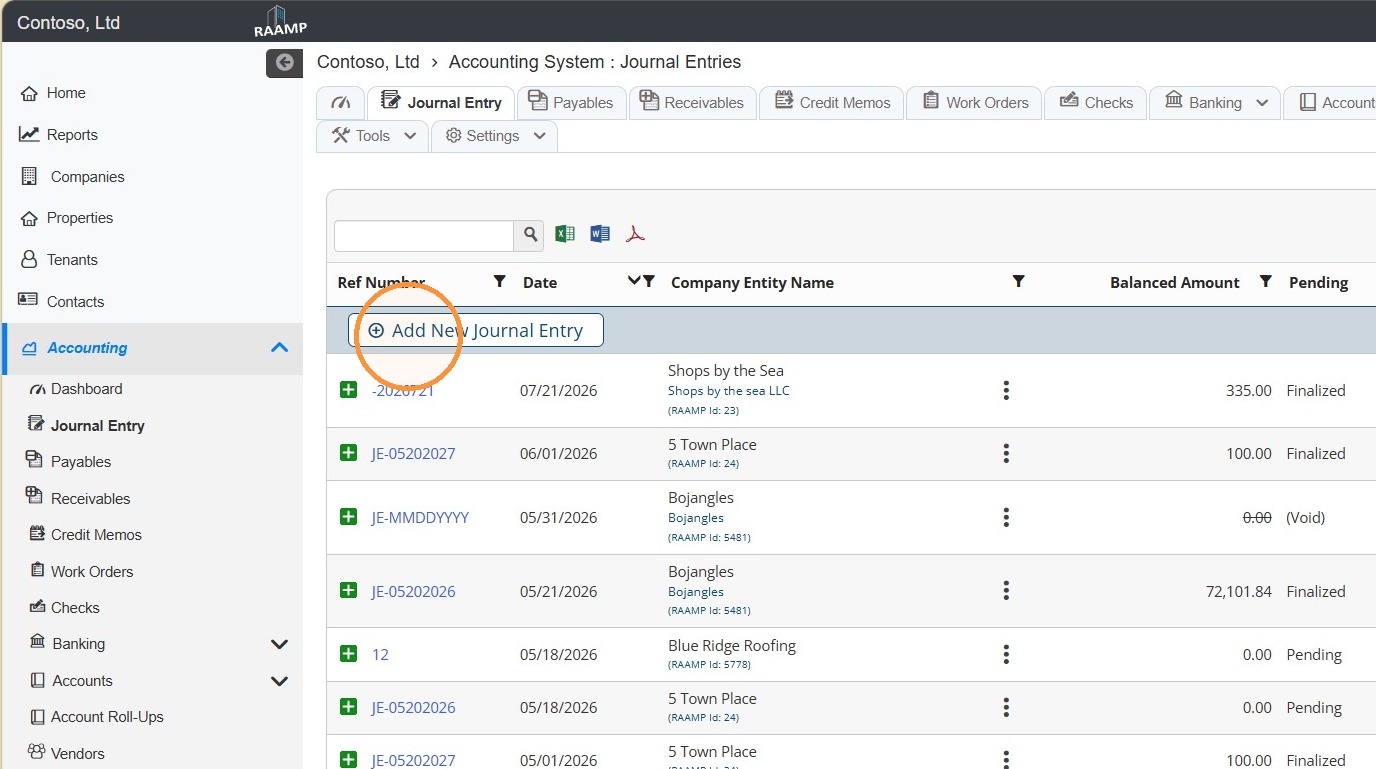
2. Select Add New Journal Entry.
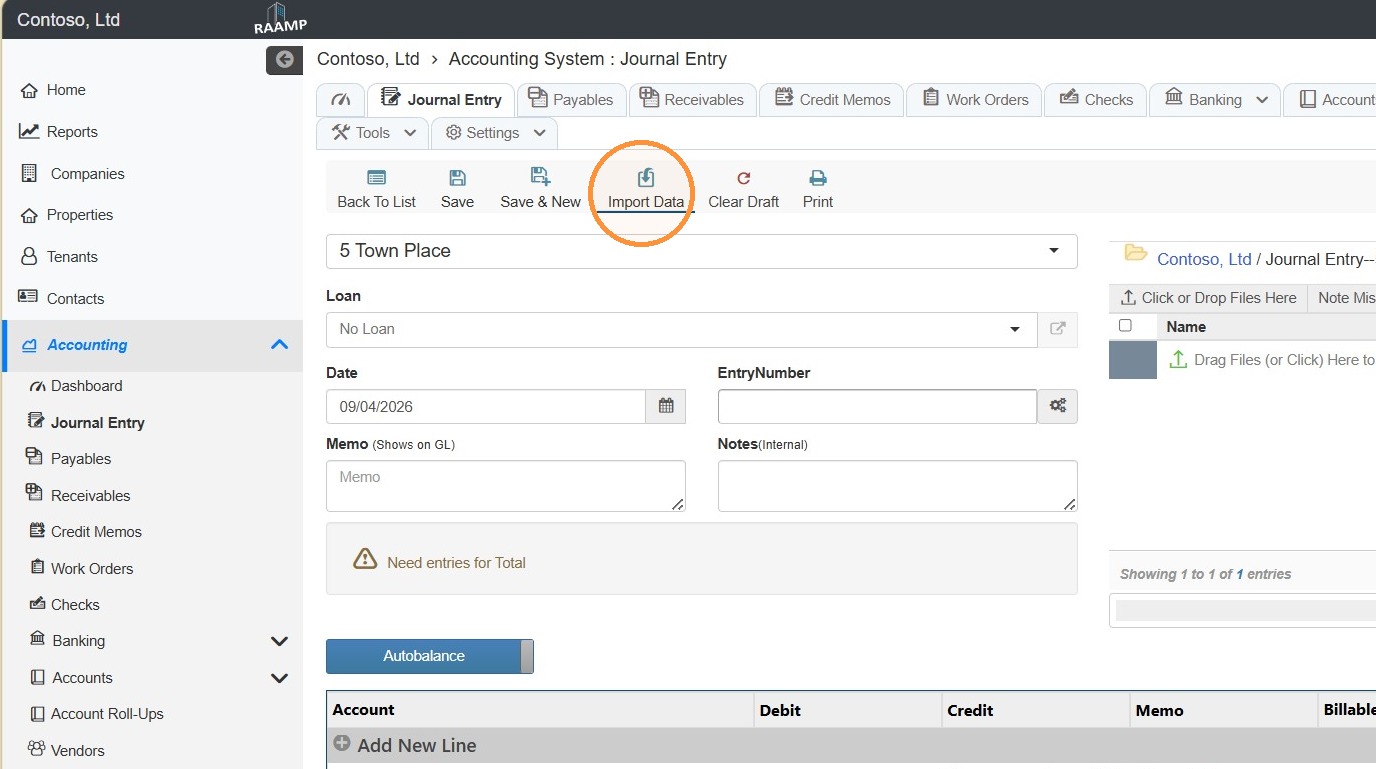
3. Select Import Data.
4. Confirm the Import Type is toggled to Trial Balance.
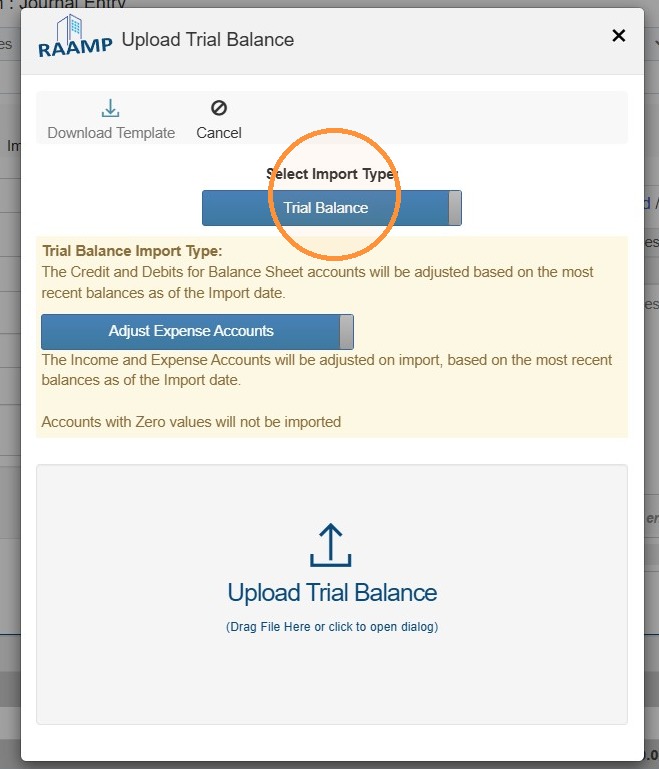
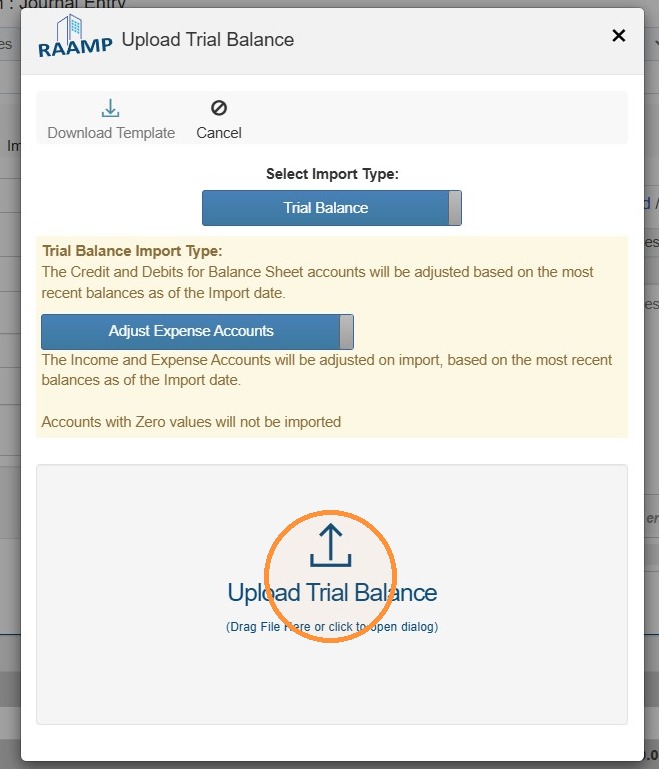
5. Select Upload Trial Balance.
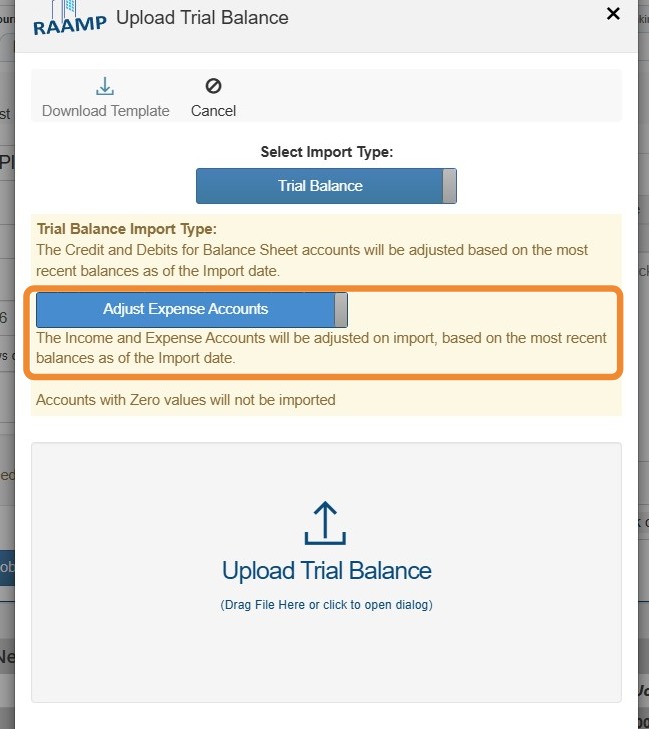
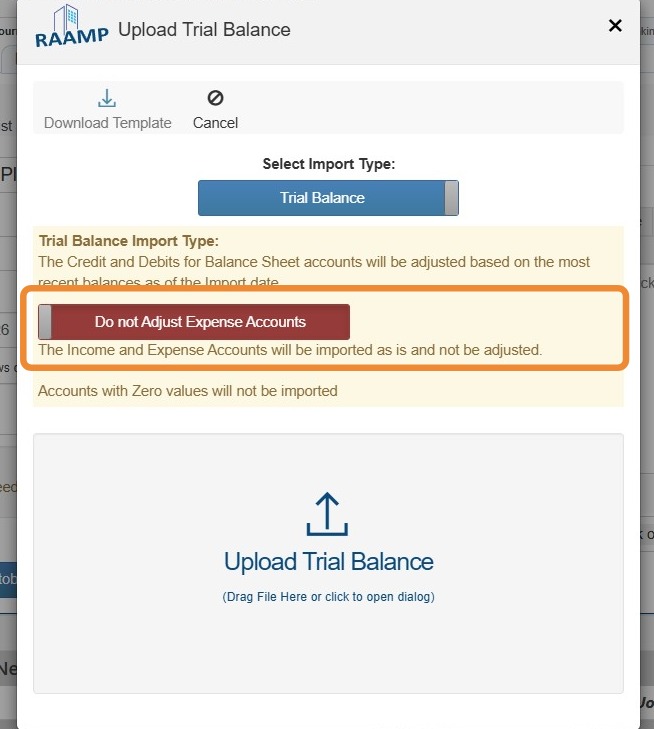
6. Toggle between Adjust Expense Accounts and Do not adjust expense accounts based on your preferences.
Adjust Expense Accounts - The Income and Expense Accounts will be adjusted on import, based on the most recent balances as of the Import date.
Do not adjust expense accounts - The Income and Expense Accounts will be imported as is and not be adjusted.
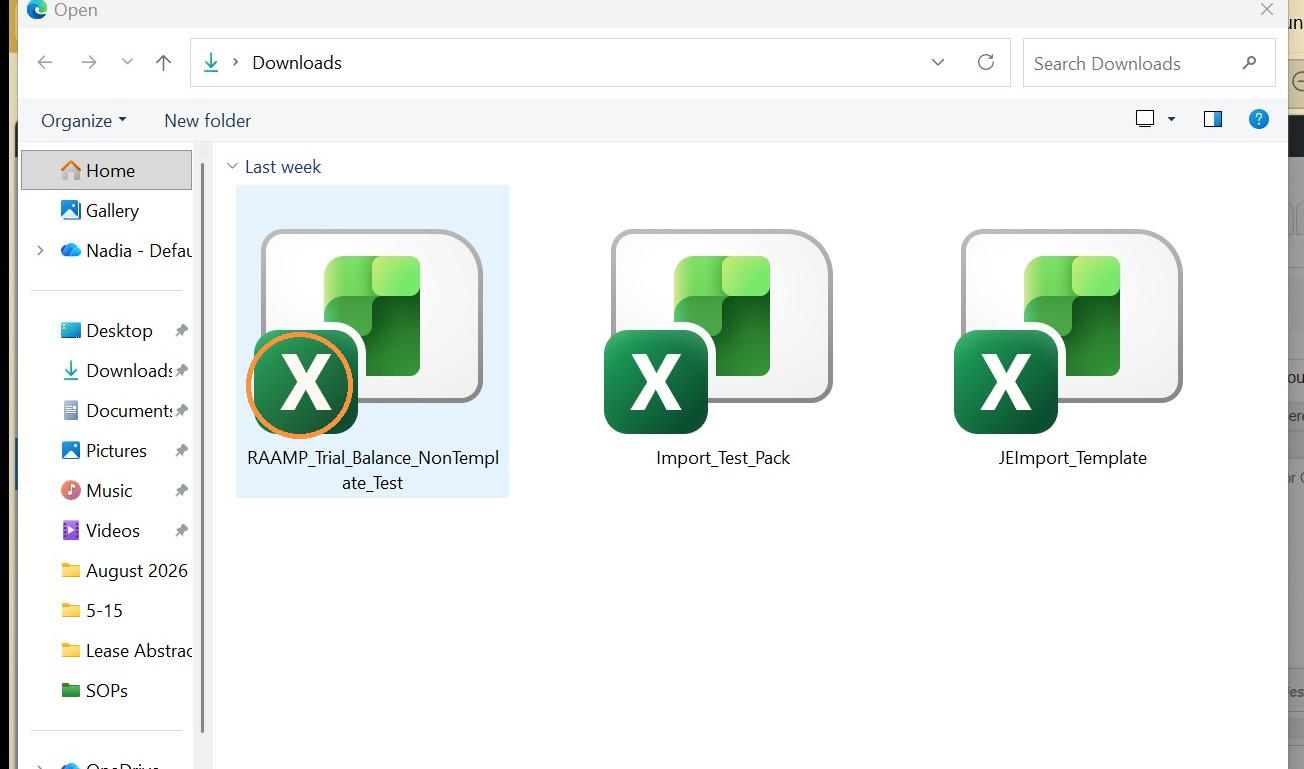
7. Select the Trial Balance Sheet from your computer.
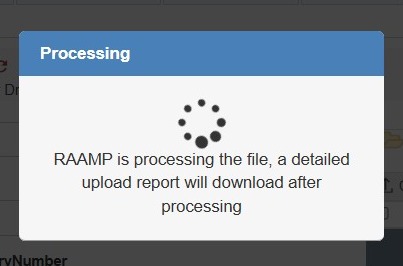
8. You'll receive a message that RAAMP is processing the file.
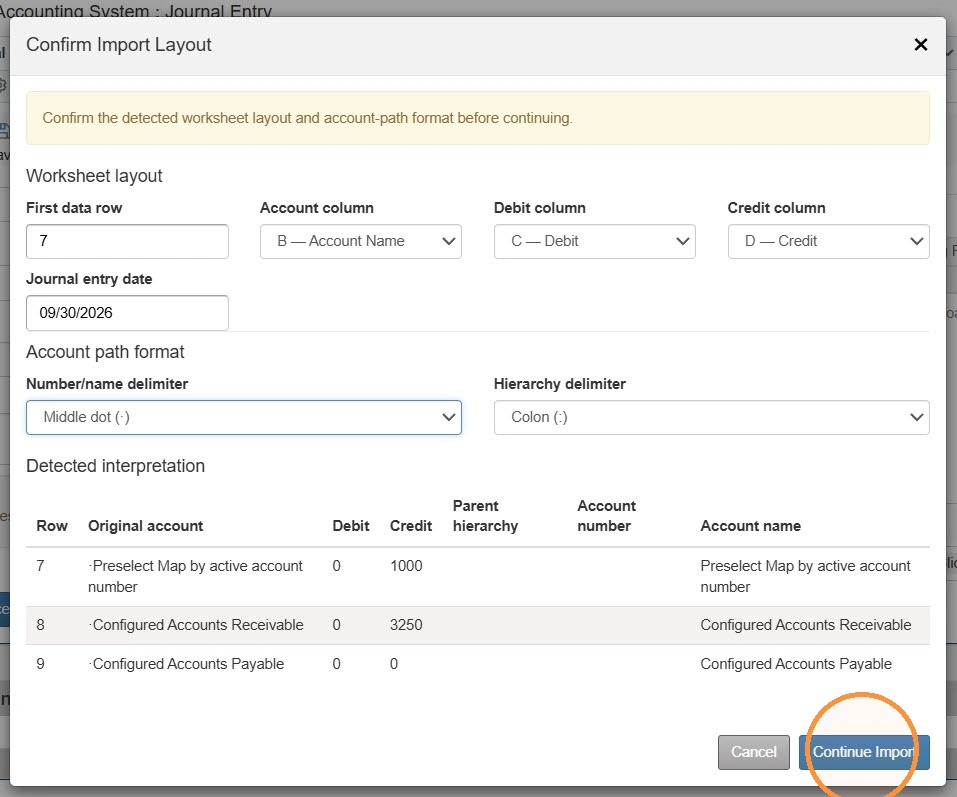
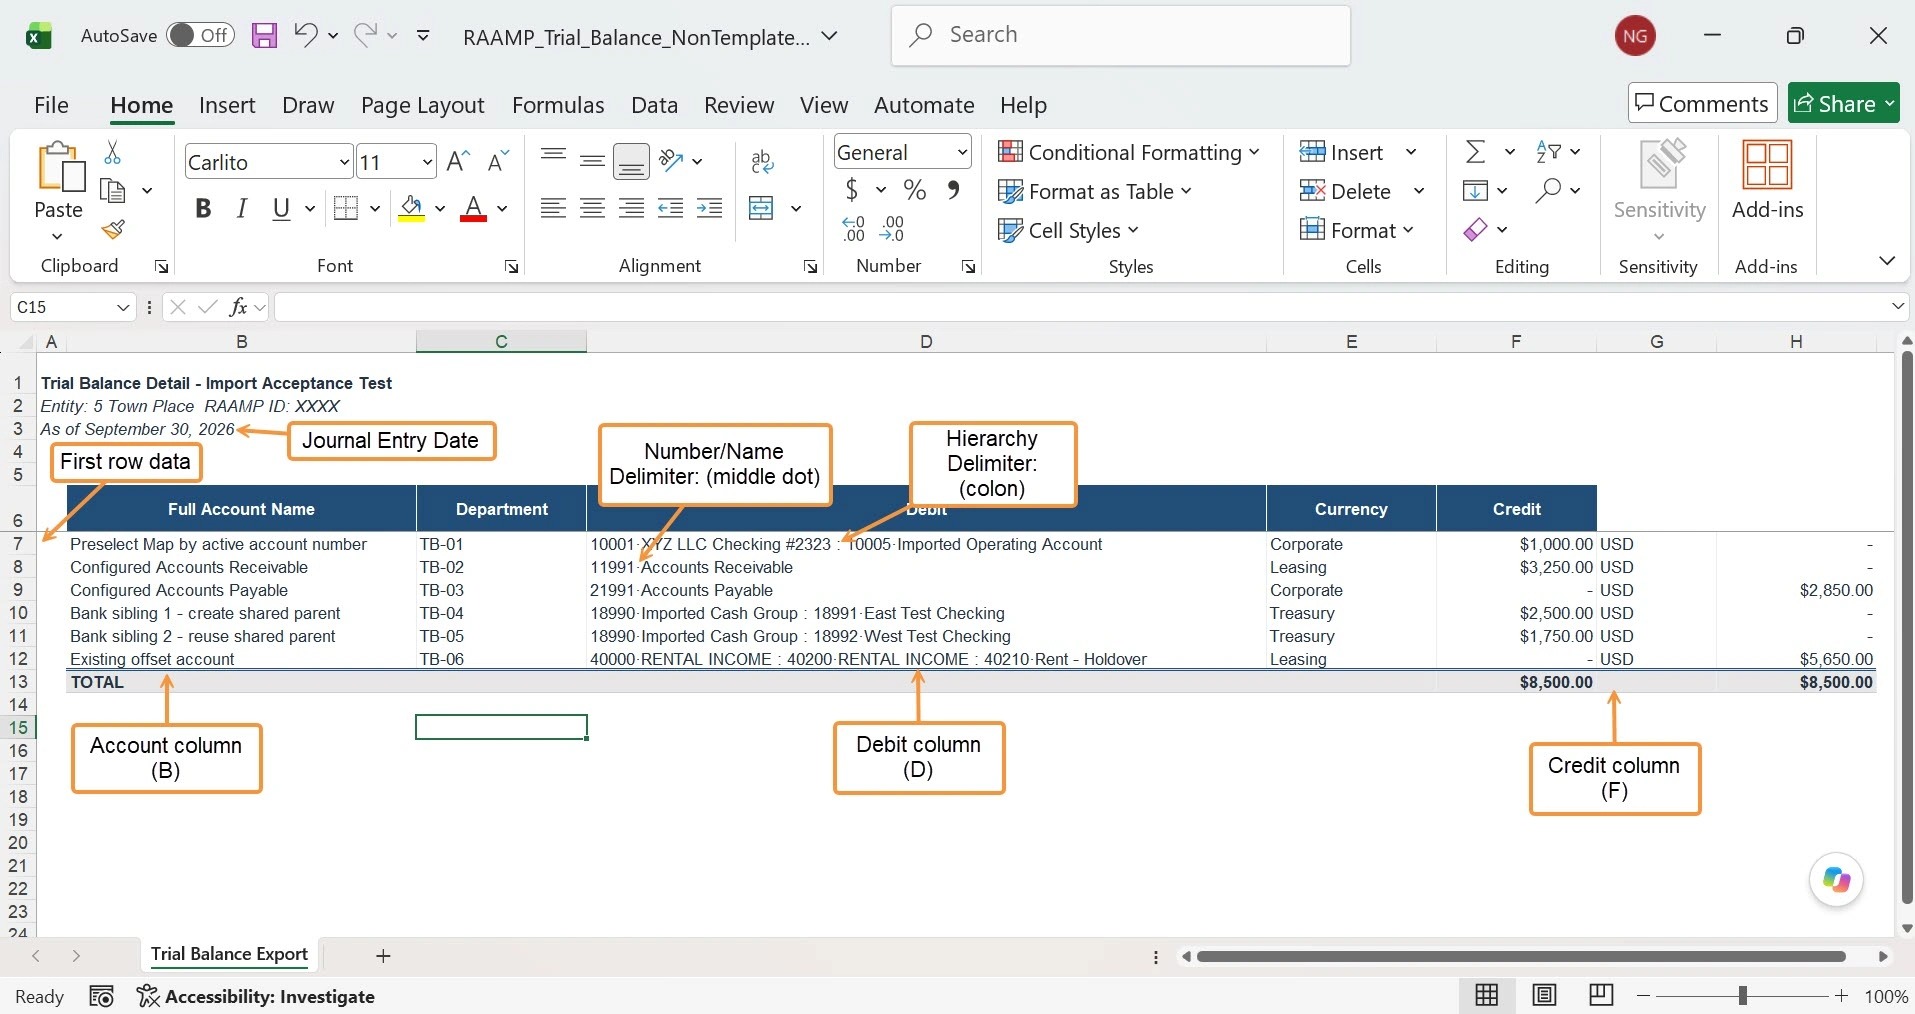
9. Confirm the Import Layout information > Select Continue Import.
10. When RAAMP does not recognize an imported account, the Resolve Imported Accounts screen appears. For each unrecognized account, select one of the following actions:
Create and Map: Create a new RAAMP account and automatically map future matching imports to it.
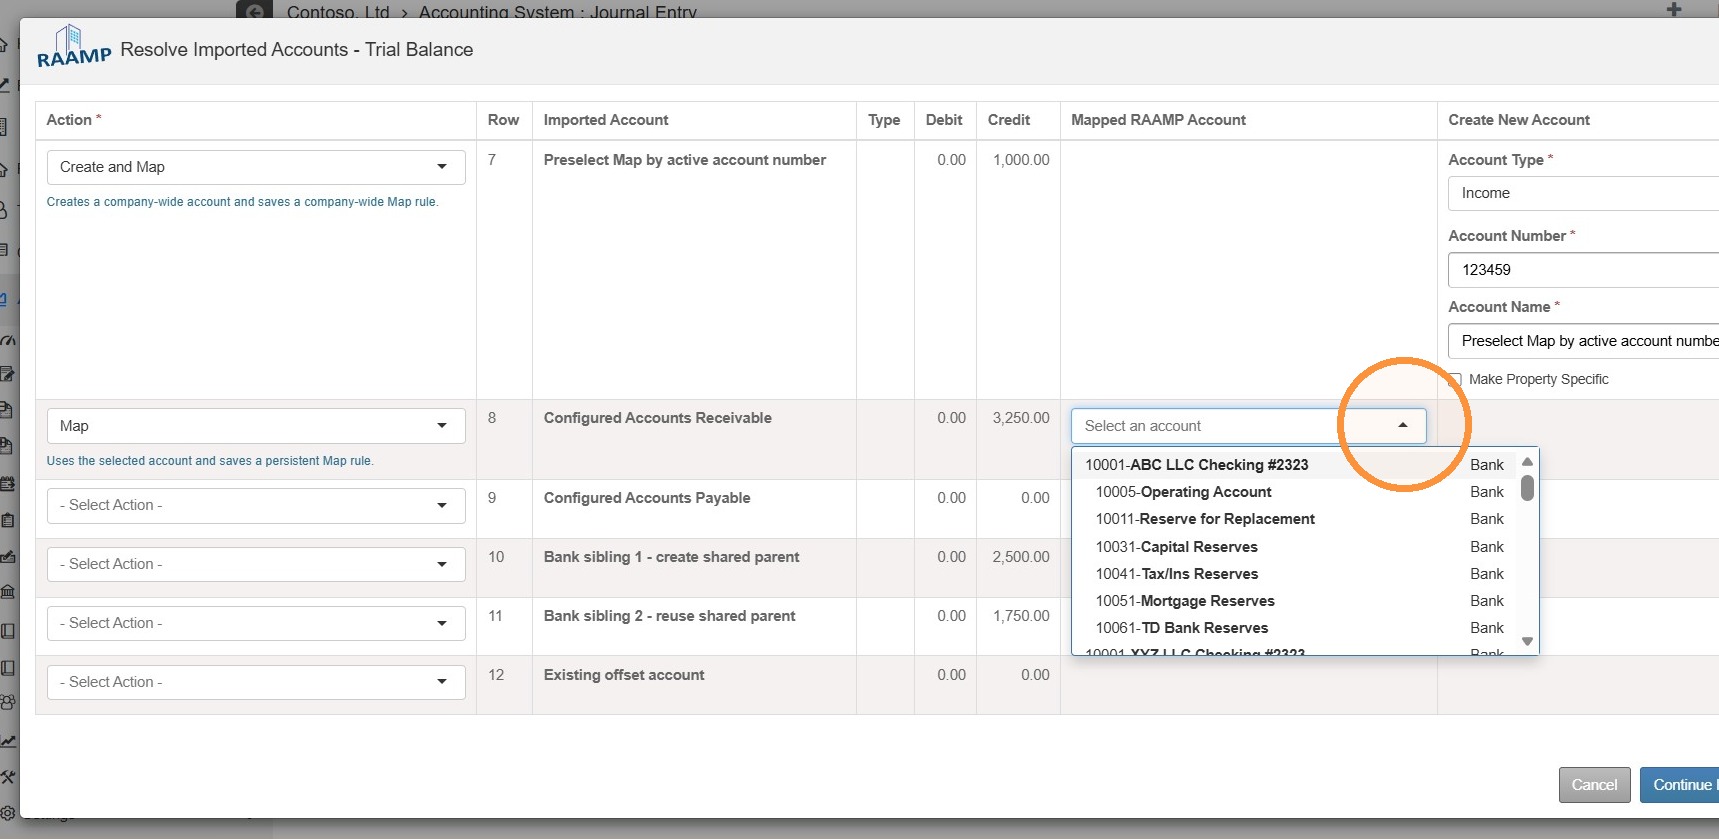
Map: Match the imported account to an existing RAAMP account. RAAMP will remember this selection for future imports.
Ignore: Excludes the matching account from both the current import and future matching imports.
Do Nothing: Skip the account for this import only. RAAMP will ask you to review it again the next time it appears.
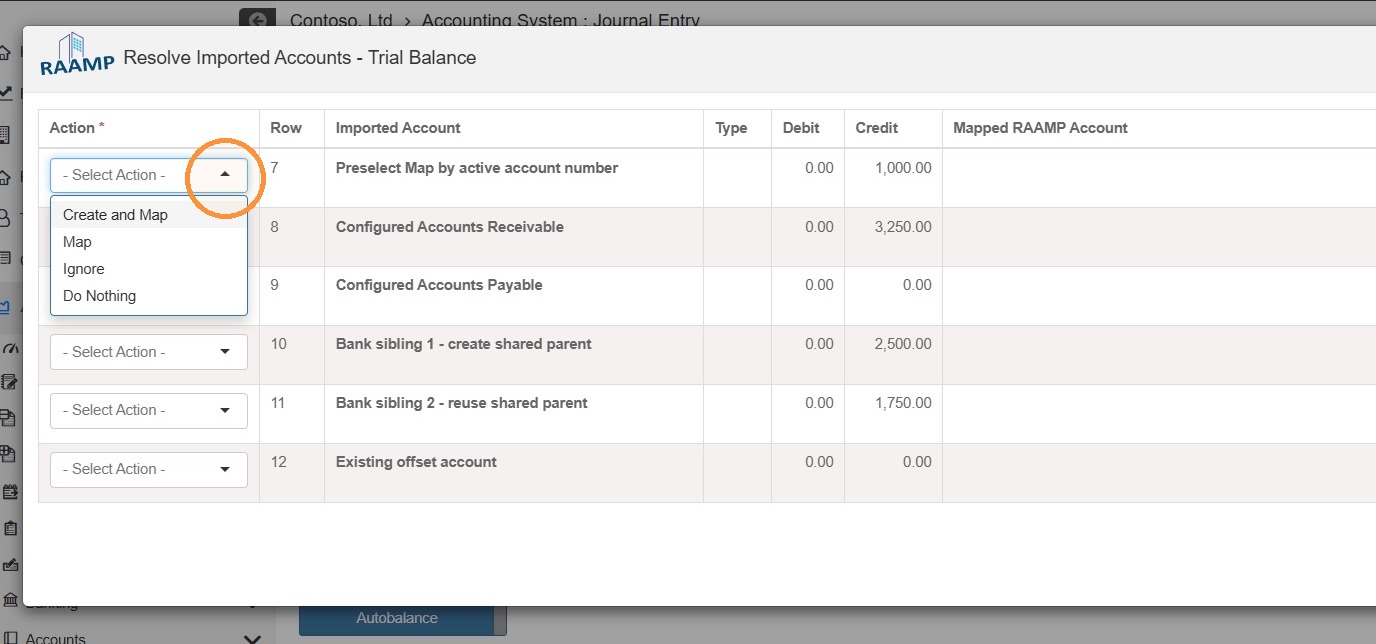
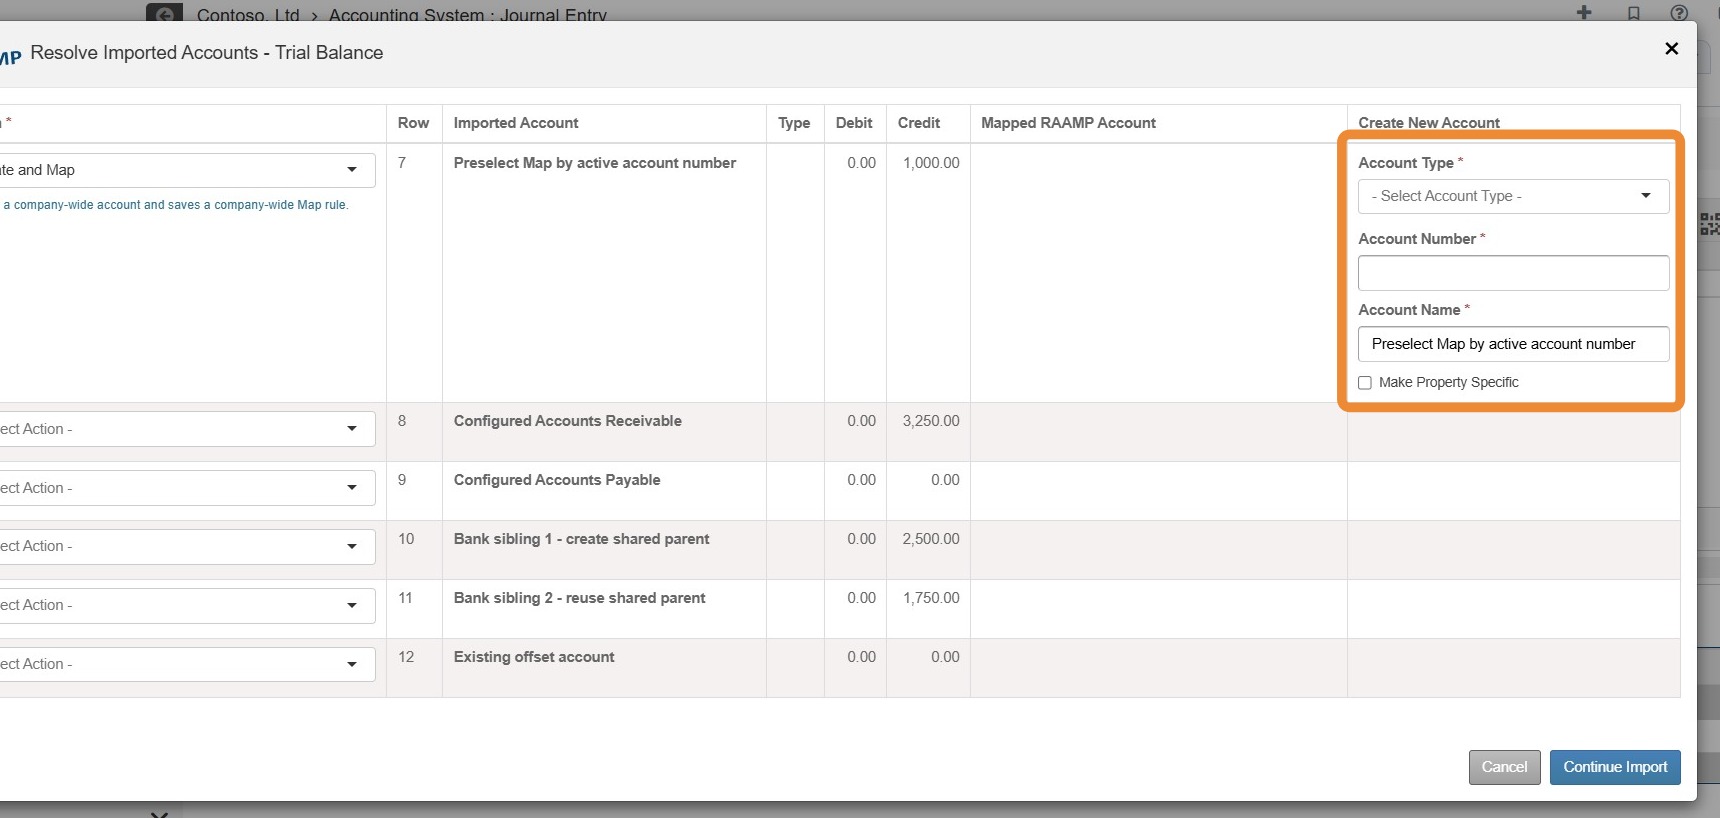
11. When Create and Map, is selected, you'll need to complete the account information.
Use Make Property Specific to choose where the new account and its saved mapping will apply:
Selected: The account and mapping apply only to the property currently being imported.
Not selected: The account and mapping apply company-wide and can be used for future matching imports across the company.
12. When Map is selected, you'll need to select a Mapped RAAMP Account.
13. Select Continue Import.
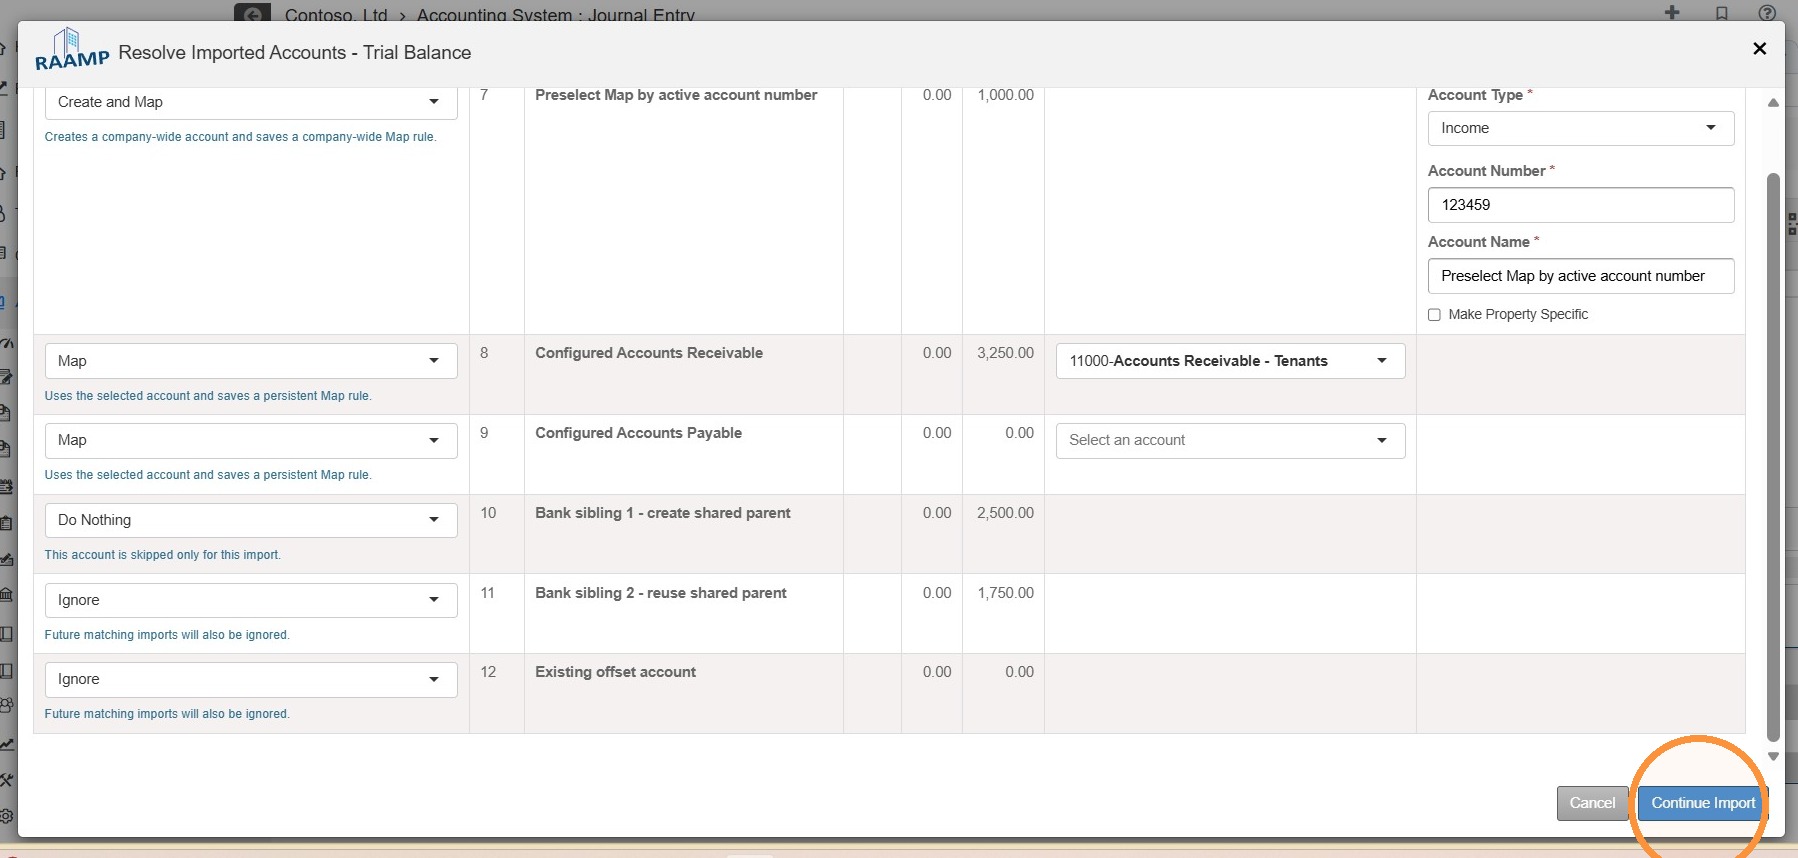
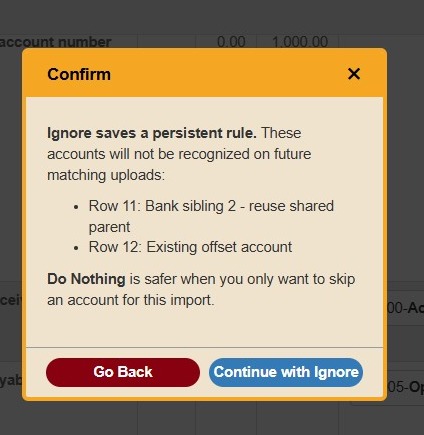
14. If Ignored was selected for any account, you'll receive an Ignore saved persistent rule message.
Select Go Back if you need to resolve the issue. \ Select Continue with Ignore if you do not want the accounts recognized in future matching uploads.
15. Once you resolve the imported accounts, you'll be taken to the journal entry.
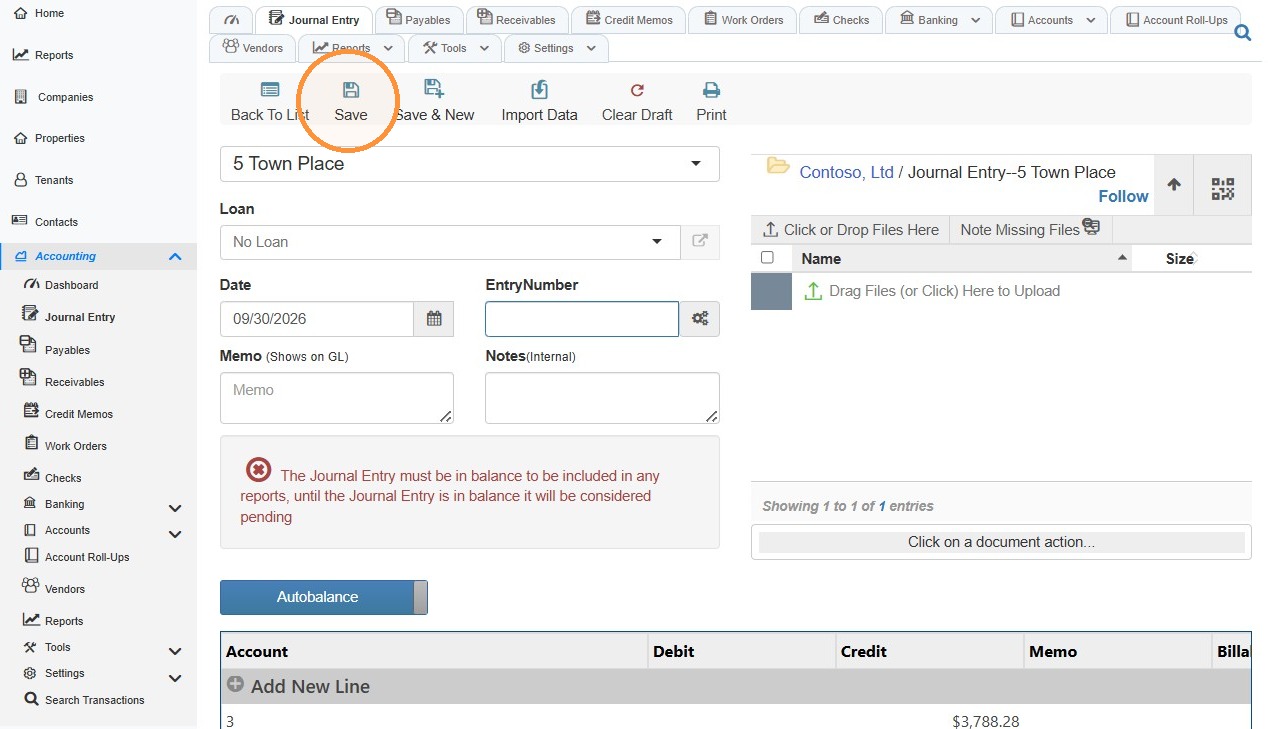
Review the line items, complete the journal entry, and select Save.