How to Add Journal Entries (Autobalance & Manual Entry)
This guide shows a faster, less error-prone way to create journal entries by using the Add New and Autobalance features. It explains where to find Journal Entry, how to upload or note files, and how to enter multiple credits/debits at once (including pending entries) so you don’t need to balance after each line manually.
How to Access Journal Entry
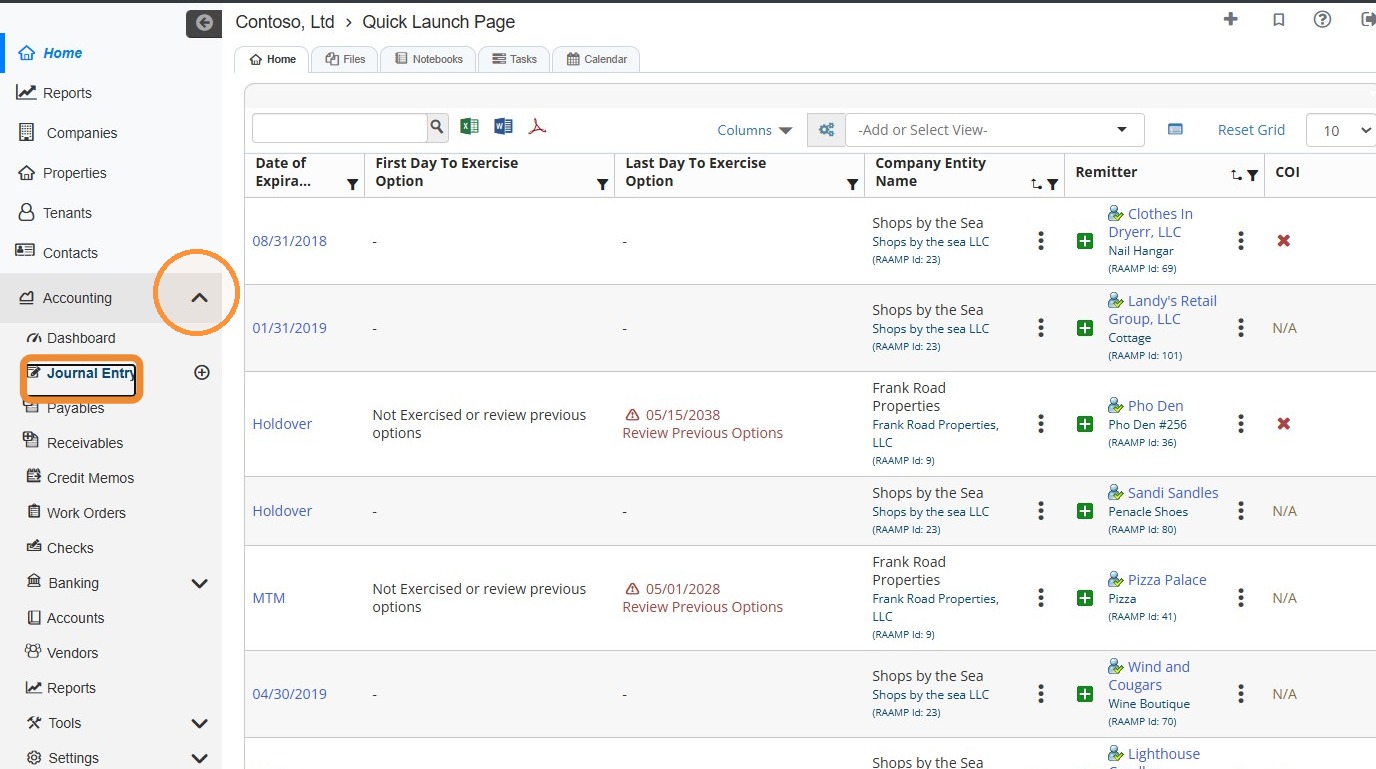
1. From the navigation menu, select Accounting > Journal Entry.
2. Journal Entry Diagram
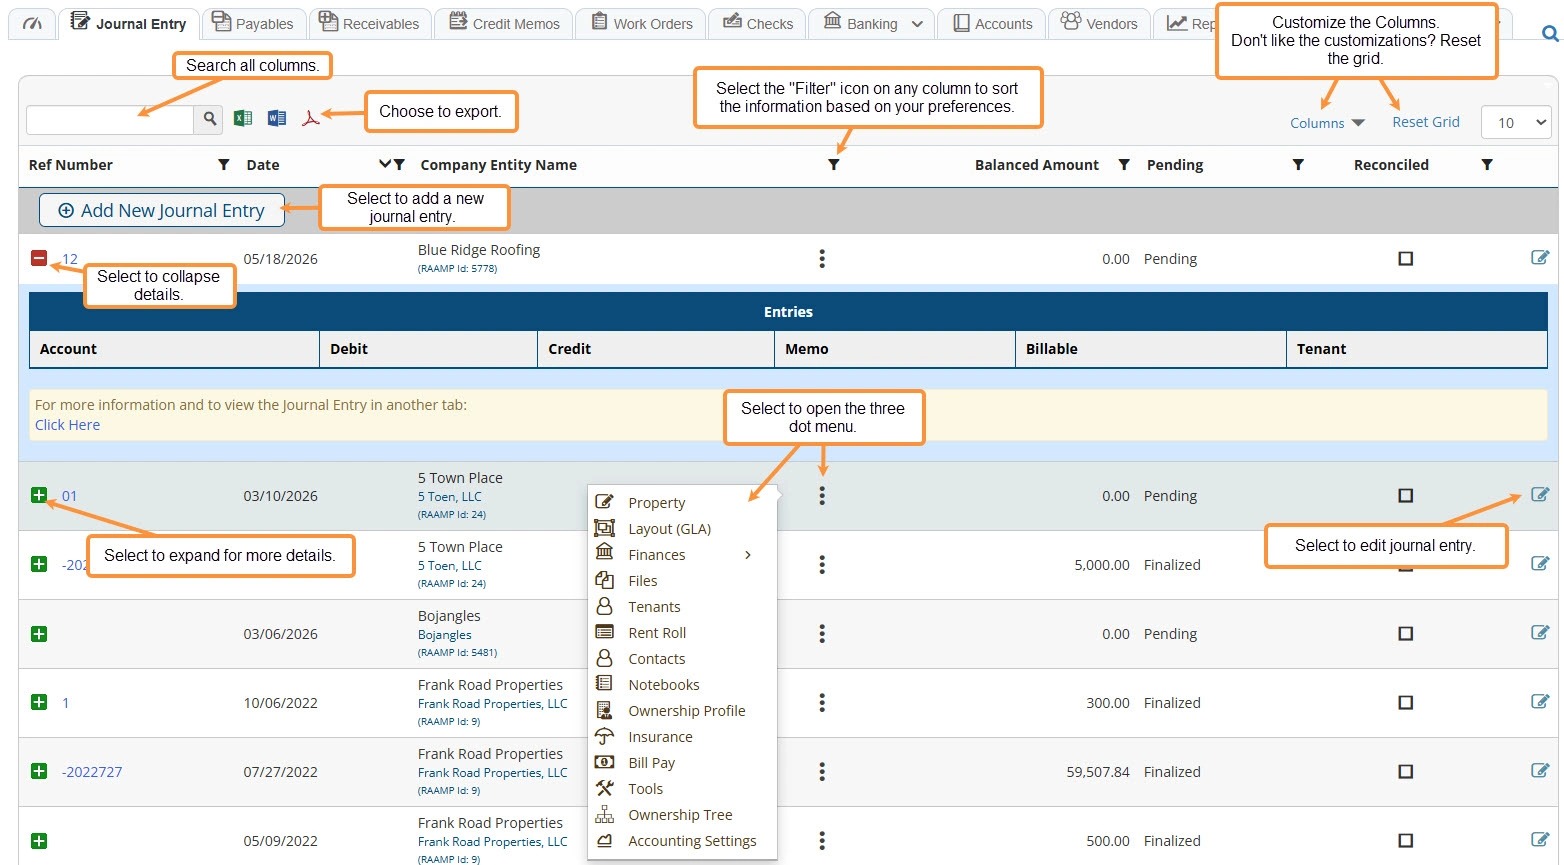
How to Add Journal Entries
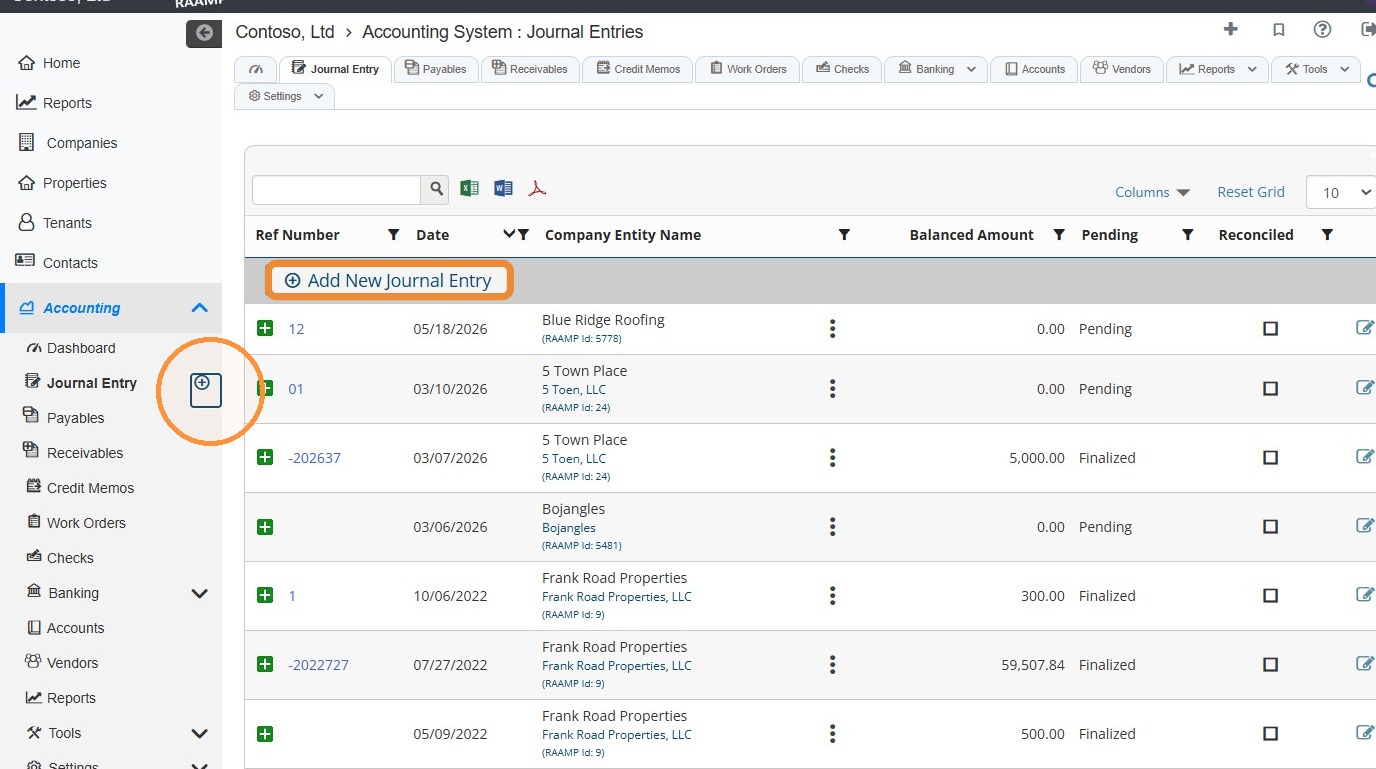
3. Add a journal entry by selecting the Journal Entry +.
Or, add a journal entry by selecting Add New Journal Entry.
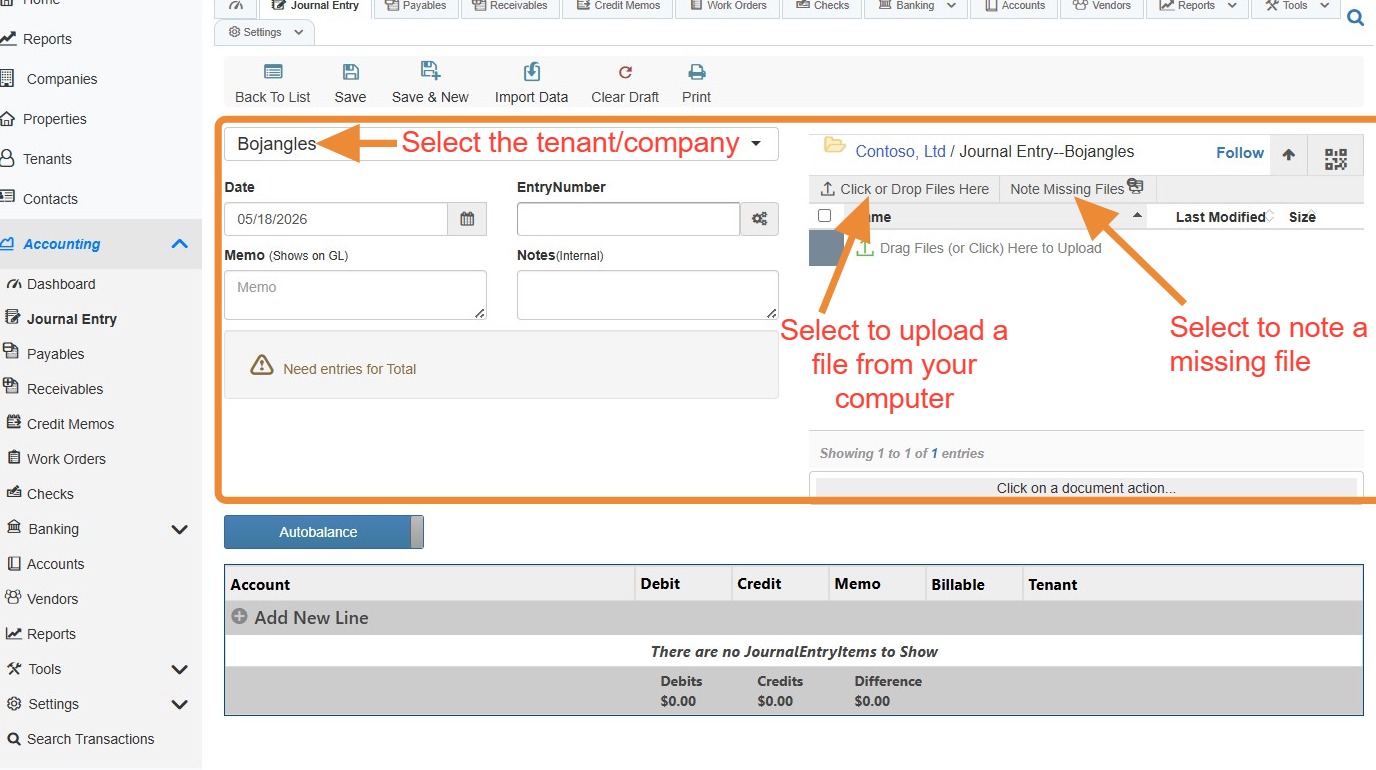
4. Complete the information, upload a file(s), and/or note a missing file(s).
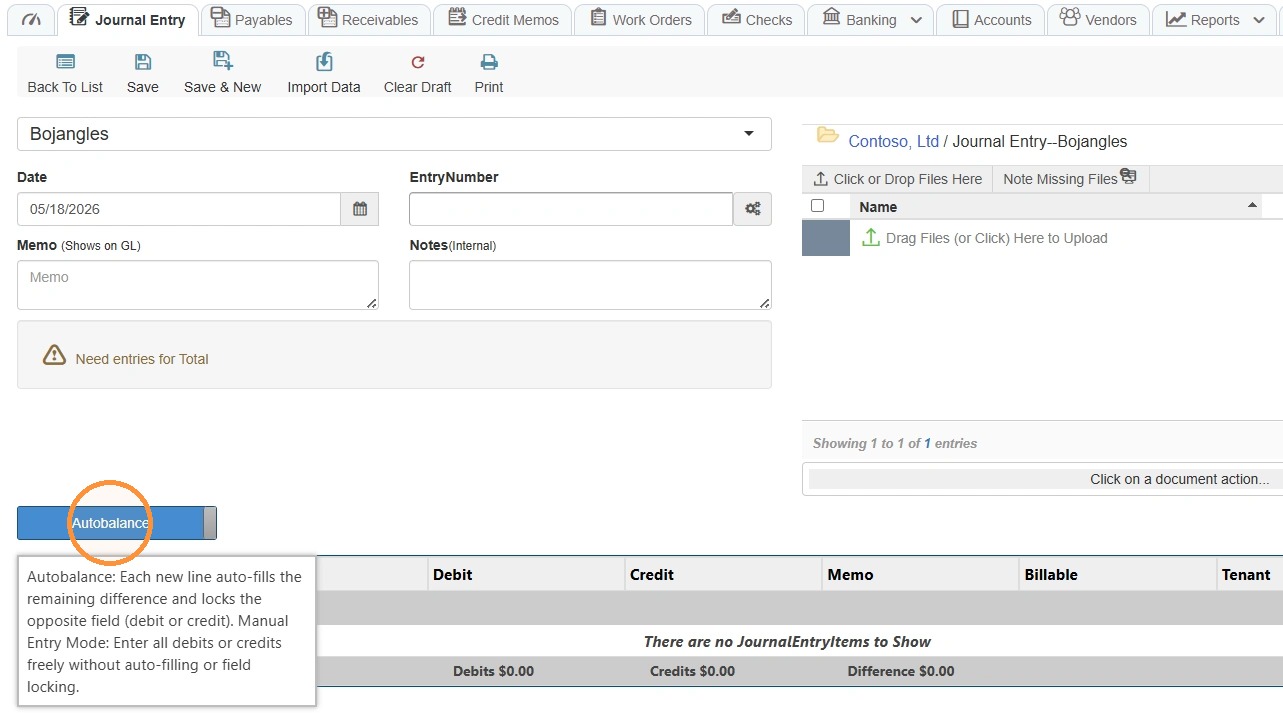
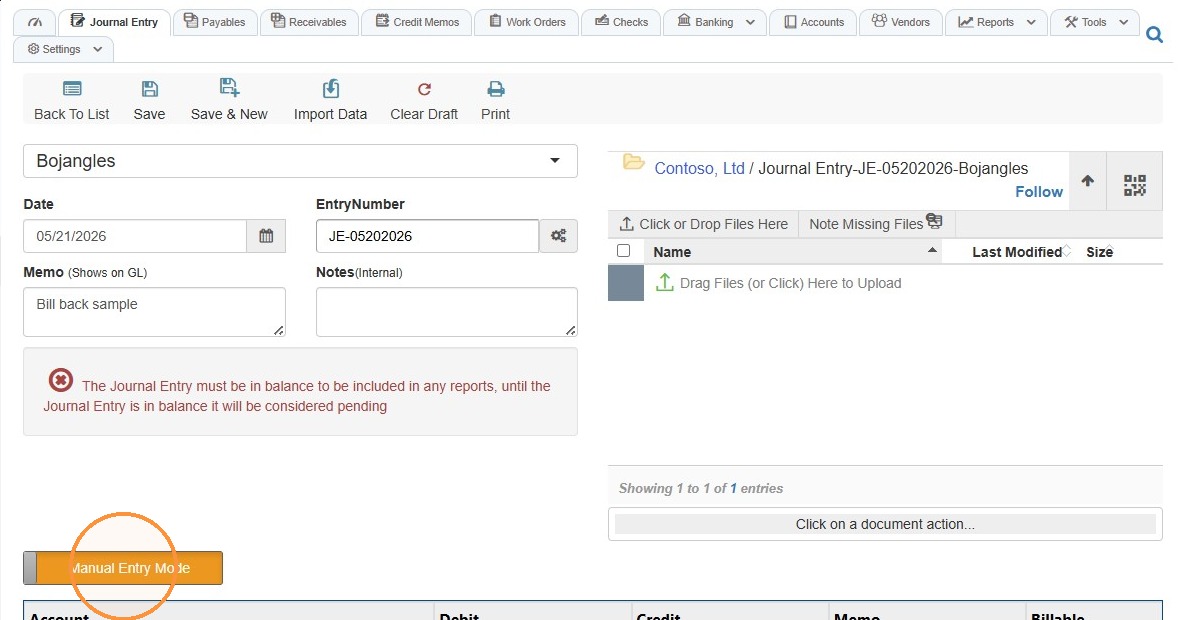
5. Toggle to Autobalance or Manual Journal Entry.
Autobalance: Each new line auto-fills the remaining difference and locks the opposite field (debit/credit).
Manual Journal Entry: You will need to balance after each entry.
How to Add Line Entries
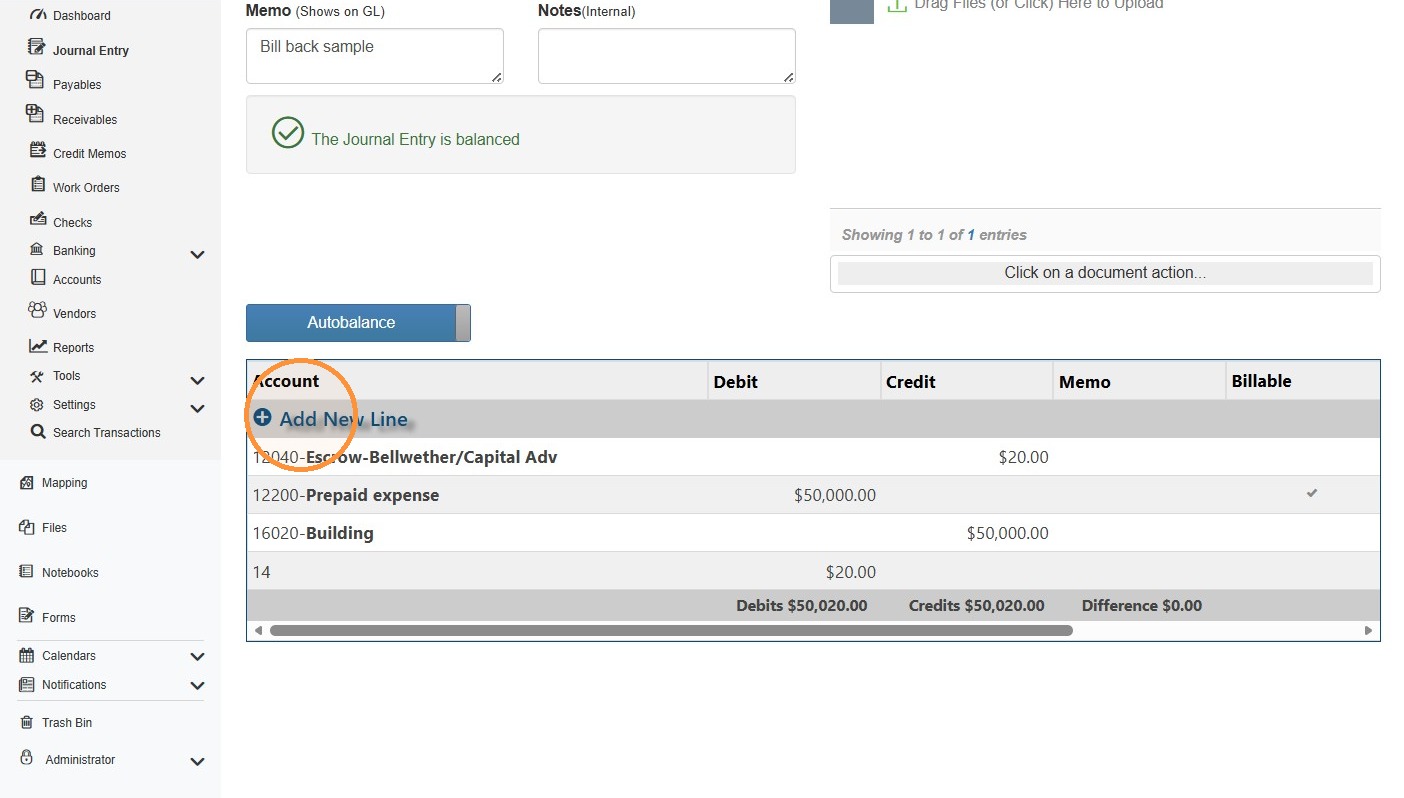
6. Select Add New Line.
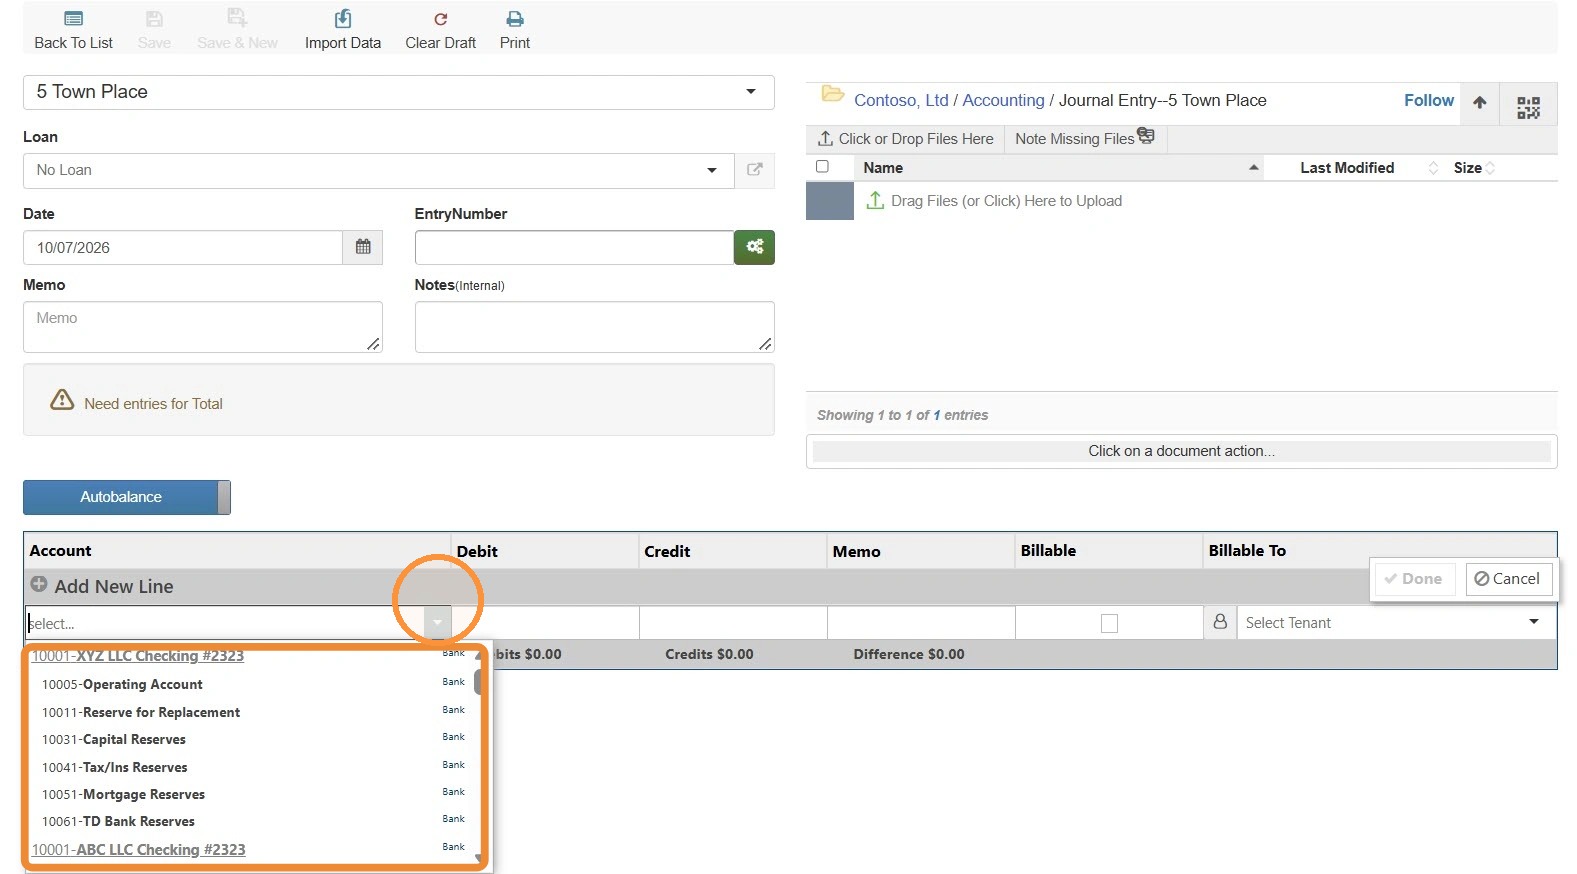
7. Select the account dropdown menu > Choose the account.
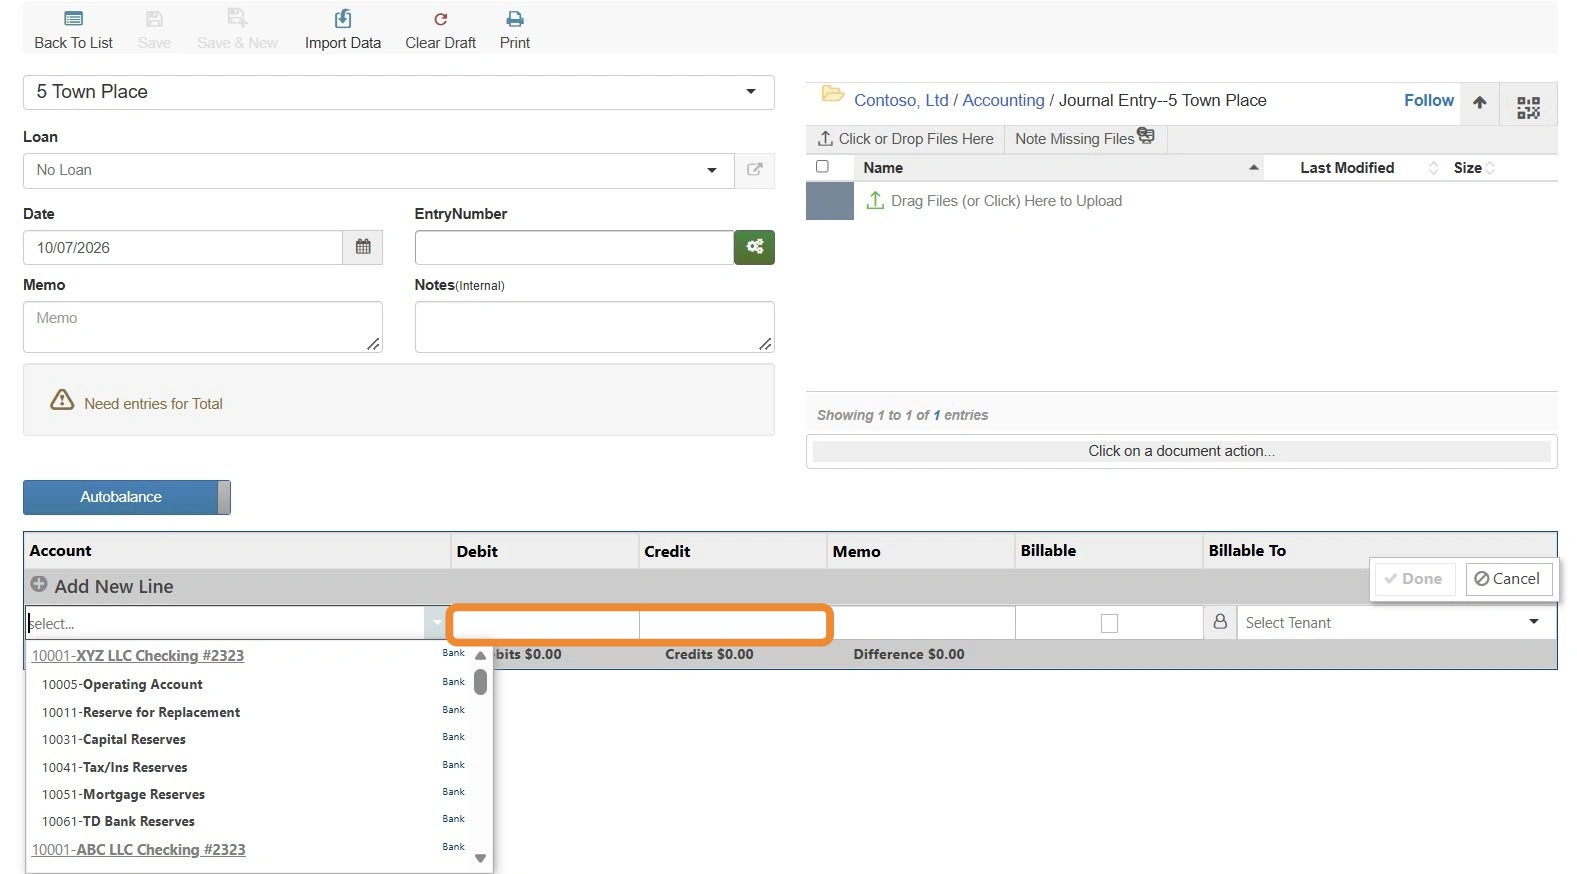
8. Select the debit or credit field > Enter the debit or credit amount.
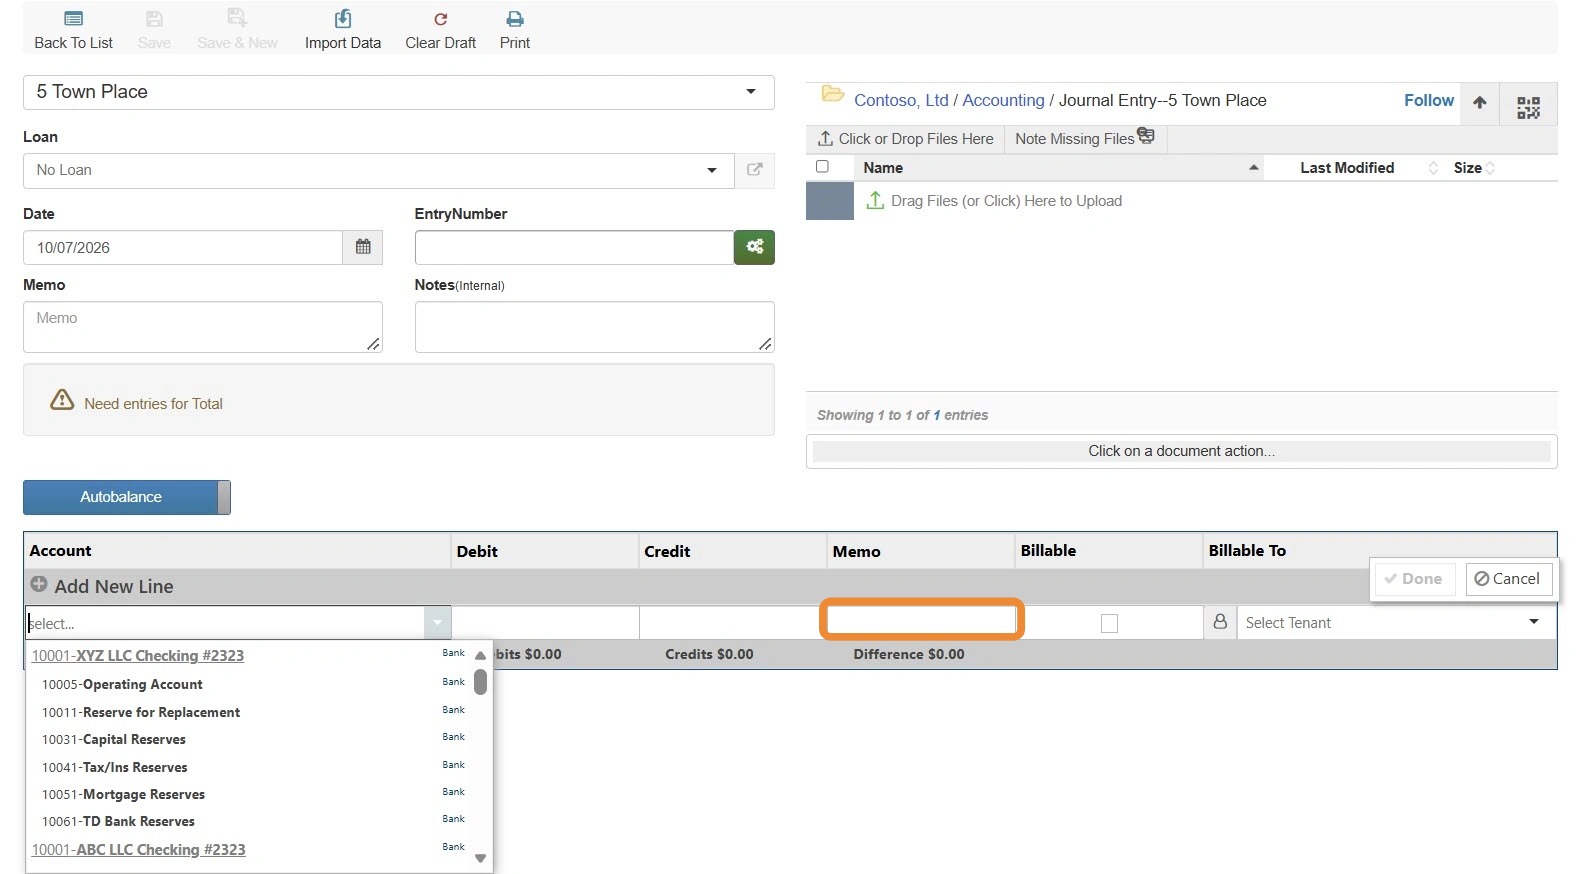
9. Select the memo field > Enter a memo, if needed.
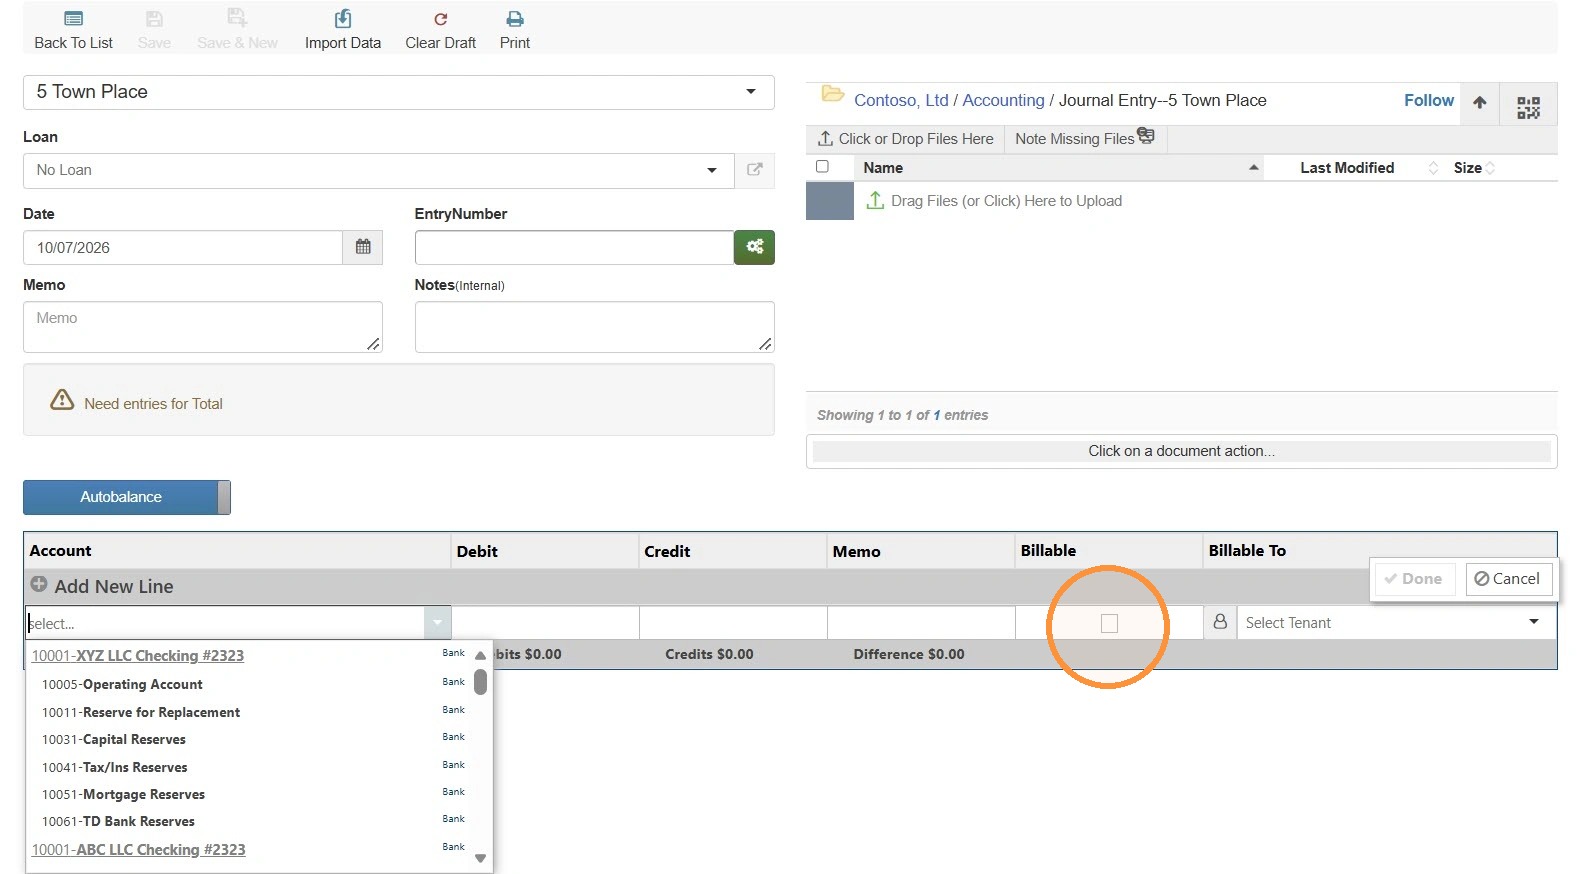
10. If the charge is billable, select Billable.
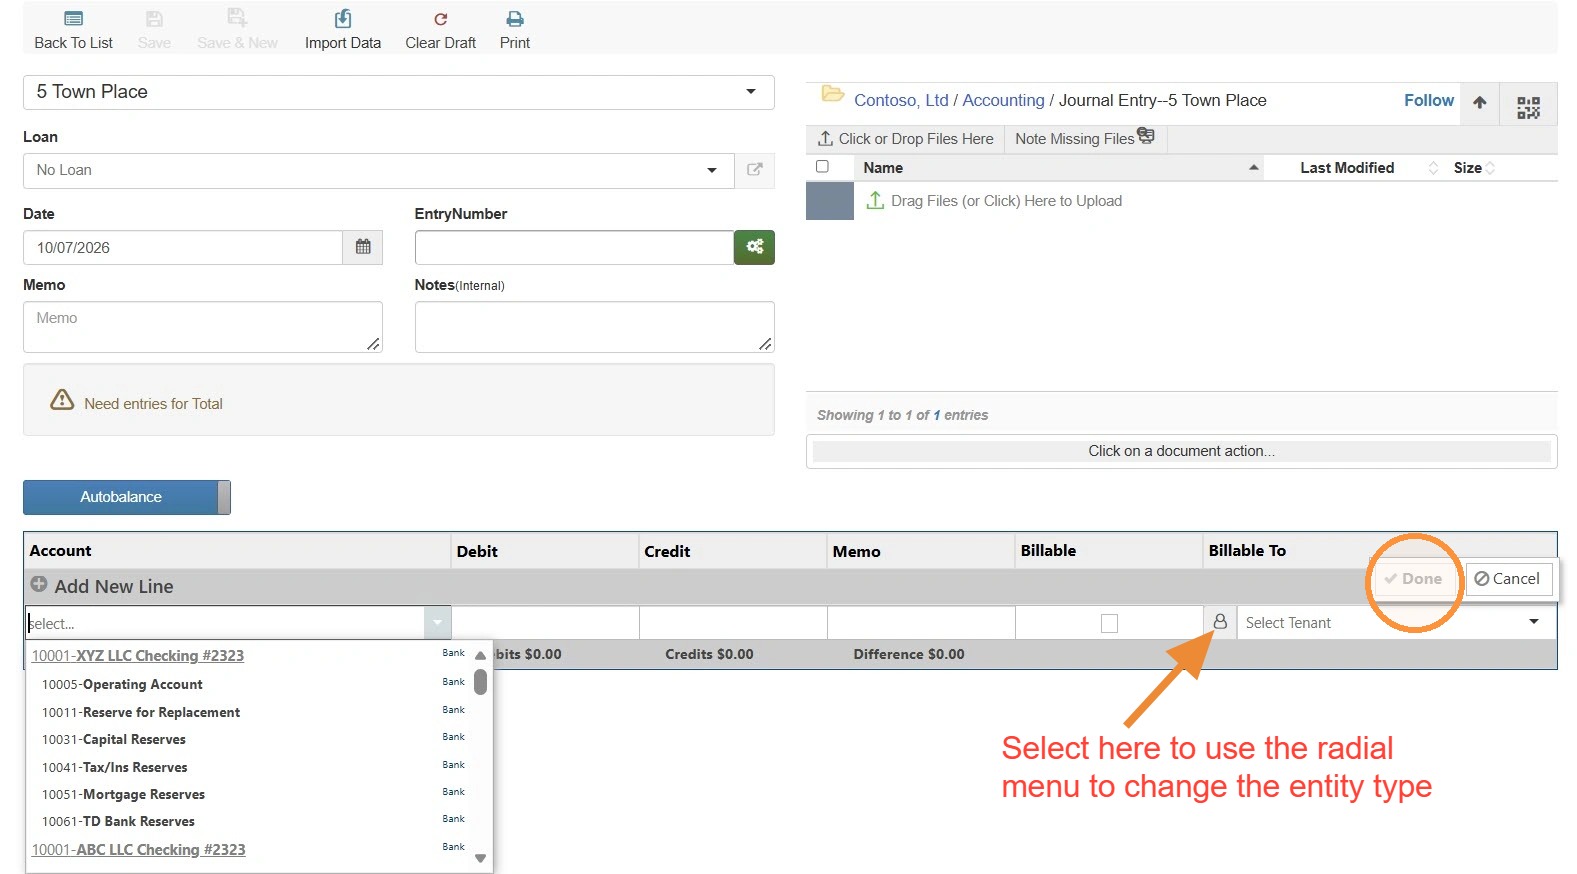
11. Select the Billable To field > Choose the appropriate tenant or entity > Select Done.
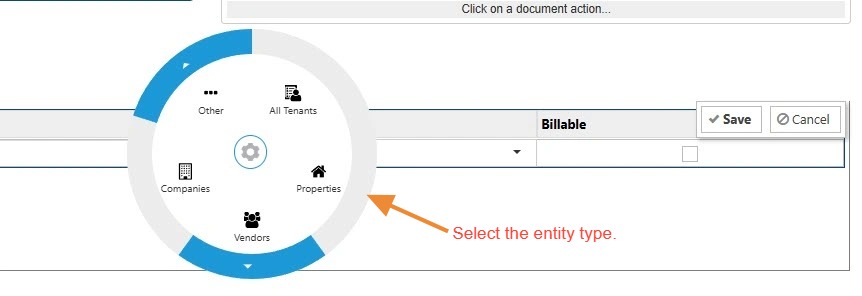
To change the entity type, select the Tenant/Property icon > Select the entity type from the radial menu > The dropdown menu will update.
12. To delete a line entry, hover to the right of Billable To > select the x.
