How to Create and Manage Family Relationships and Tree Views
This guide quickly shows how to build, expand, and tailor a visual family tree for any contact—covering where to access the tool, how to add or edit relationships (including marking divorces), and how to extend links to relatives. It also explains interactive layout controls (drag/drop, zoom/center), saving or resetting custom views, and exporting the tree as a PNG, so you can create accurate, shareable family views efficiently.
How to Access Family Tree for a Contact
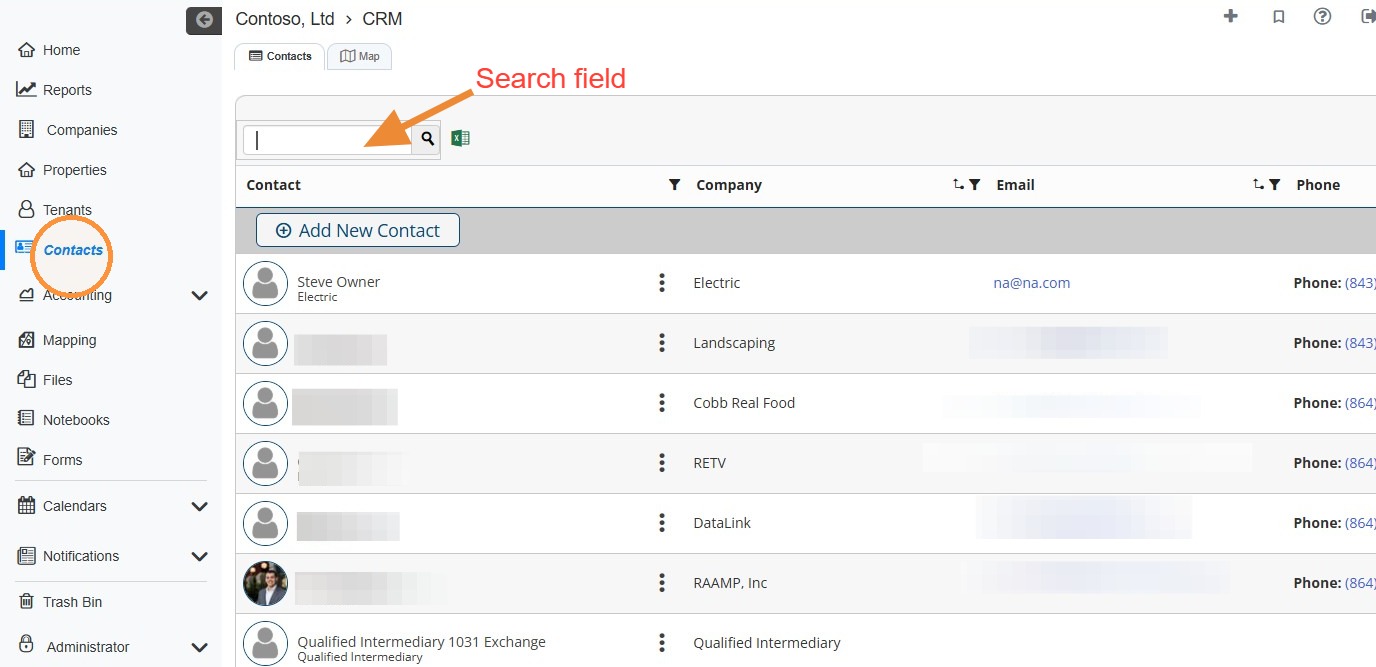
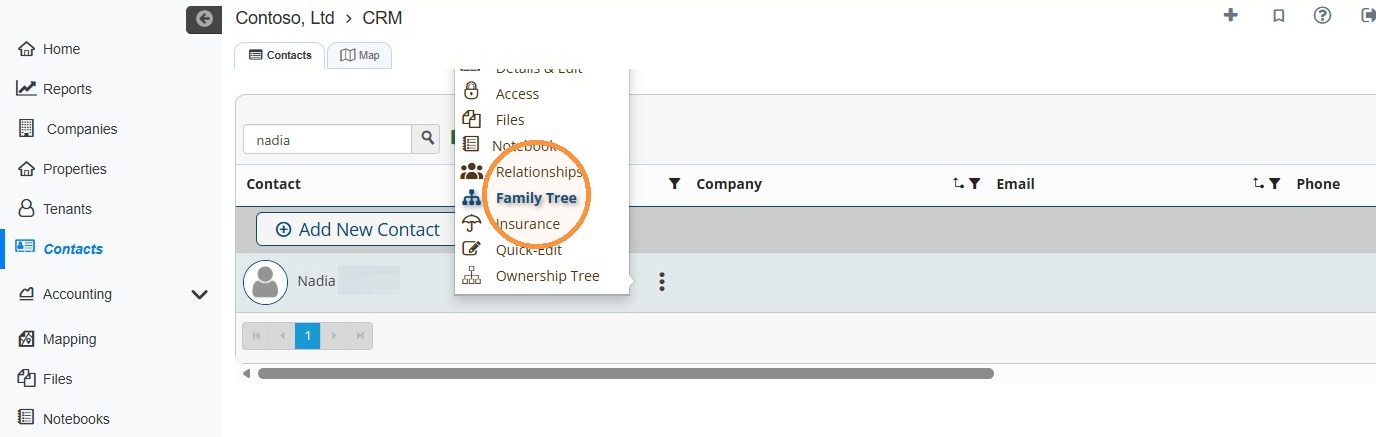
1. Select Contacts from the navigation menu > Locate the contact you want to build a family tree for.
Note: You can locate the contact quickly by searching for them.
Tip: Need to add a new contact? See this tutorial:
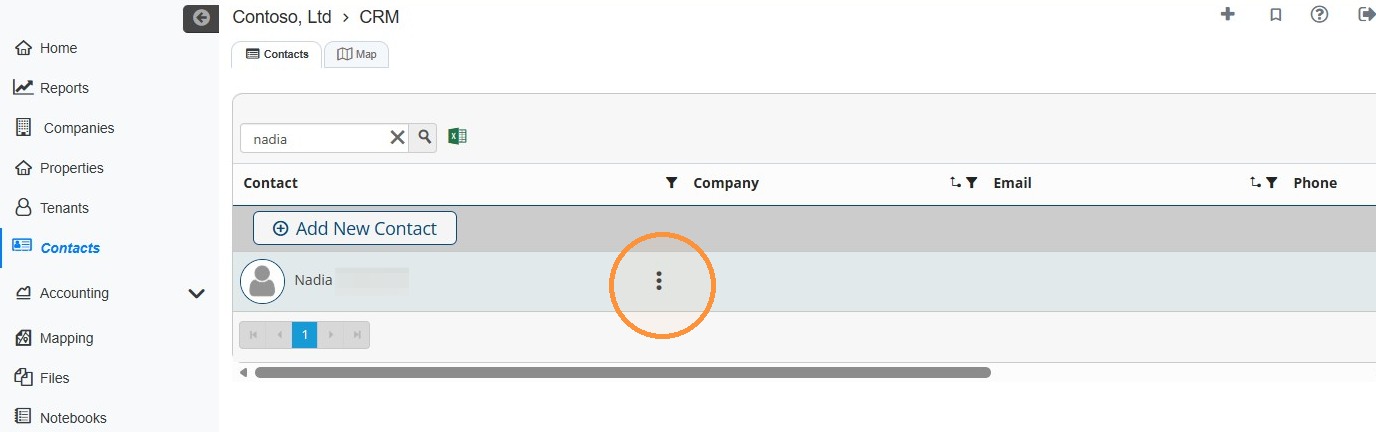
2. Select the contact's three-dot menu > Select Family Tree.
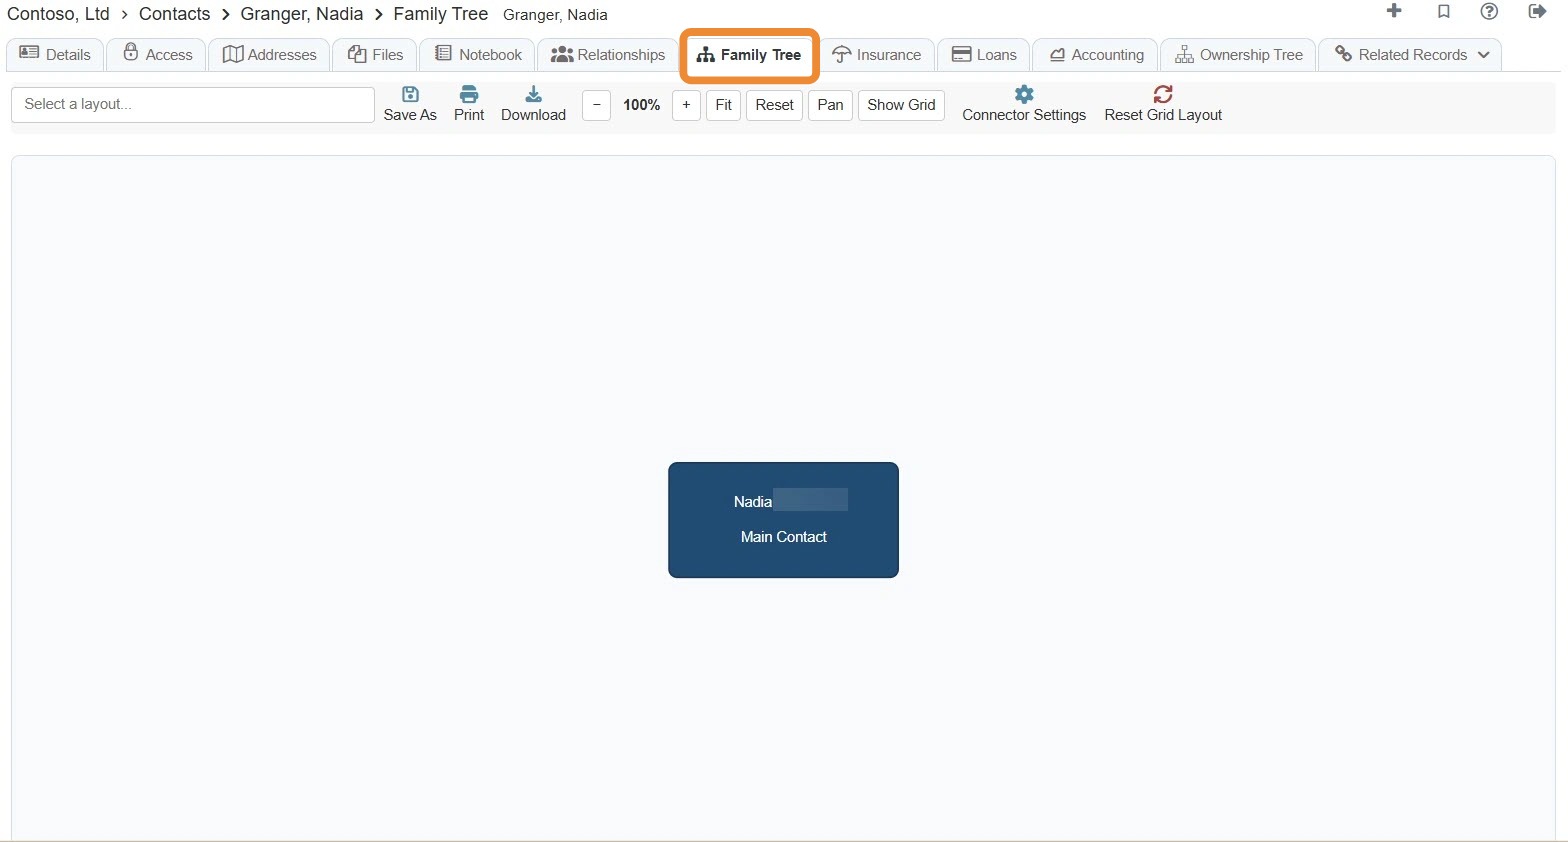
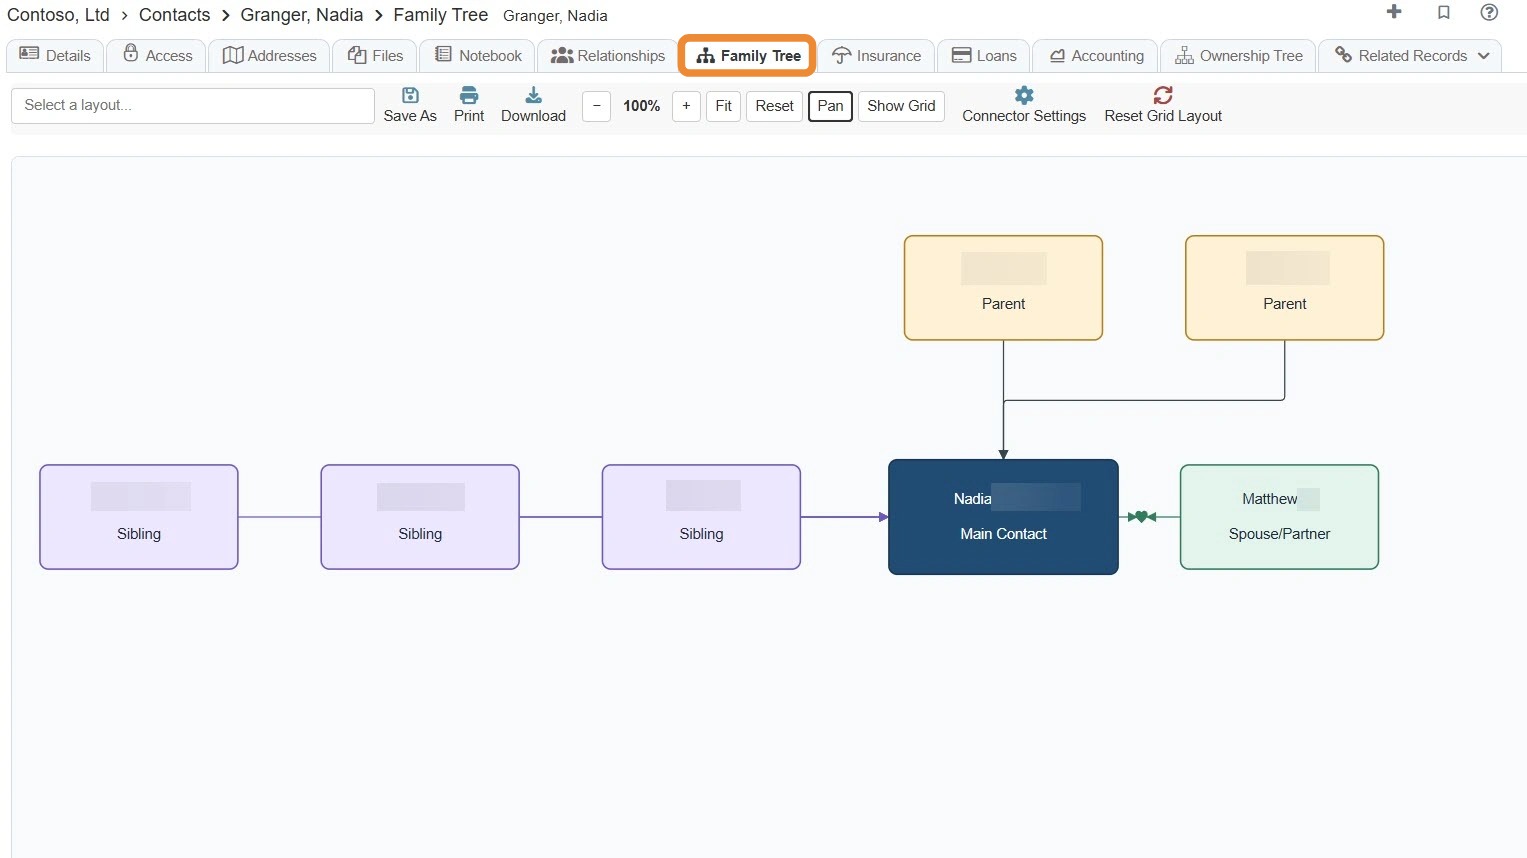
3. View of the Family Tree tab.
How to Setup Initial Relationship(s)
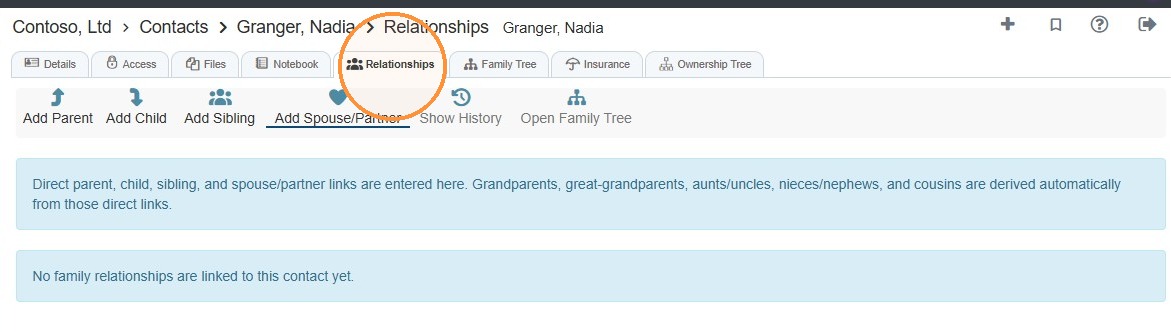
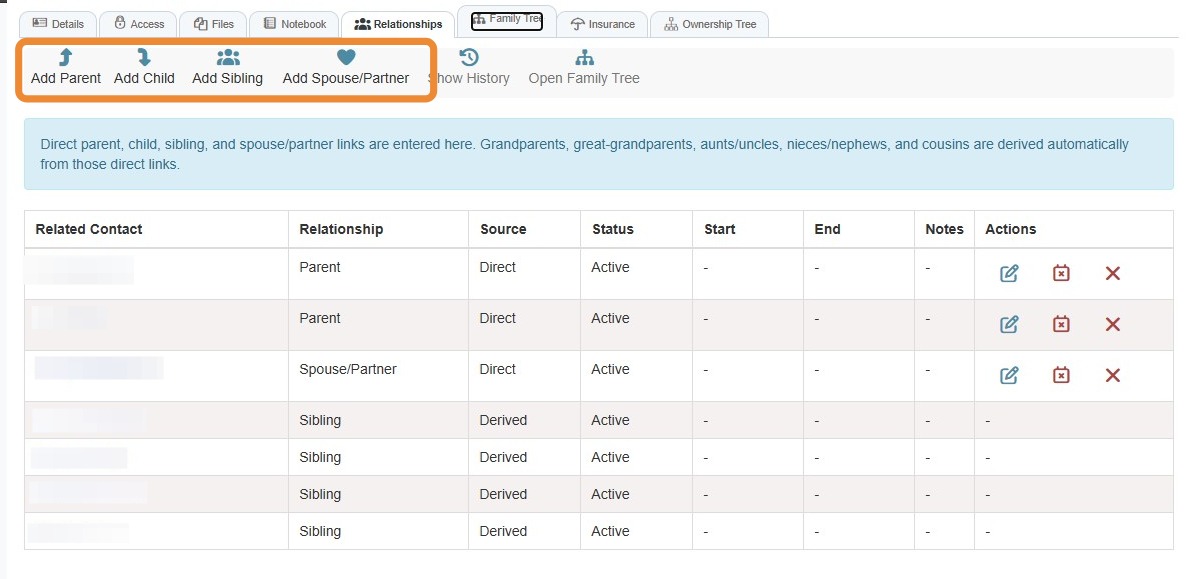
4. To add relationships, select the Relationships tab.
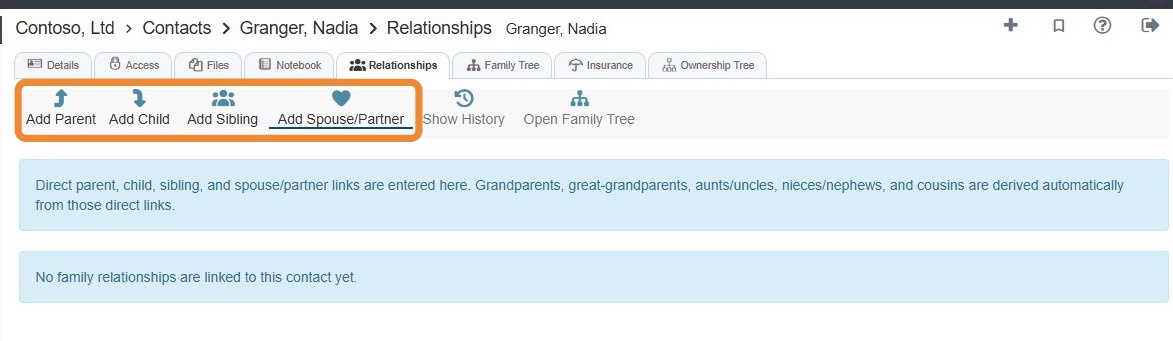
5. Select the relationship you'd like to add.
6. Enter the required information > Select Save Relationship.
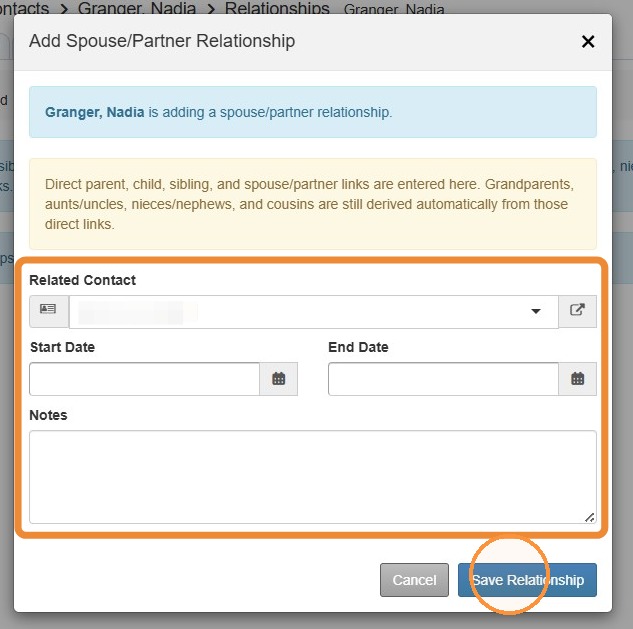
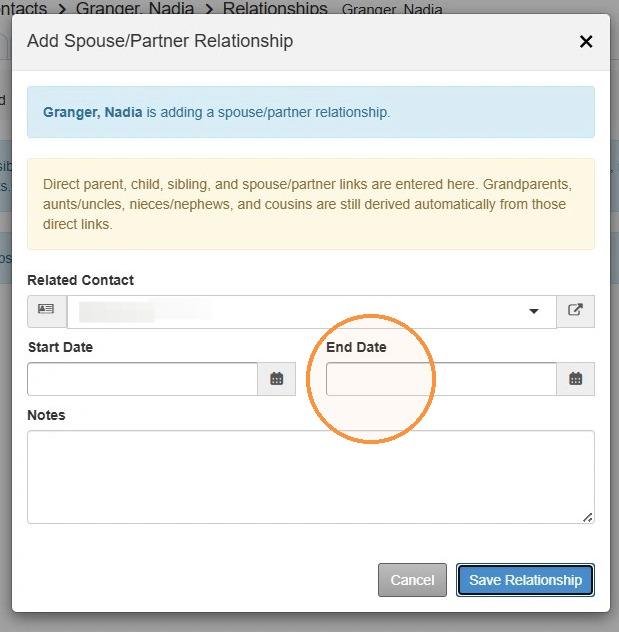
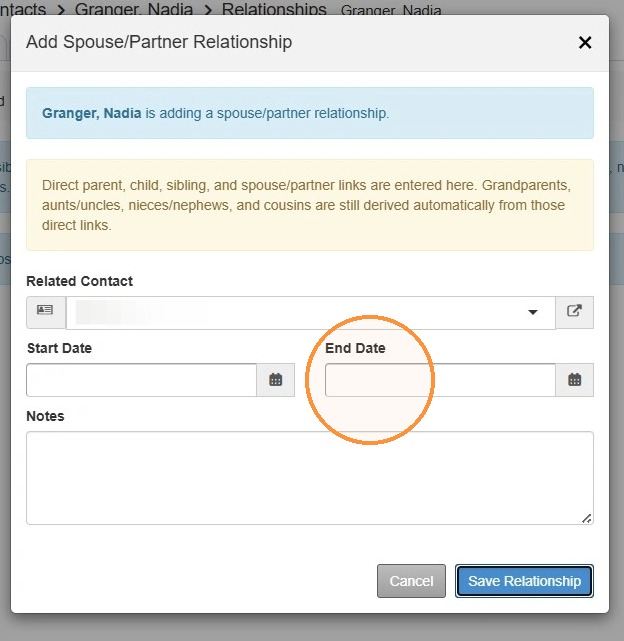
Alert: When adding a divorced spouse, ensure you enter an end date to indicate that the marriage is no longer active on the family tree.
7. Continue to add relationships using the options at the top.
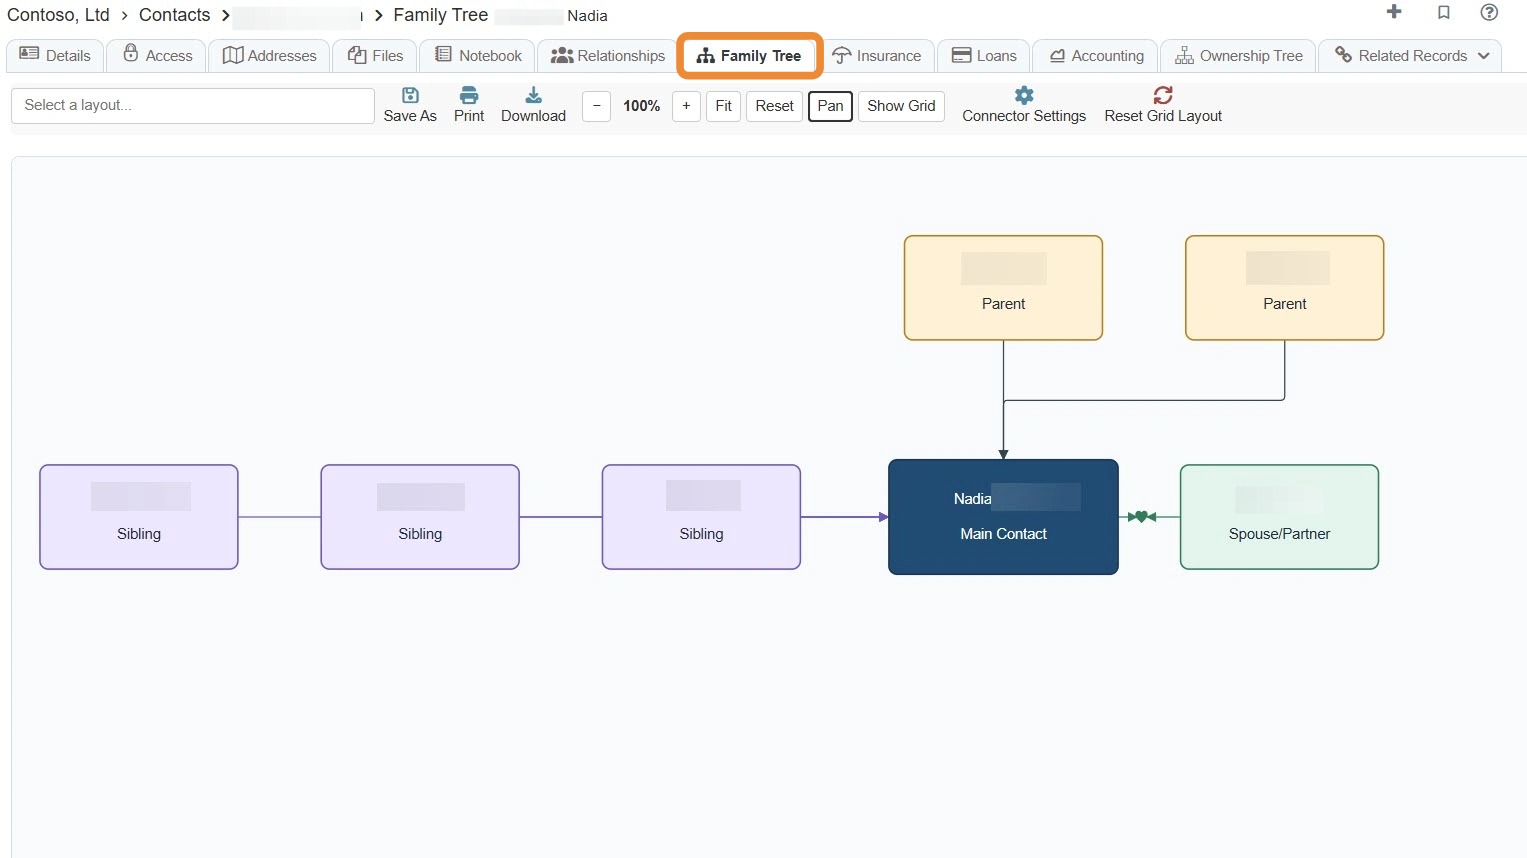
8. To view the family tree, select the Family Tree tab.
How to Configure Extended Family
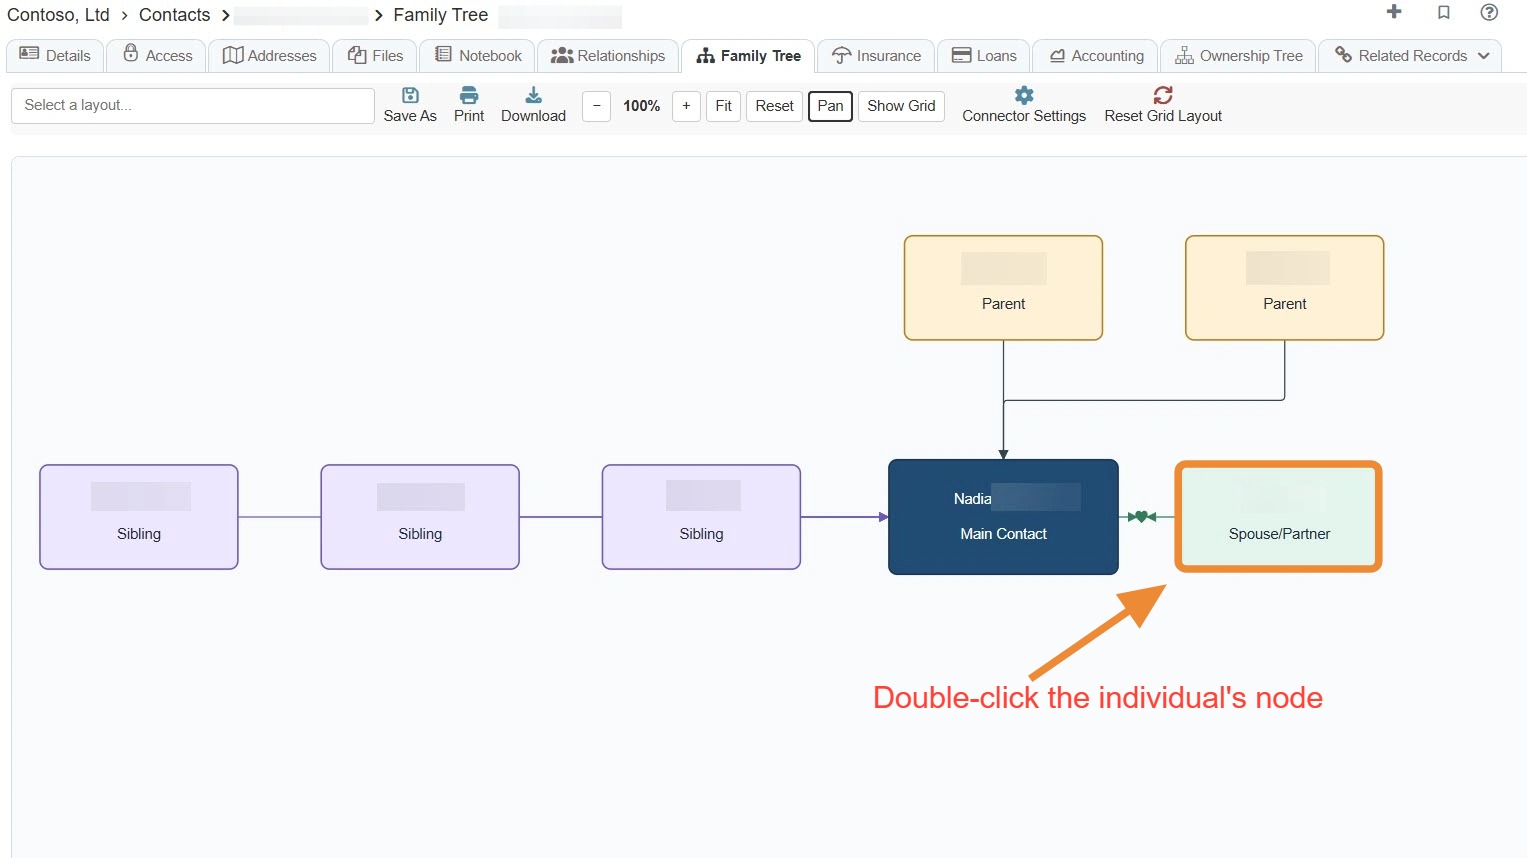
9. Double-click an individual's node.\ \ NOTE: A new browser tab will open for the selected contact.
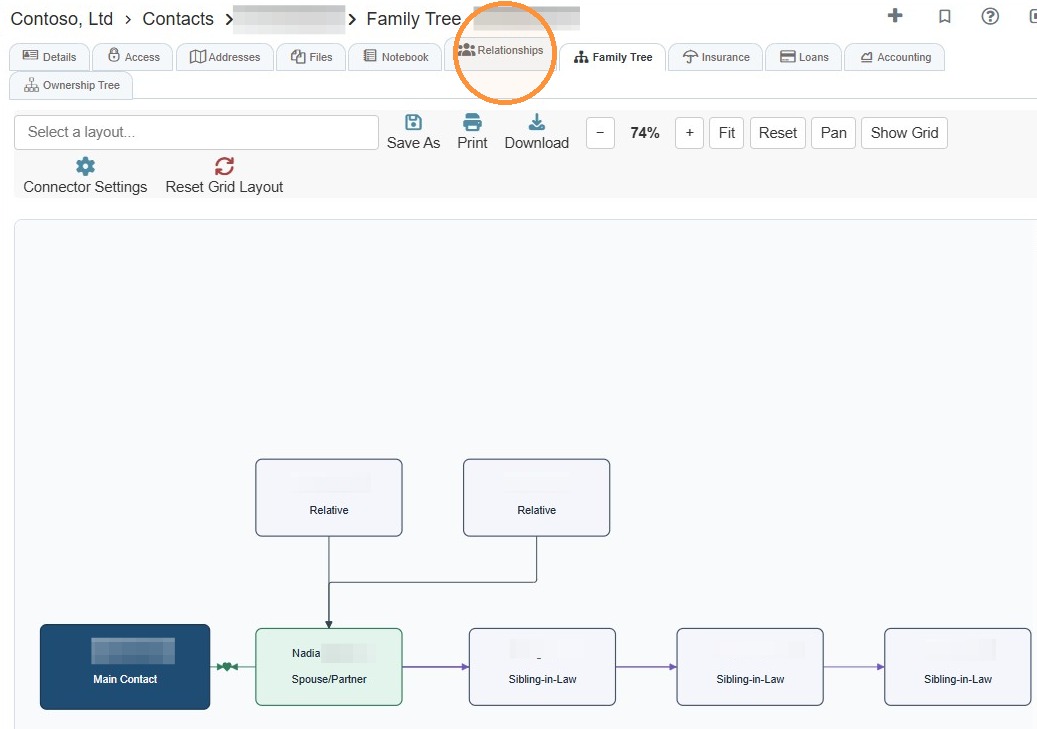
10. Select the Relationships tab.
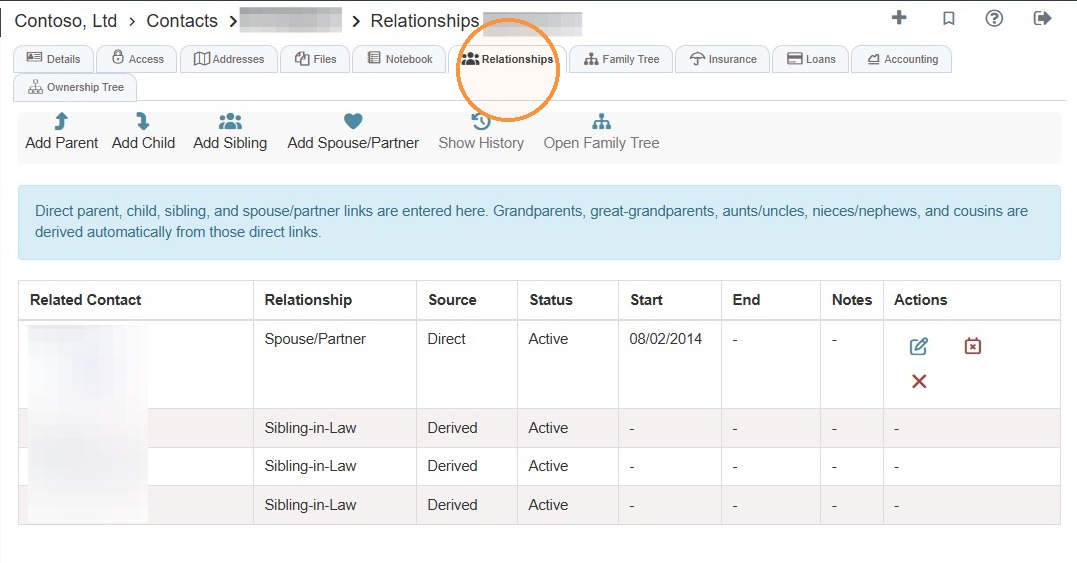
11. Select the relationship you'd like to add.
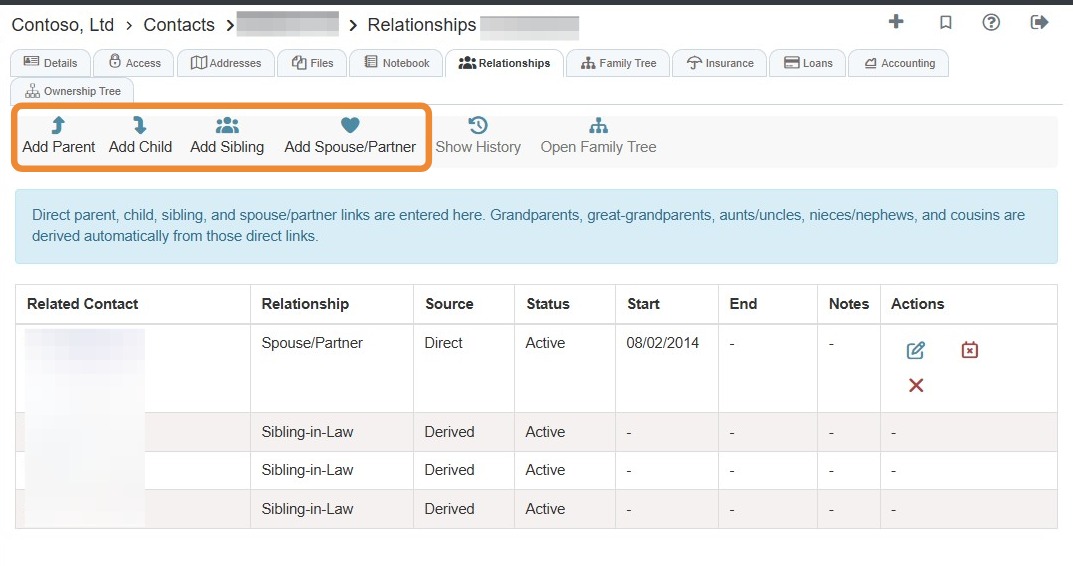
12. In the relationship box, complete the required information > Select Save Relationship.
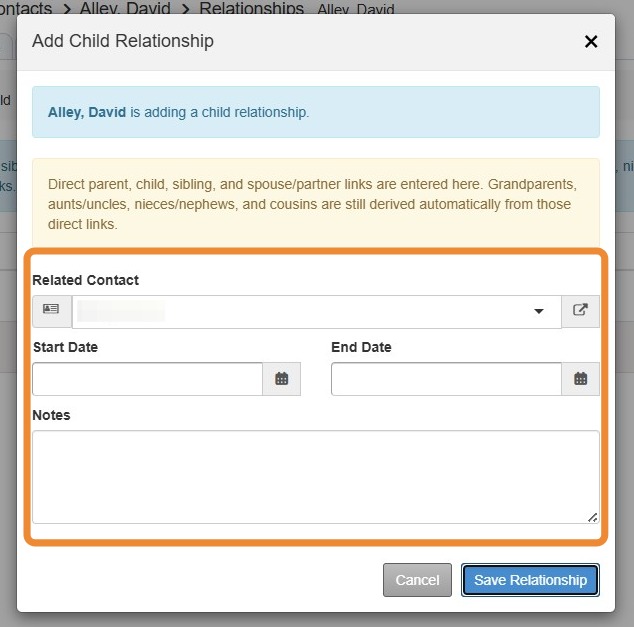
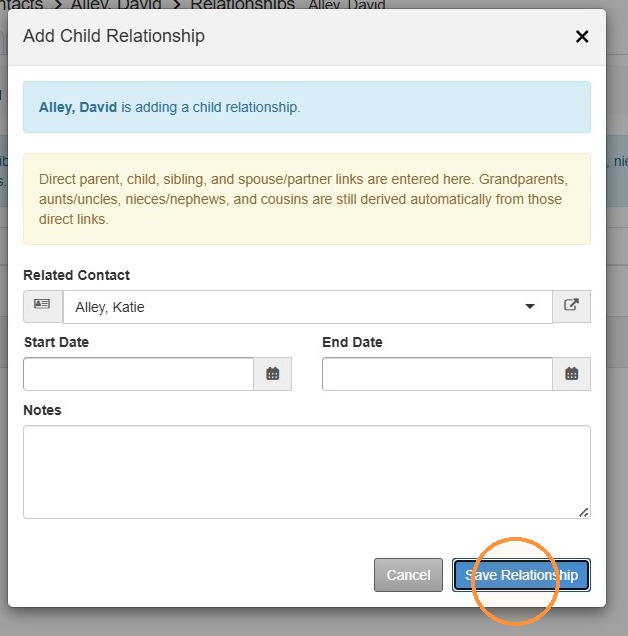
Alert: When adding a divorced spouse, ensure you enter an end date to indicate that the marriage is no longer active on the family tree.
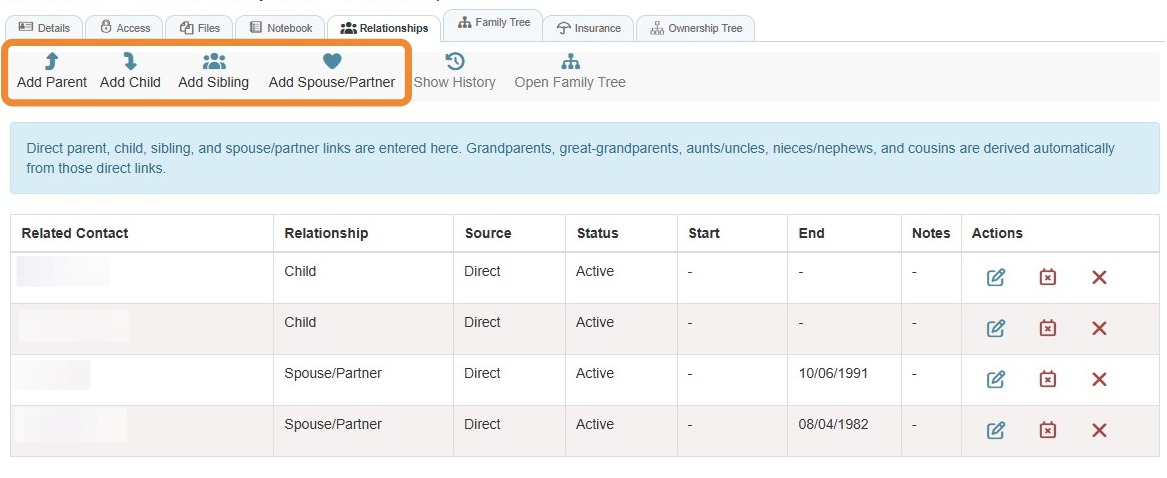
13. Continue to add relationships using the options at the top.
14. To view the family tree, select the Family Tree tab.
How to Customize the Family Tree
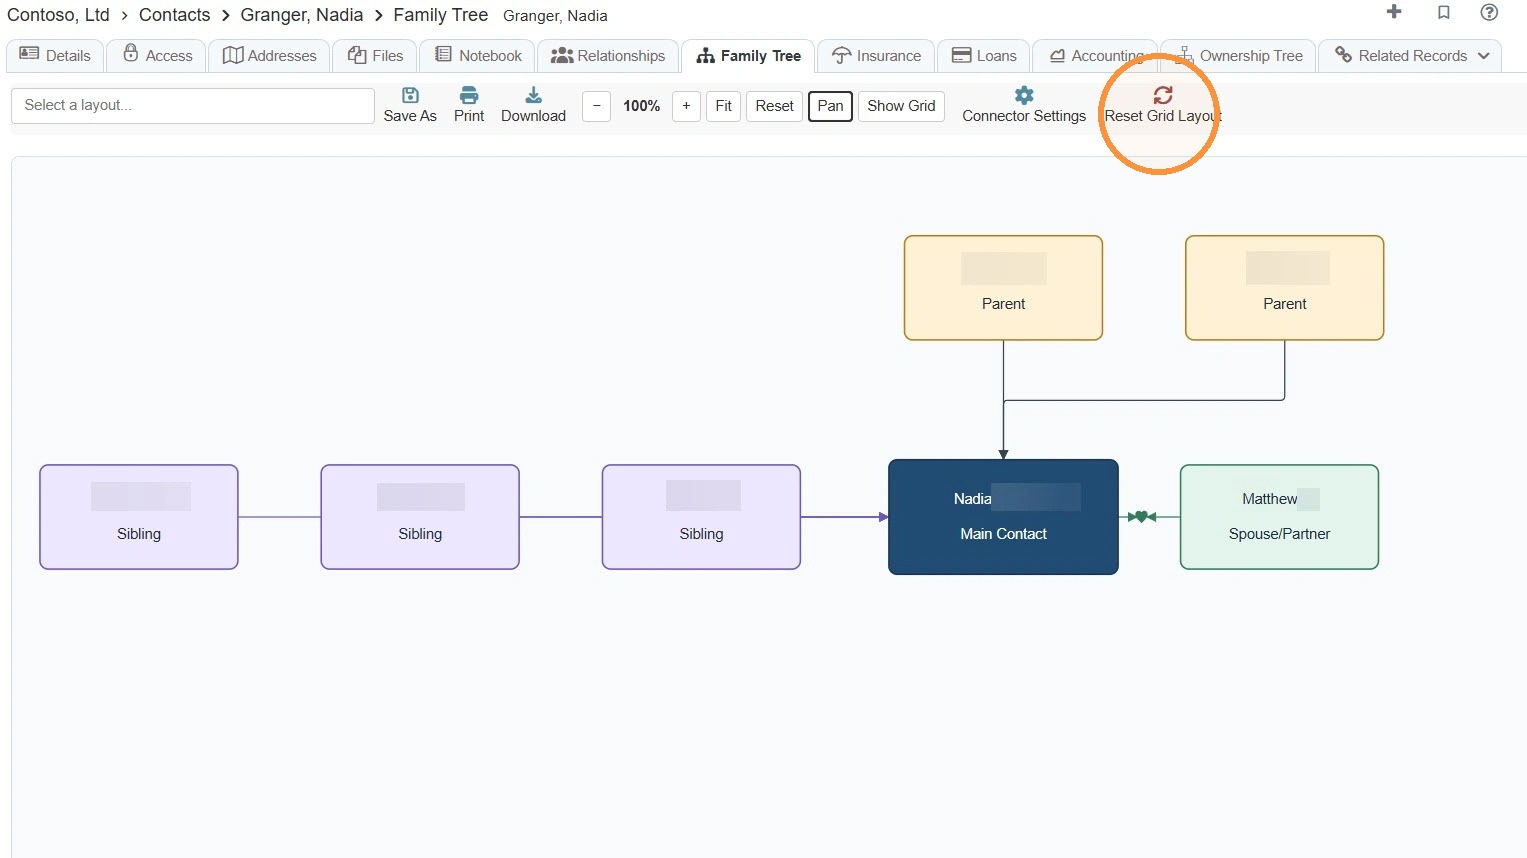
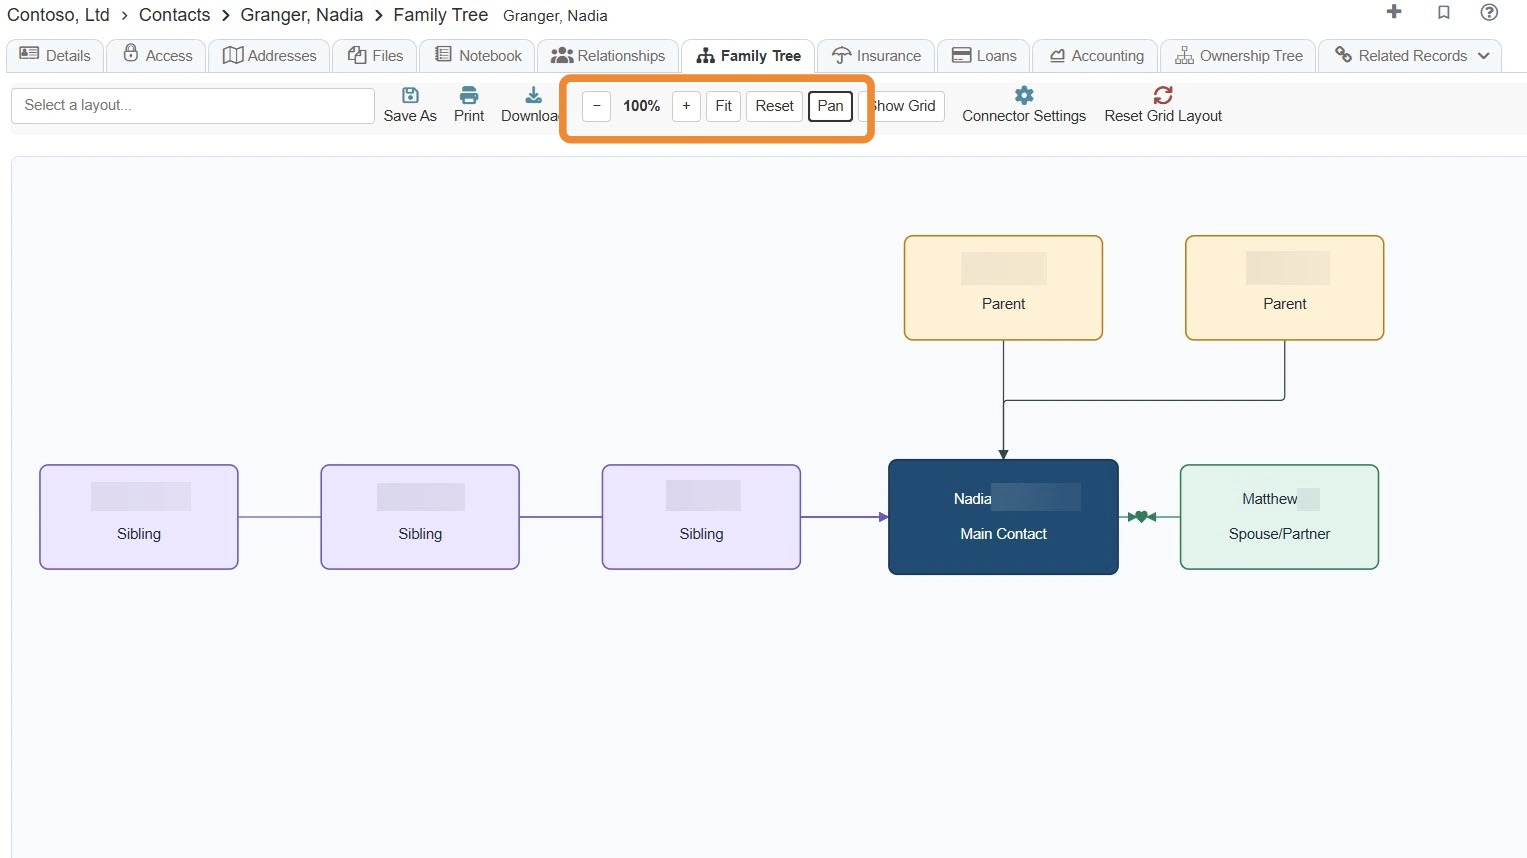
15. Zoom Tools:
- - (Zoom out) or + (Zoom in) will make the family tree small or larger.
- Fit: Resizes the tree so the entire diagram fits within the viewing area
- Reset: Returns the tree to the default zoom and viewing position
- Pan: Lets you click and drag to move around the family tree
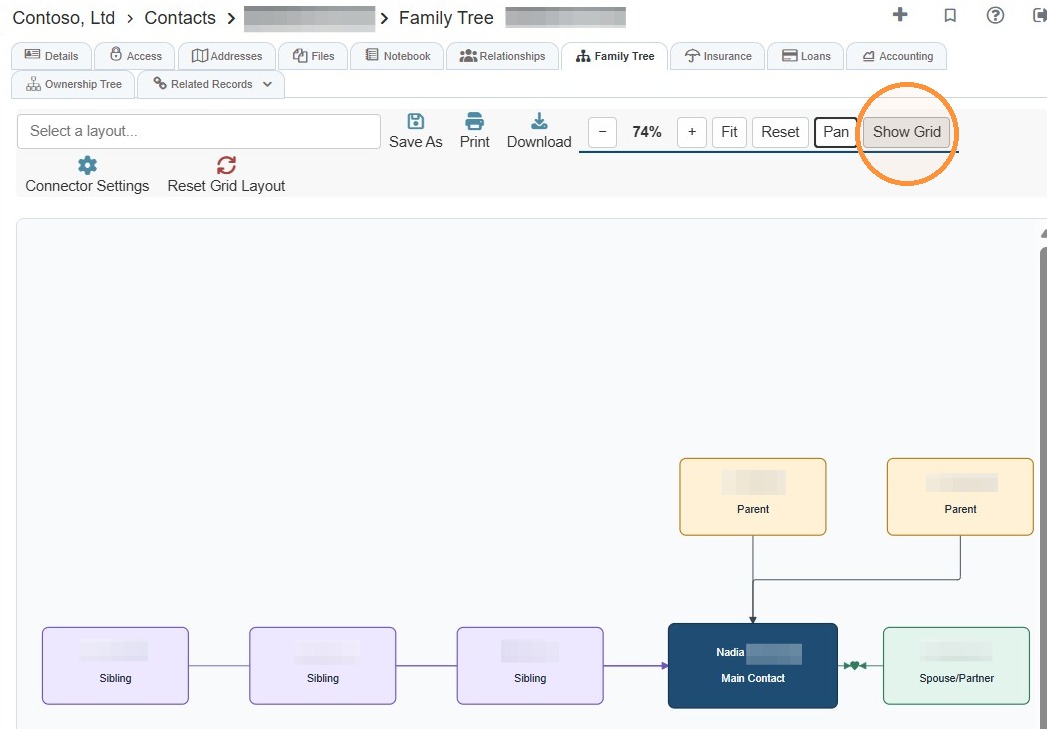
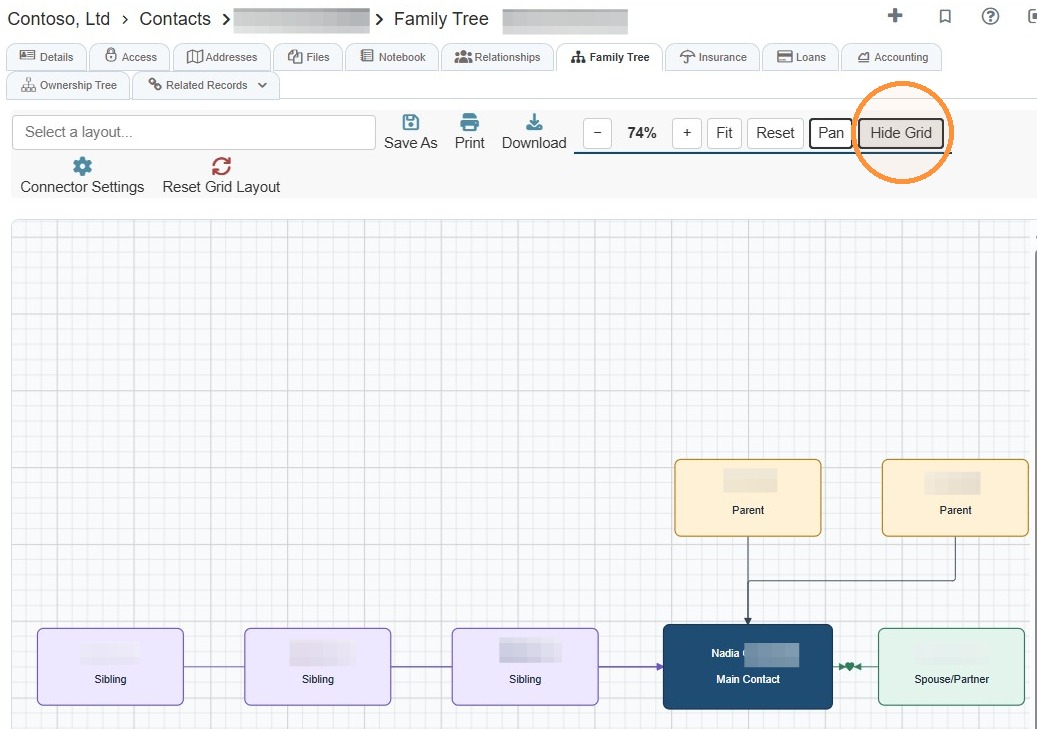
16. Show/Hide Grid: Displays or hides a background grid to help align items.
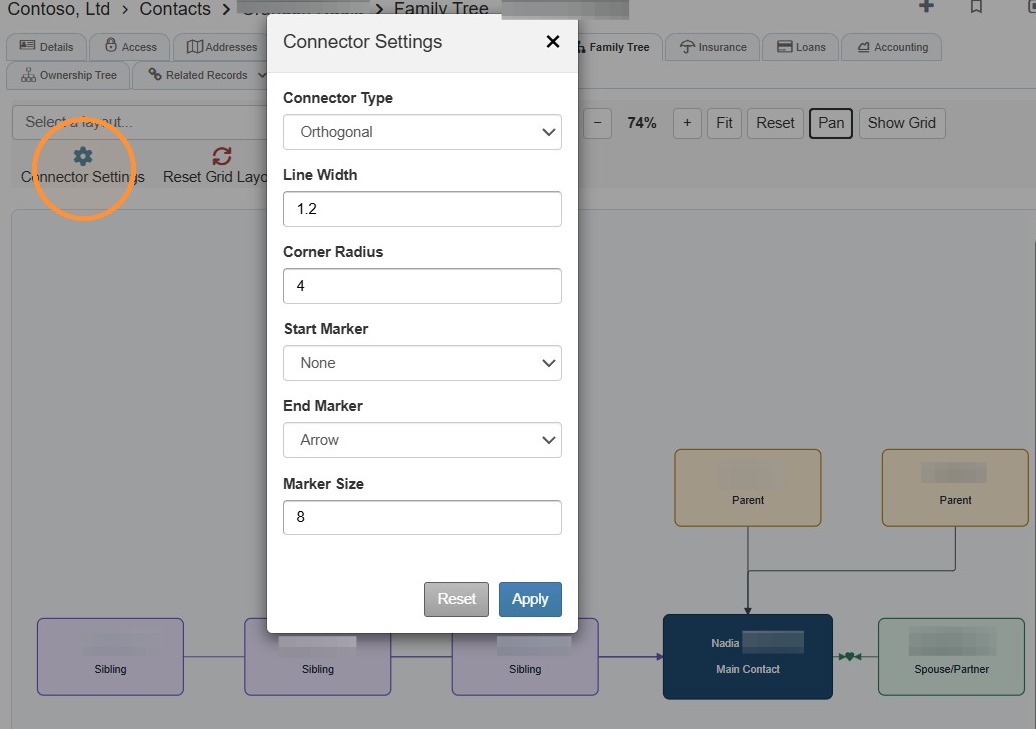
17. Connector Settings: Changes the appearance and layout of the lines connecting family members.
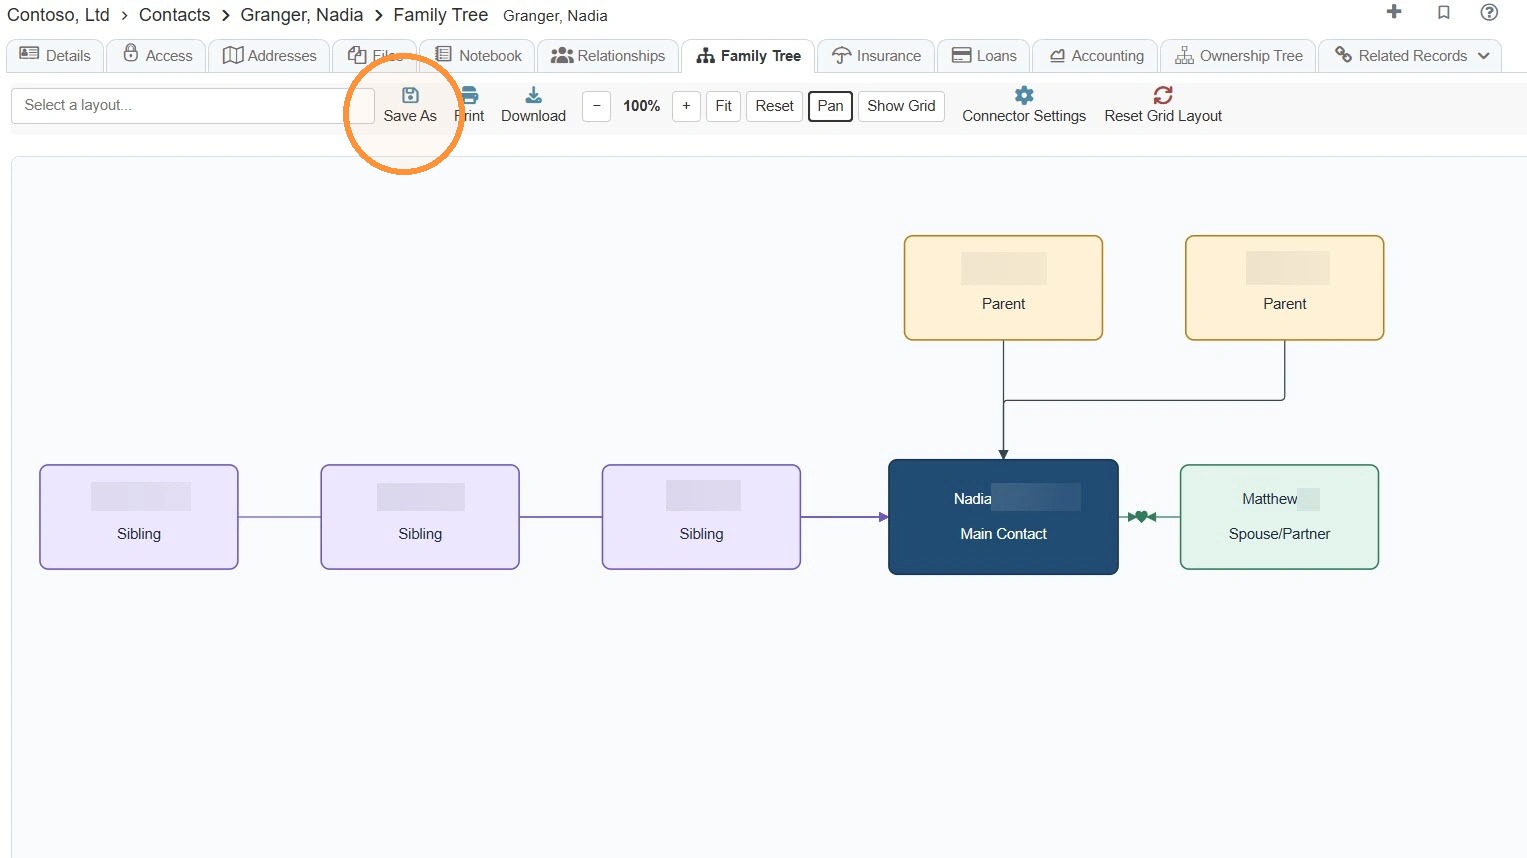
18. To save a specific view/layout of the family tree:
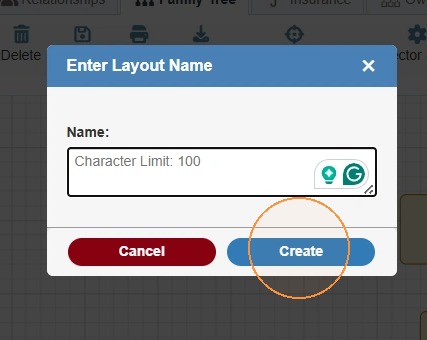
Select Save As > Enter the layout name > Select Create. The saved layout can be found in the dropdown menu.

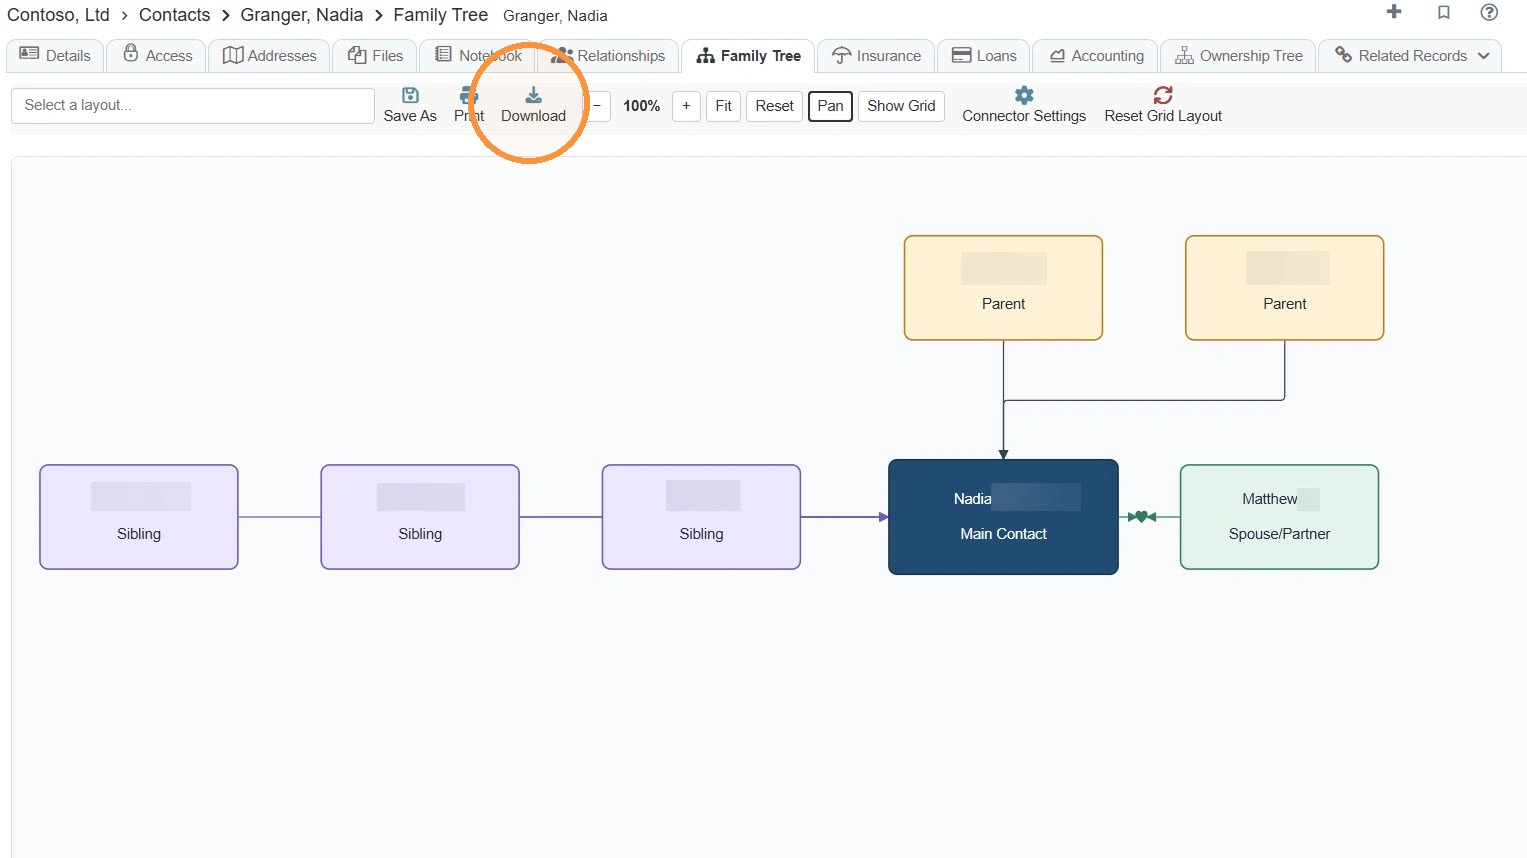
19. Selecting Download will provide a PNG file of the family tree.
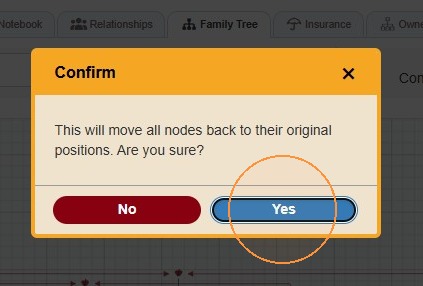
20. Select Reset Grid Layout > Select Yes to return to the original layout.