How to Exit Tenant Lease/Move Out Tenant
This guide prevents accounting errors and compliance issues when ending a tenant’s lease by walking you through how to mark a lease exited, enter move-out details, and verify the tenant’s status afterward. It highlights critical pre-exit checks—outstanding balances, held security deposits, and forwarding address—and explains how to undo an accidental exit and handle re-leases.
How to Navigate to Tenants Tab
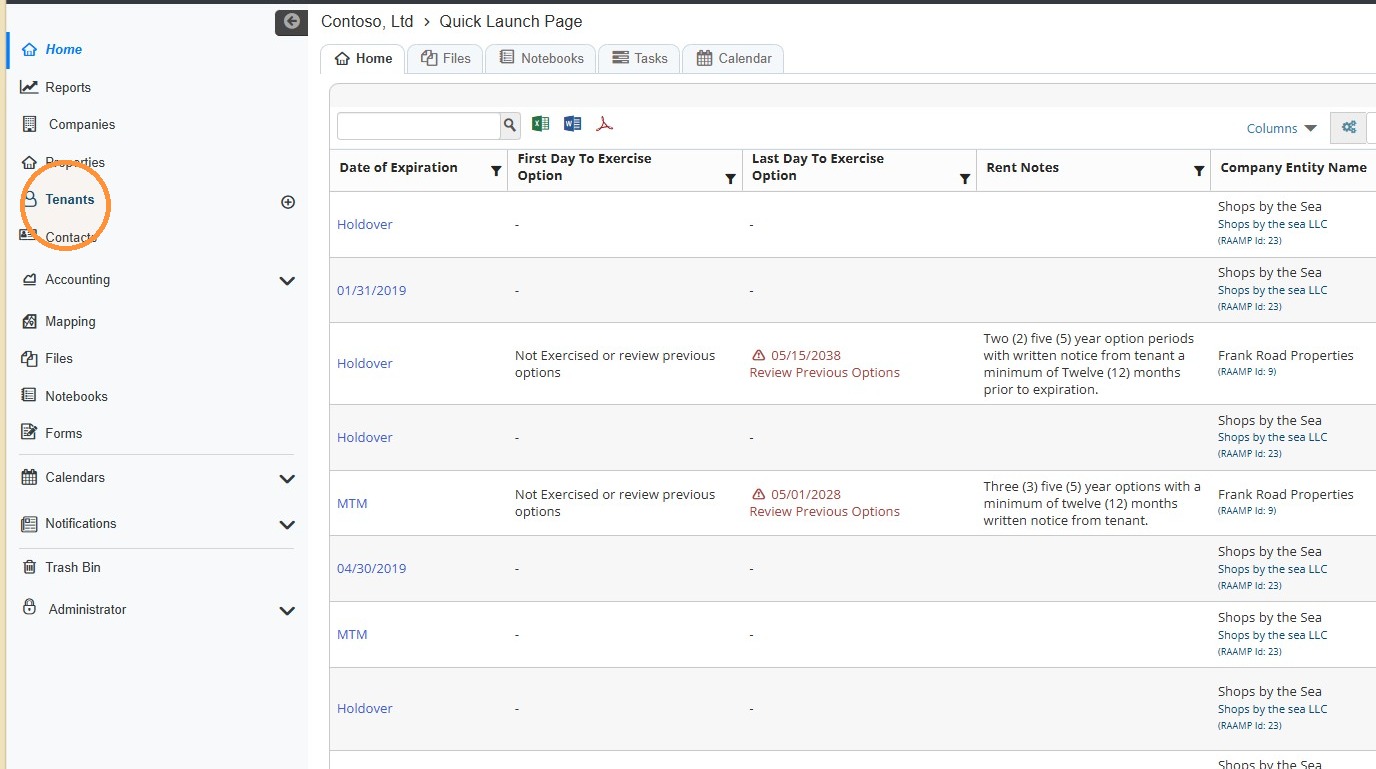
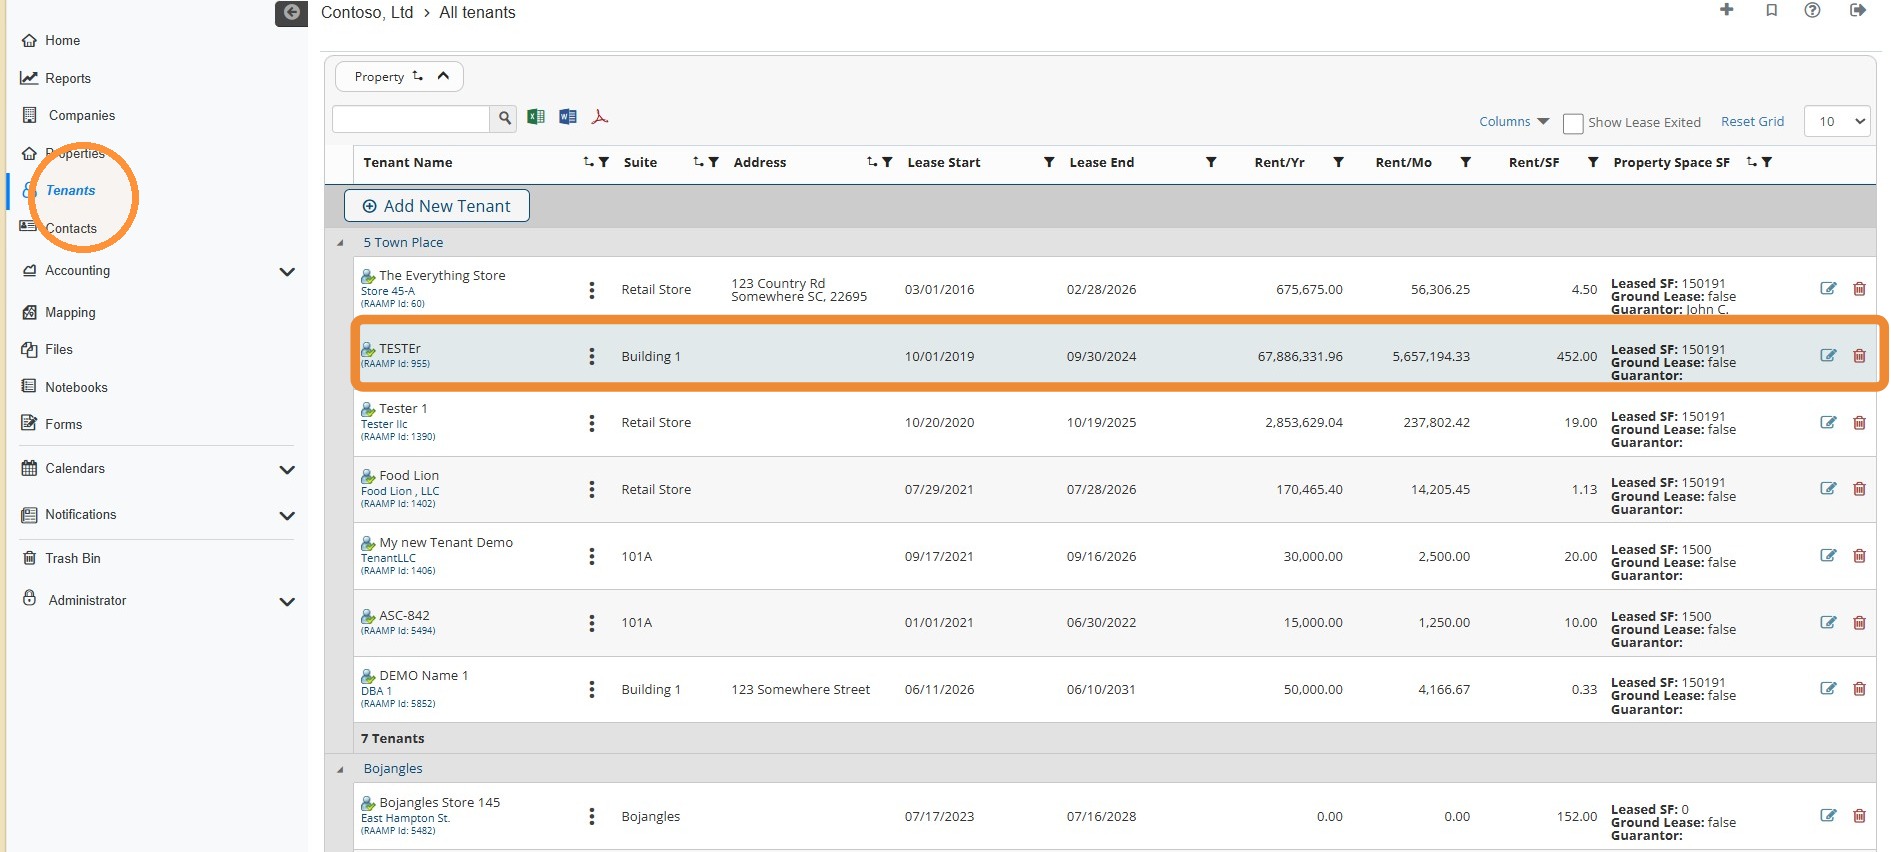
1. From the navigation menu, select Tenants.
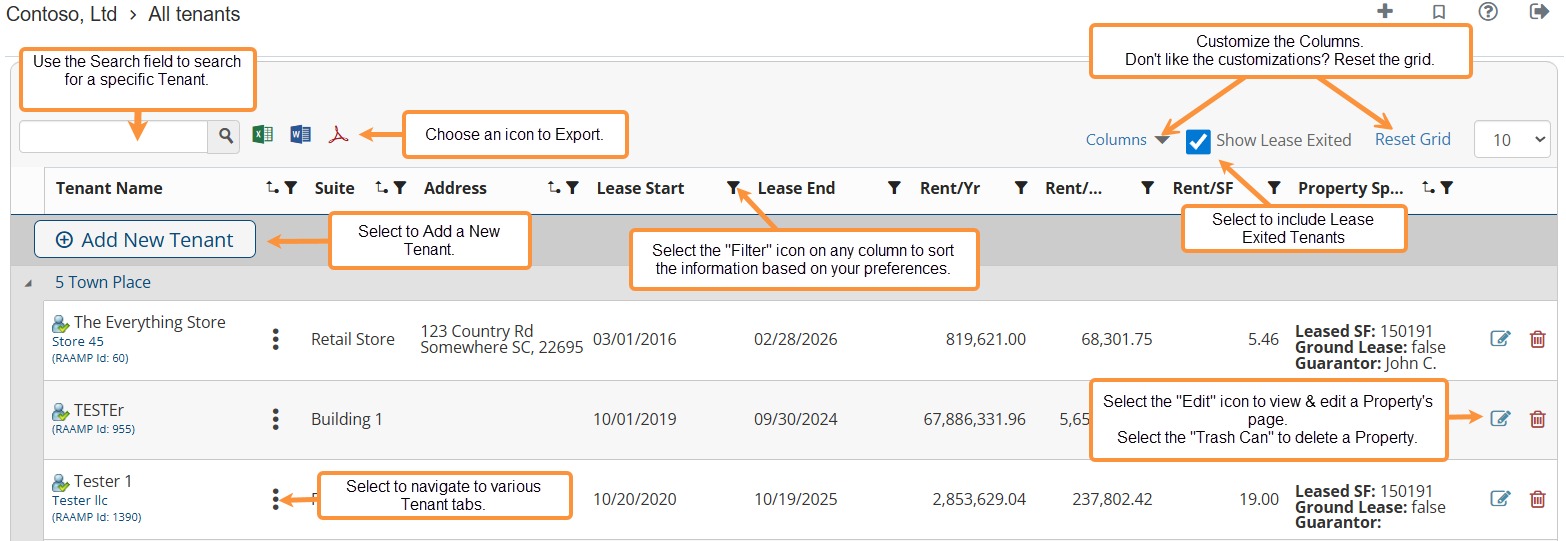
2. Tenant Overview
How to Update Lease Status
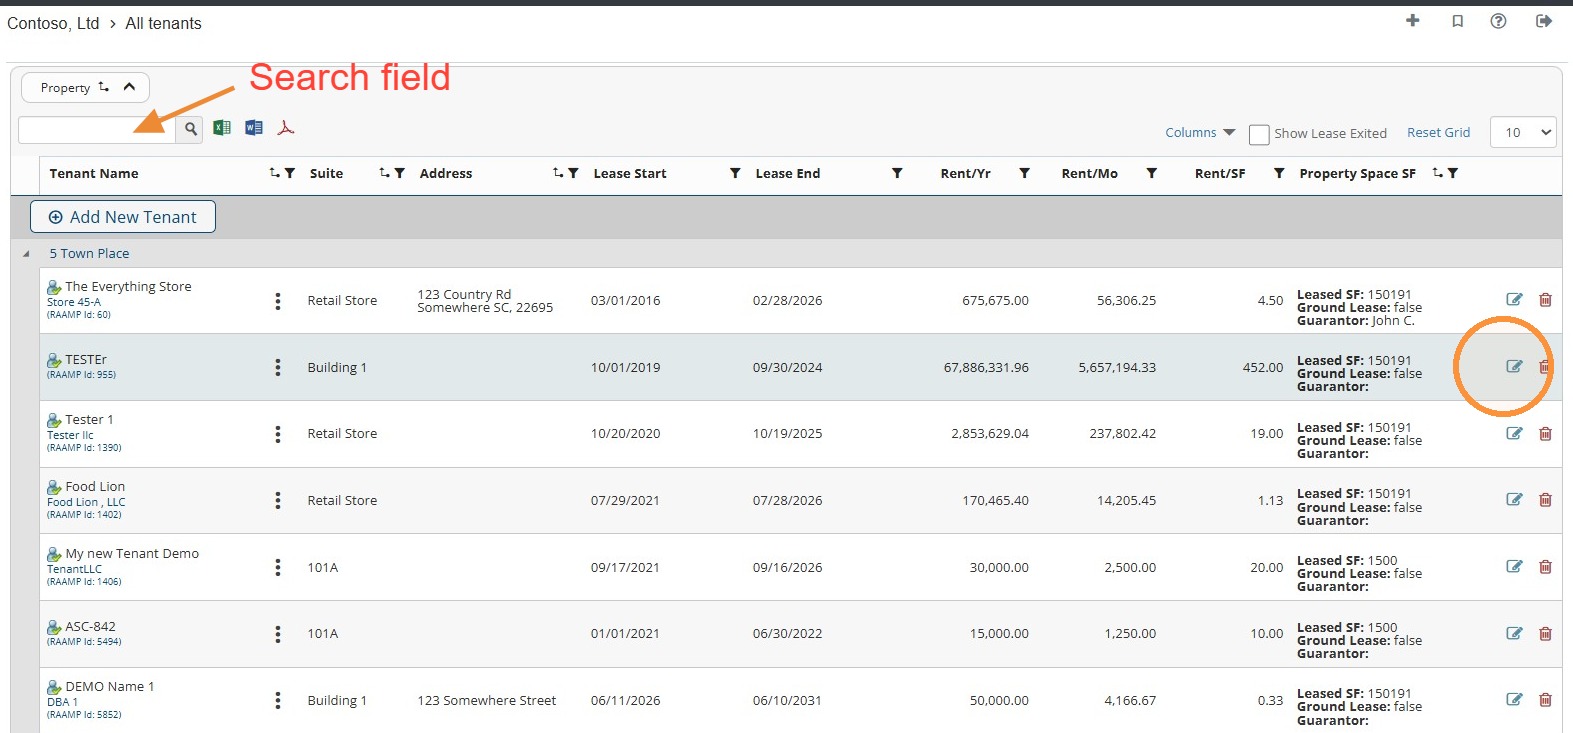
3. Locate the preferred tenant > Select the Edit icon.\ \ NOTE: You can locate the Tenant quickly by searching for it.
Alert: ⚠️ Before exiting the lease, confirm the following:
Does the tenant have a remaining ledger balance?
- If a tenant has a credit balance that needs to be applied to a different lease record, credits cannot be transferred directly between lease ledgers.
- Instead, reverse the applicable charges and payments on the original lease and re-enter them on the appropriate lease record to maintain accurate accounting and avoid duplicating income.
Are there security deposit funds still held?
- Is a forwarding address on file?
👉 It is strongly recommended to resolve or verify these items before completing the move-out/lease exit to ensure accounting and compliance accuracy.
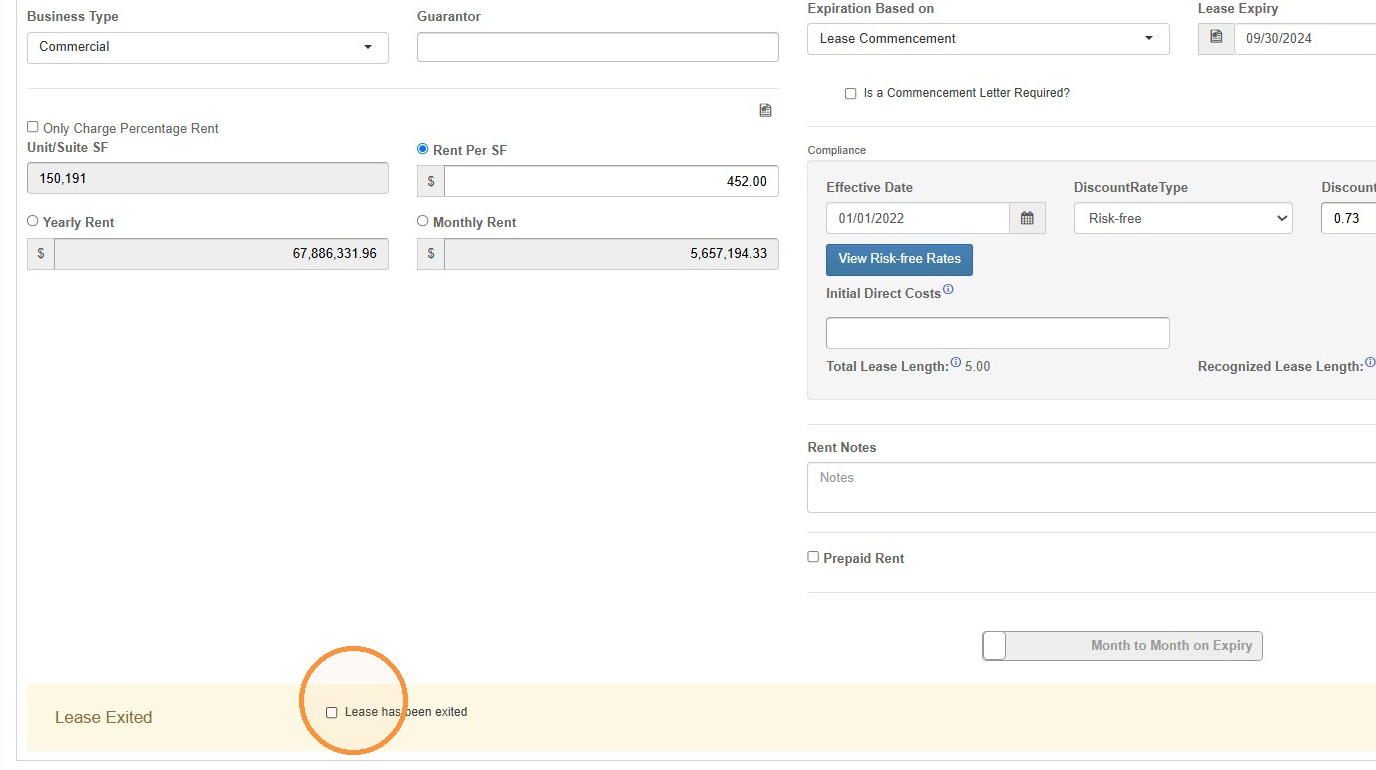
4. Select Lease has been exited.
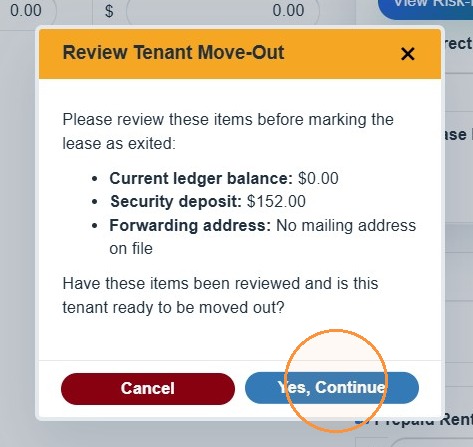
5. Review the Tenant Move-Out information > Select Yes, Continue to proceed with the move-out.
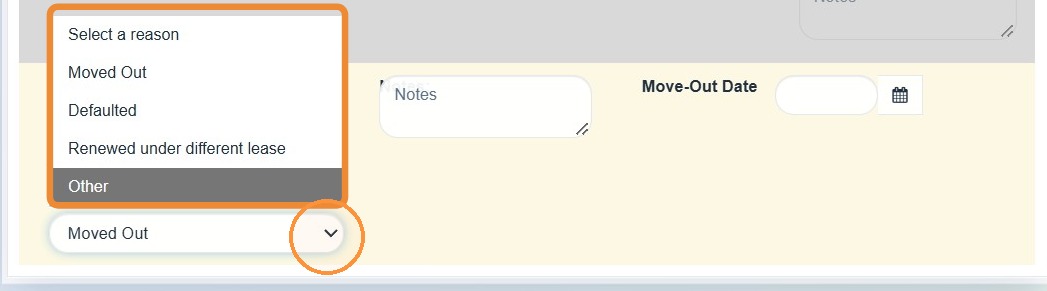
6. Select a move-out reason.
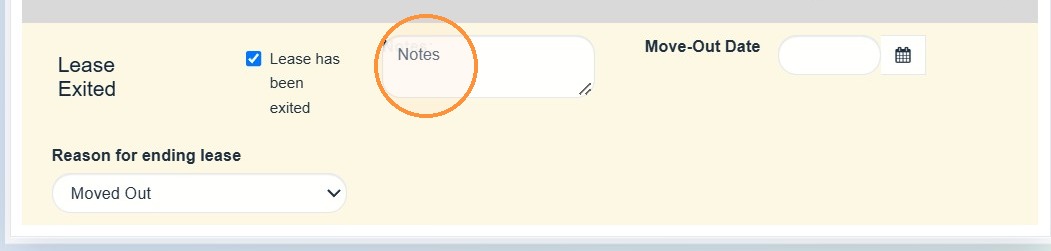
7. Select the Notes field> Enter required notes.
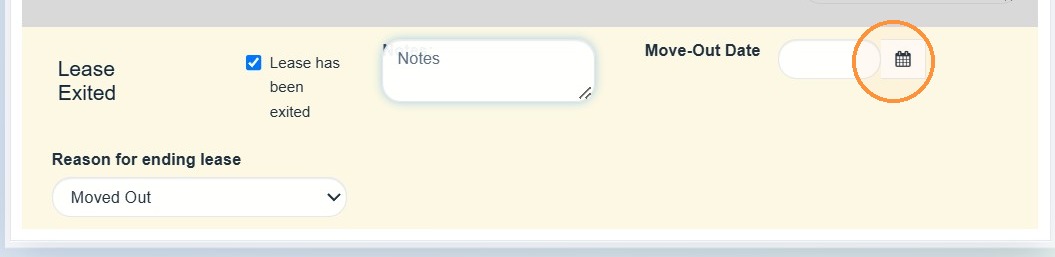
8. Select the Move-Out Date field > Enter the tenant's move-out date.
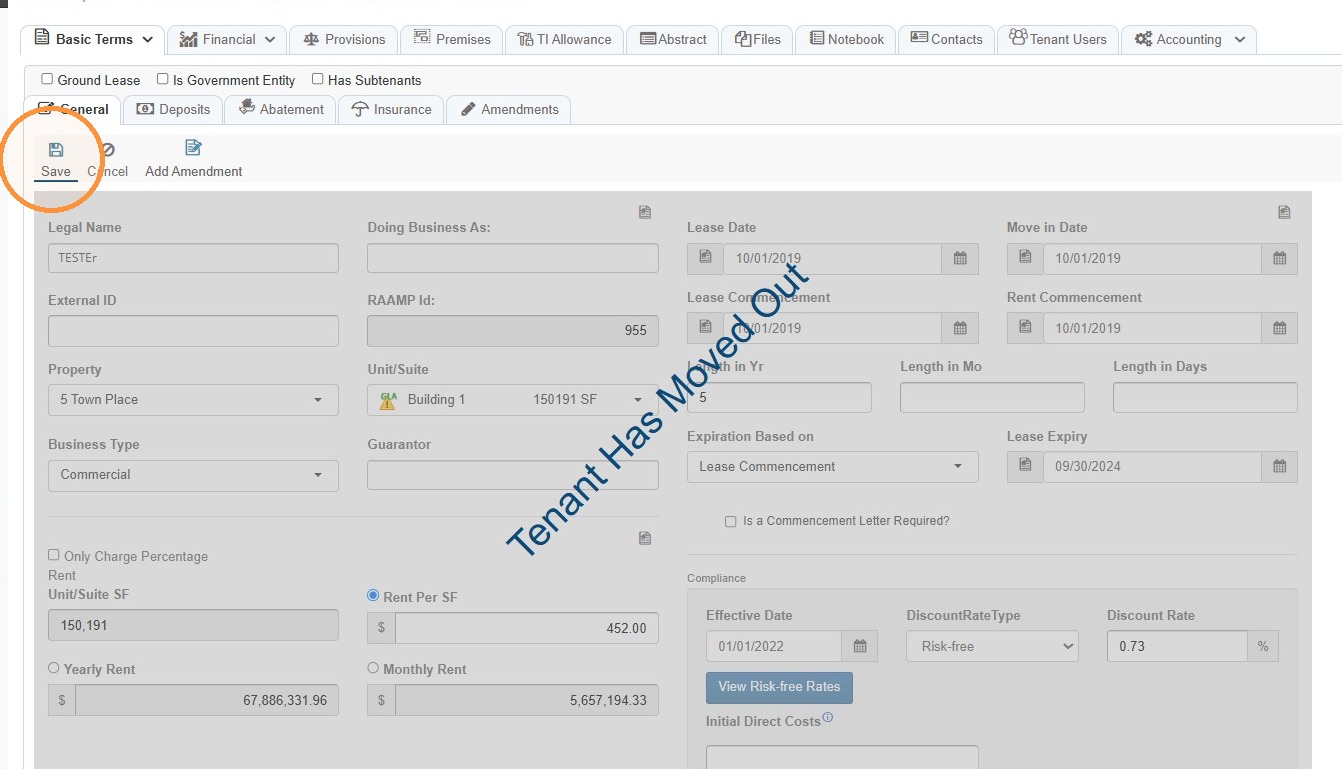
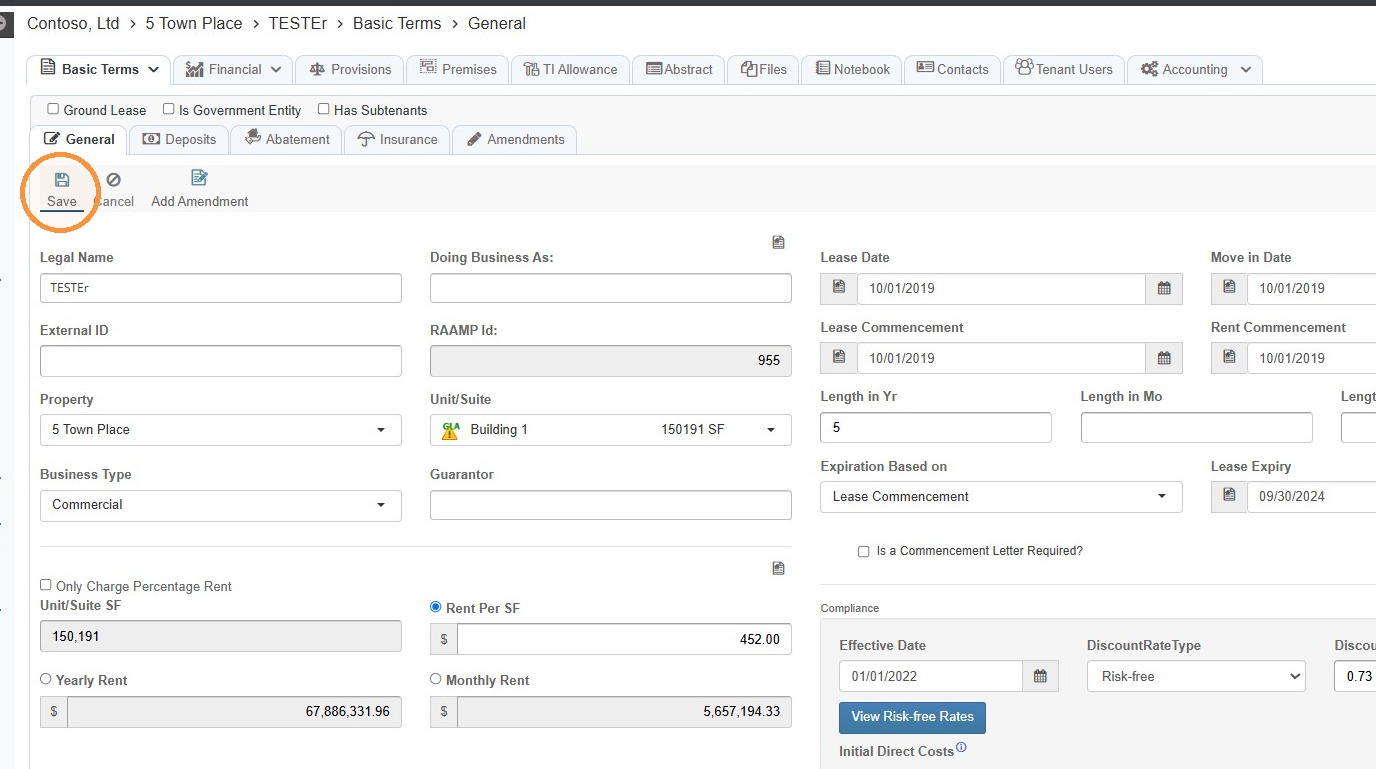
9. Select Save.
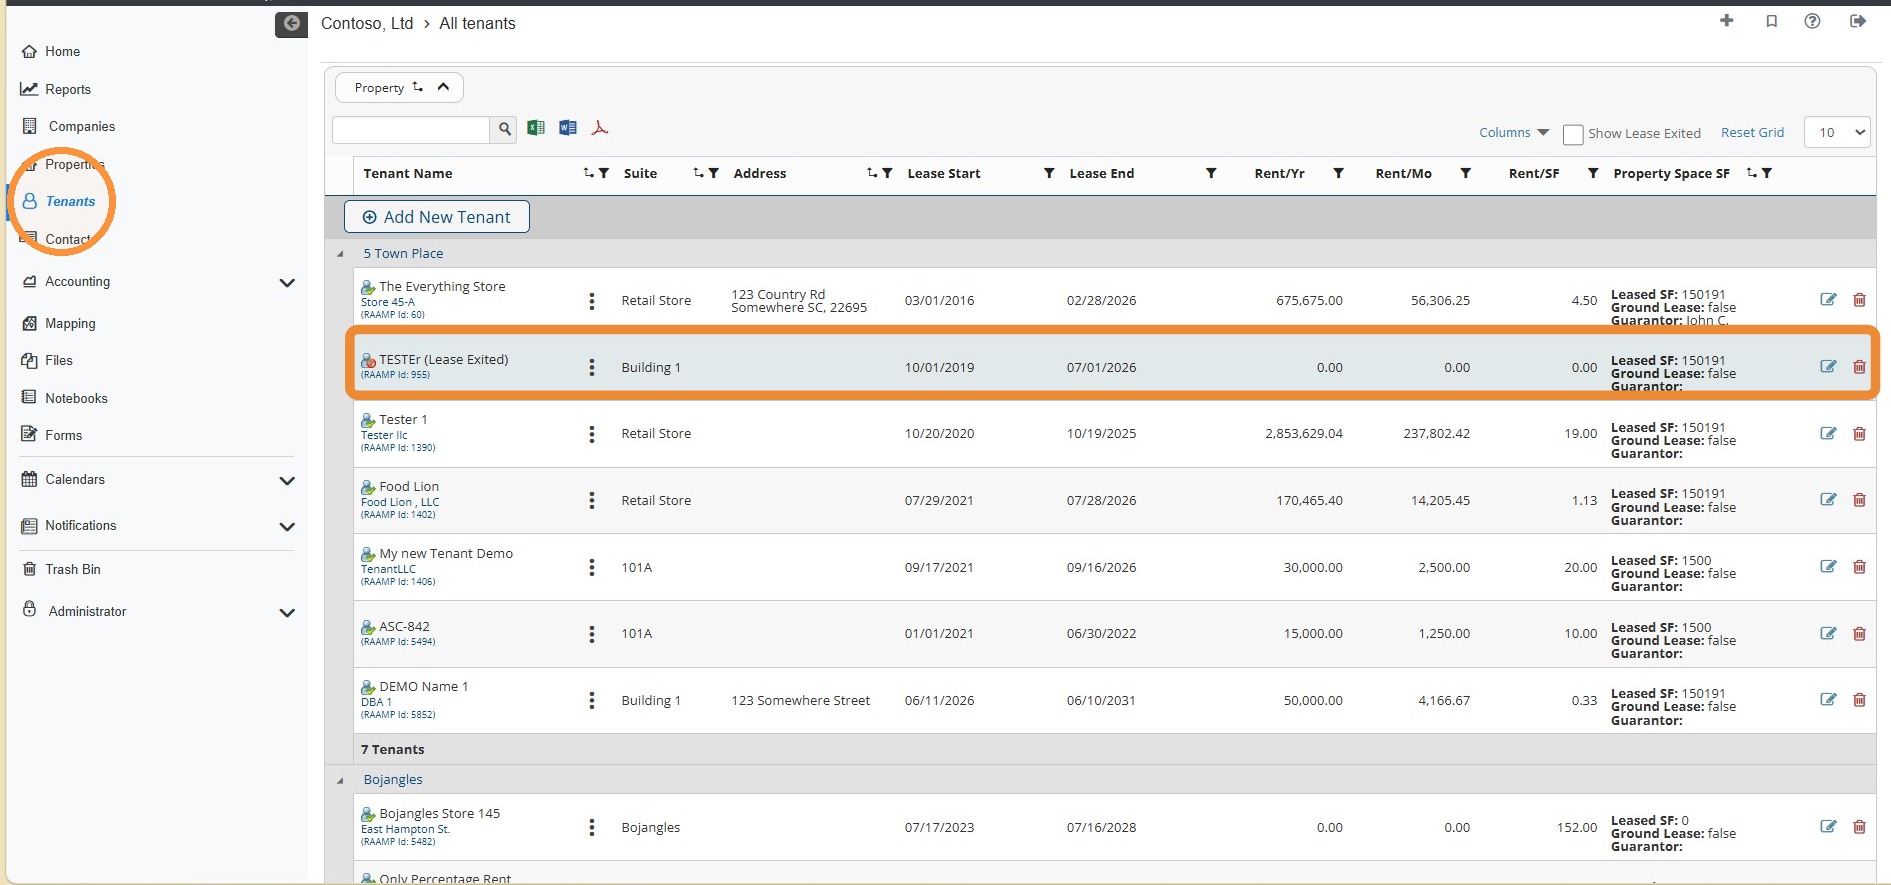
10. On the navigation menu, select Tenants > Locate the tenant > Confirm the exited lease.
How to Undo Exited Lease
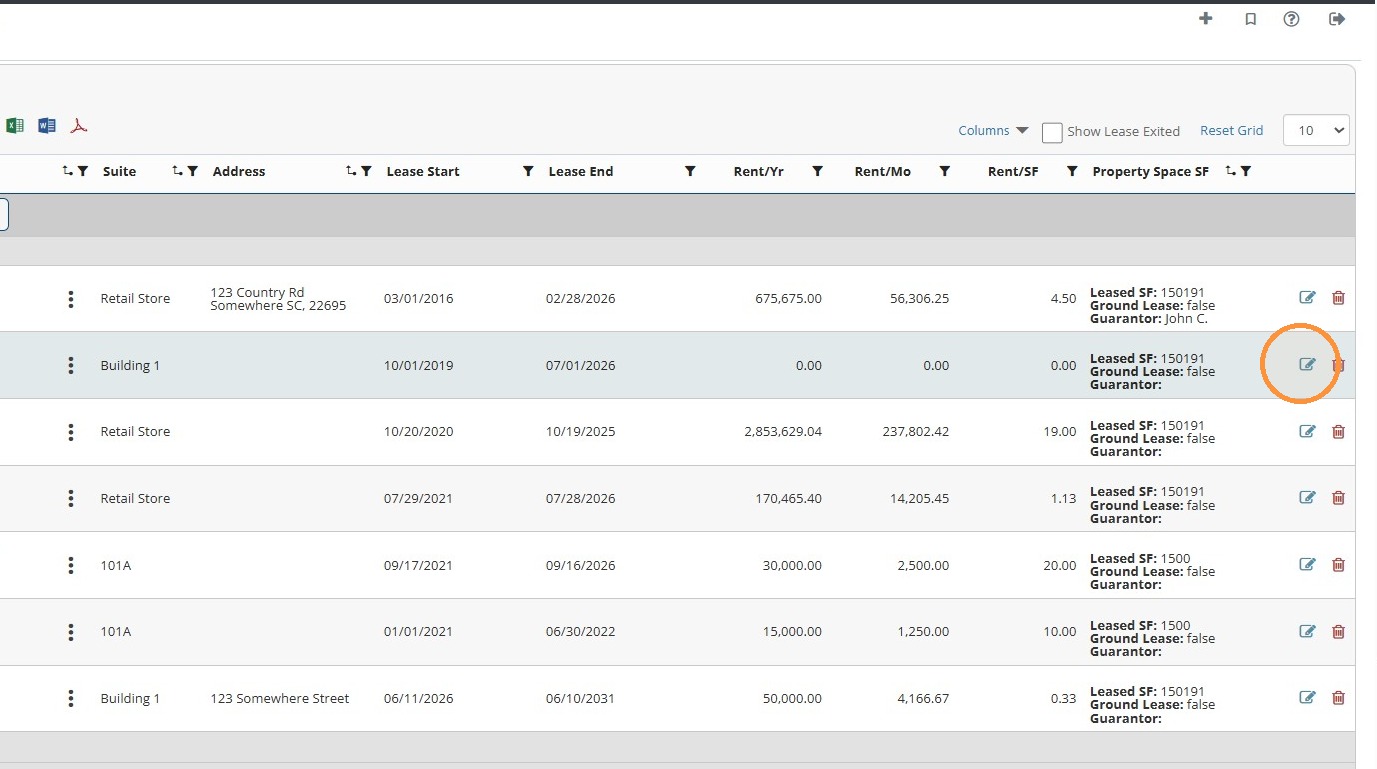
11. If the exited lease was done by mistake, select the tenant's edit icon.
12. Unselect Lease has been exited.
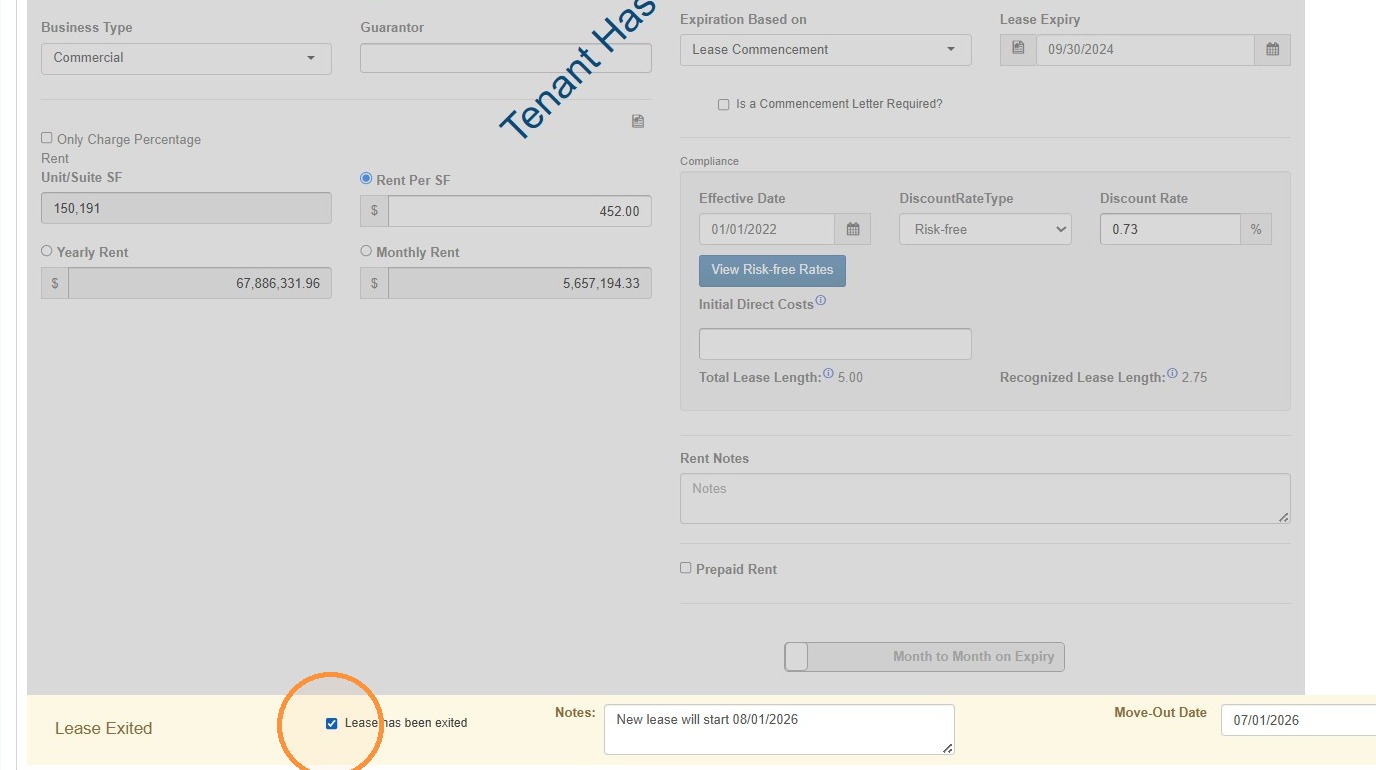
13. Select Save.
14. On the navigation menu, select Tenants > Locate the tenant > Confirm the status change.
Related tutorial(s):