How to Work with Bank Accounts
This guide explains why each entity should have its own bank account in RAAMP and shows the exact steps to create a properly configured, property-specific bank account and subaccounts in the Chart of Accounts. Following it prevents reconciliation problems, clarifies responsibility for bank charges, and preserves full accounting functionality by ensuring transactions are recorded in subaccounts.
Tip: Before You Begin:
Bank Account Structure
Property → Root/Header Bank Account → Operating/Reserve/Other Subaccounts
A different physical bank account generally means a different root/header account. The root/header should be property-specific.
Bank Accounts in RAAMP can be used across multiple entities. However, it is not recommended to do so.
Using a single bank account for multiple entities can create issues with reconciliations and requires understanding which company should assume the bank charges.
The preferred method is to have one bank account for each entity. That means each bank account should be property-specific.
How to Add a Bank Account in Chart of Accounts
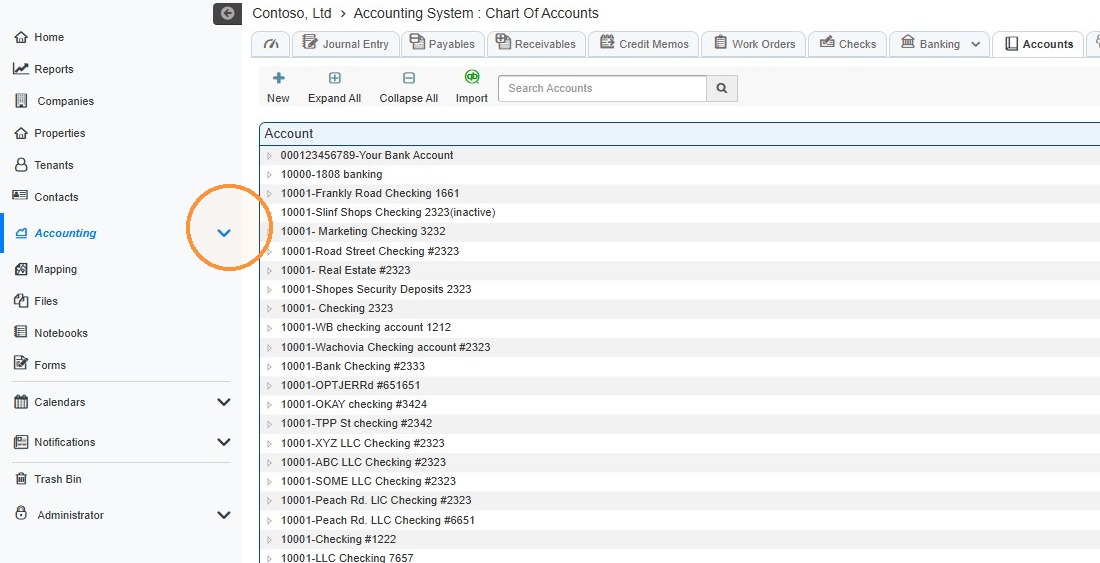
1. From the navigation menu, select Accounting > Accounts.
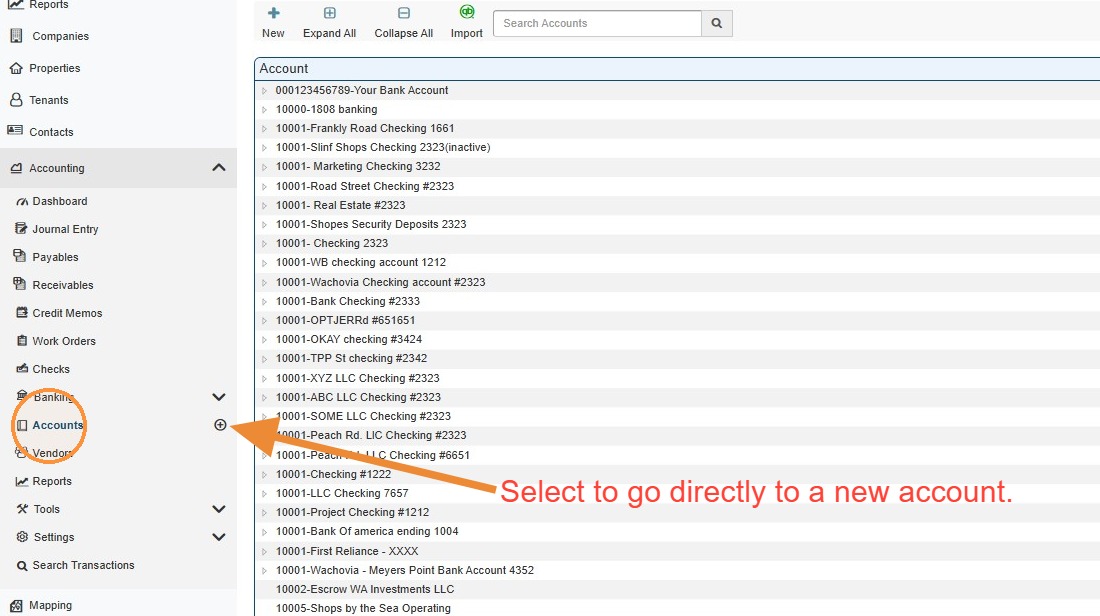
You can select the + icon to go directly to Add New Account.
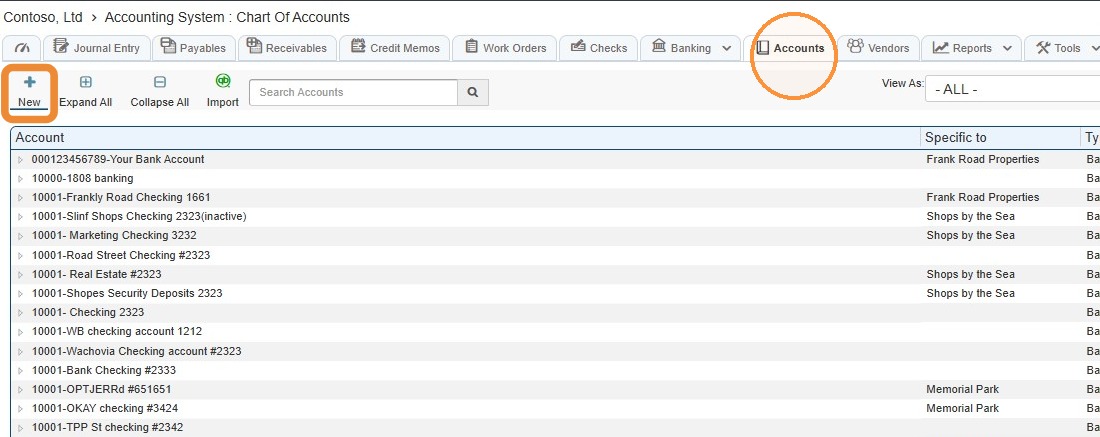
2. In the Accounting module, you can use the tabs across the top to access Accounts.
Select the Accounts tab > Select New.
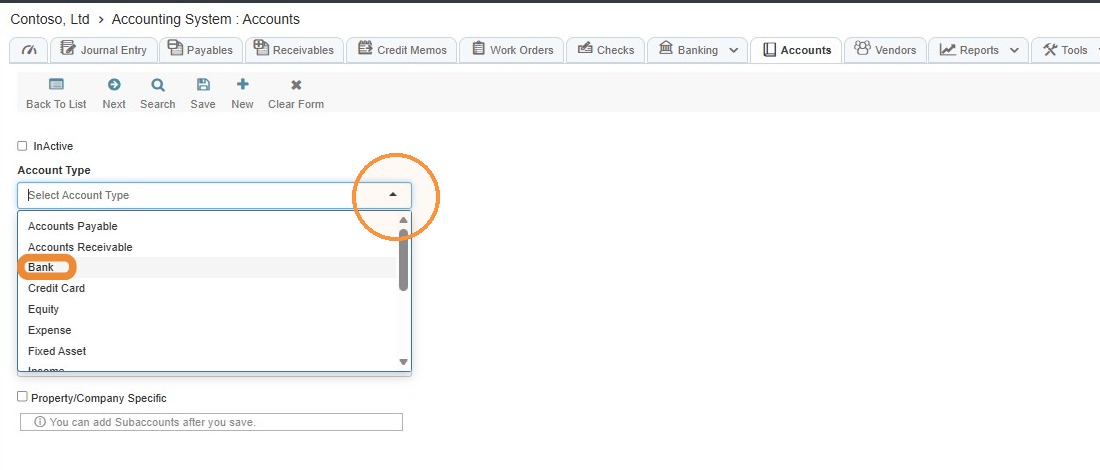
3. Select Account Type to view the dropdown menu > Select Bank.
4. DECISION POINT:\ \ Separate Physical Bank Accounts: If reserves, security deposits, or other funds are held in a separate physical bank account, create a separate root/header bank account in RAAMP for that account.
\ Do not select "Is For Reserve" on the main bank/header account simply because the bank contains reserve subaccounts. \ \ Select this option only for an actual reserve subaccount. Reserve accounts are still included in bank reconciliation without this designation; the setting primarily affects cash-flow-after-reserves calculations and distributions.
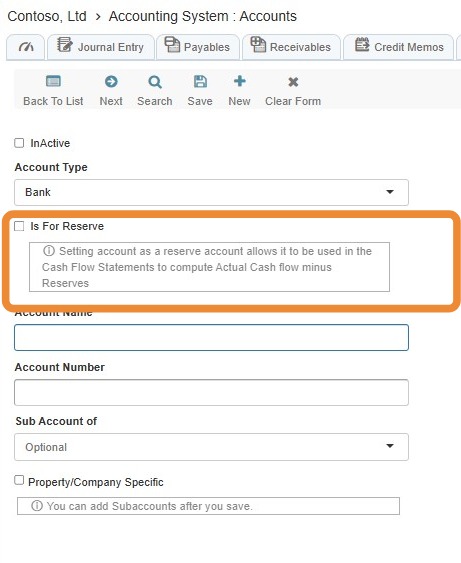
5. Complete the information accordingly.
Do not rely on prefilled information without verifying it against the property's banking documentation.
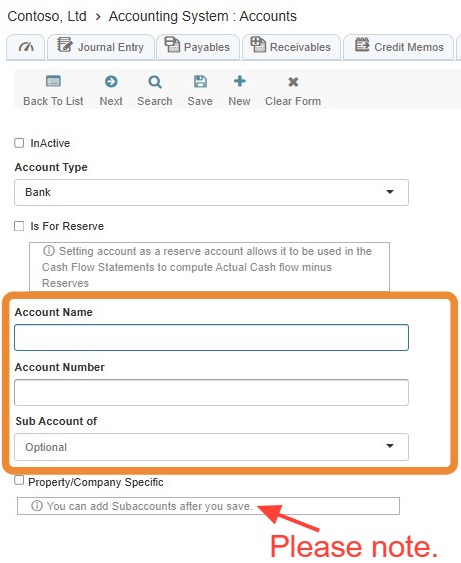
Tip: REMINDER: The preferred method is to have one bank account for each entity. That means each bank account should be property-specific.
6. Select Save.
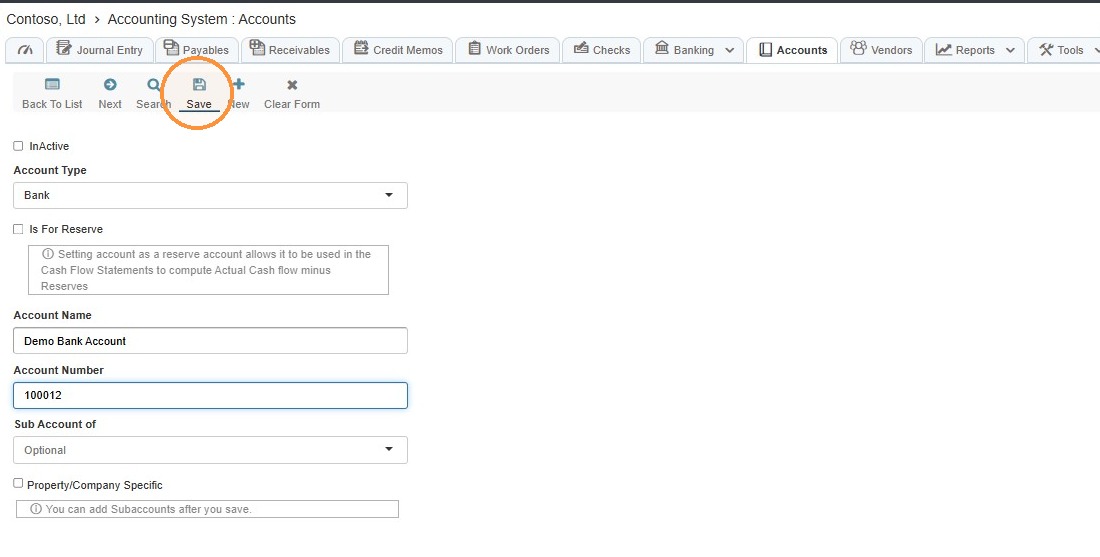
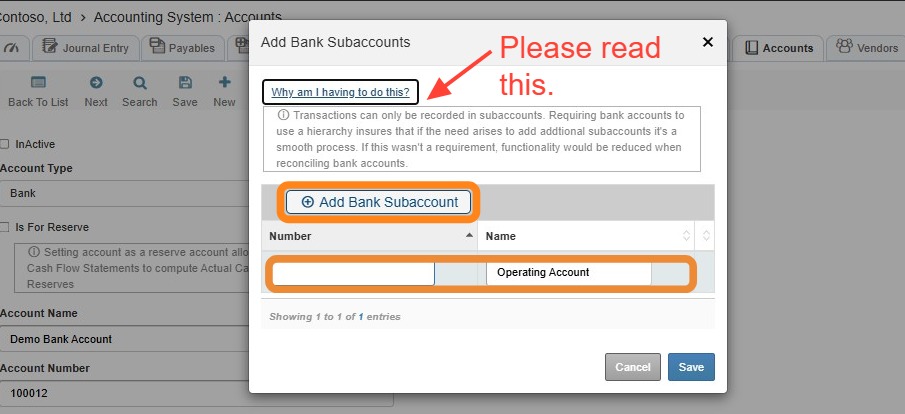
Tip: If you are creating a header/root account, the Add Bank Subaccounts box will appear. This is one way you can add the subaccounts.\ \ Select Add Bank Subaccount > Complete the information > Select Save.
Why are you having to do this? \ Transactions can only be recorded in subaccounts. Requiring bank accounts to use a hierarchy ensures that if the need arises to add additional subaccounts, it's a smooth process. If this weren't a requirement, functionality would be reduced when reconciling bank accounts.
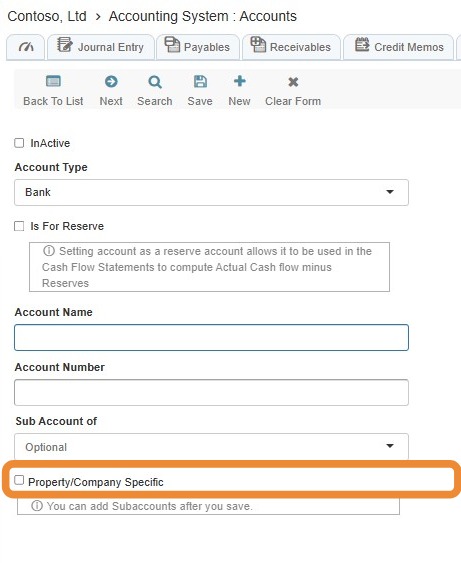
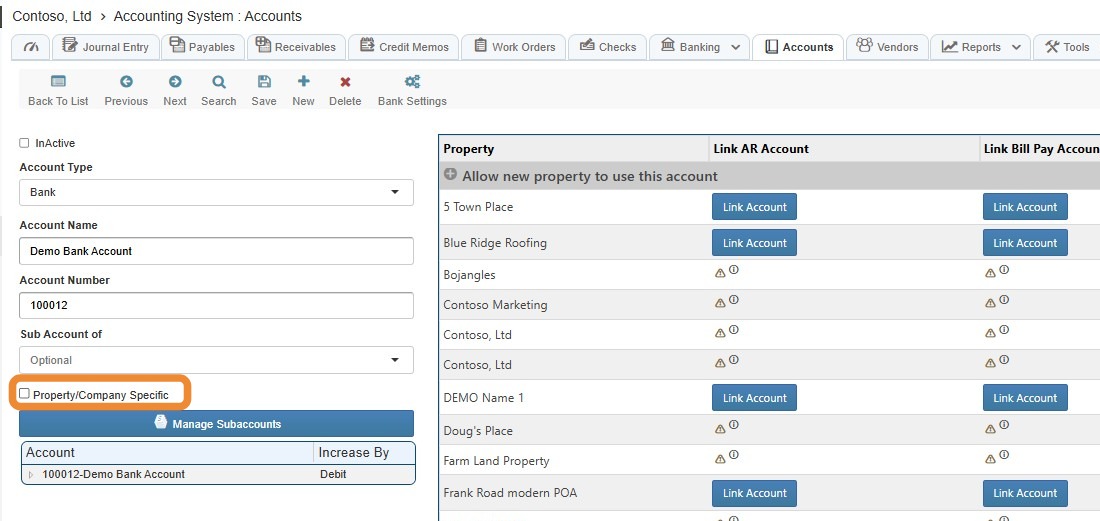
7. Select the Property/Company Specific checkbox.
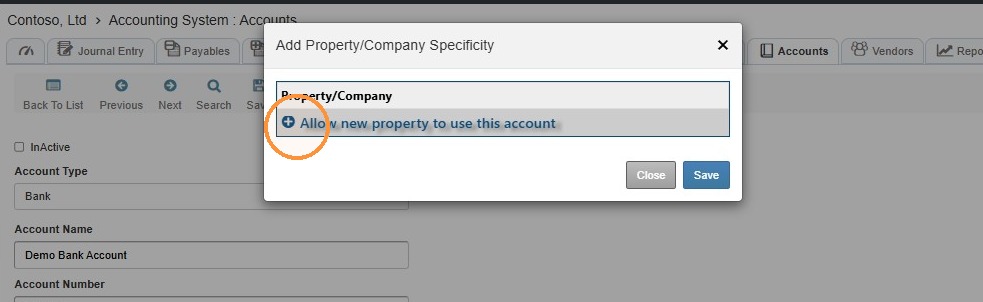
8. Select Allow new property to use this account.
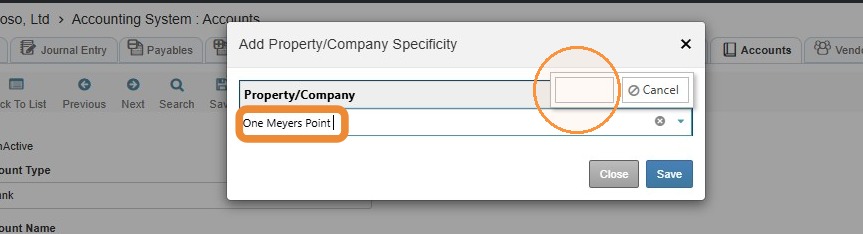
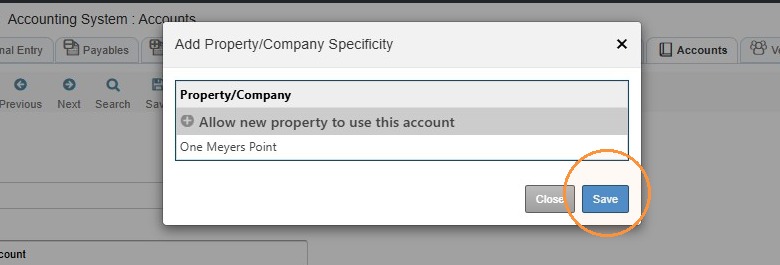
9. Select the Property/Company to make the bank account specific to > Select Save > Select Save.
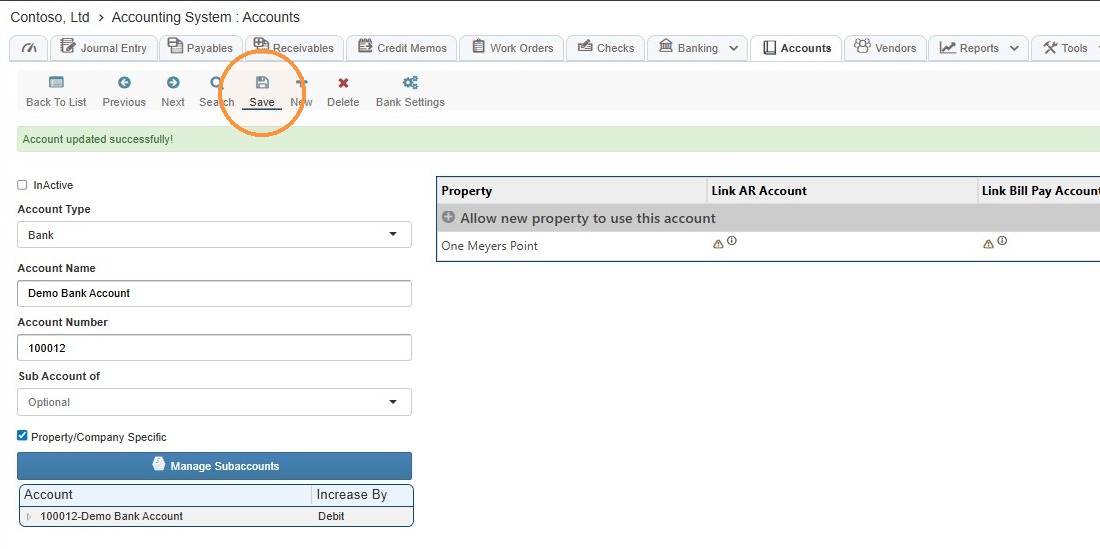
10. Select Save to finalize the bank account configuration.
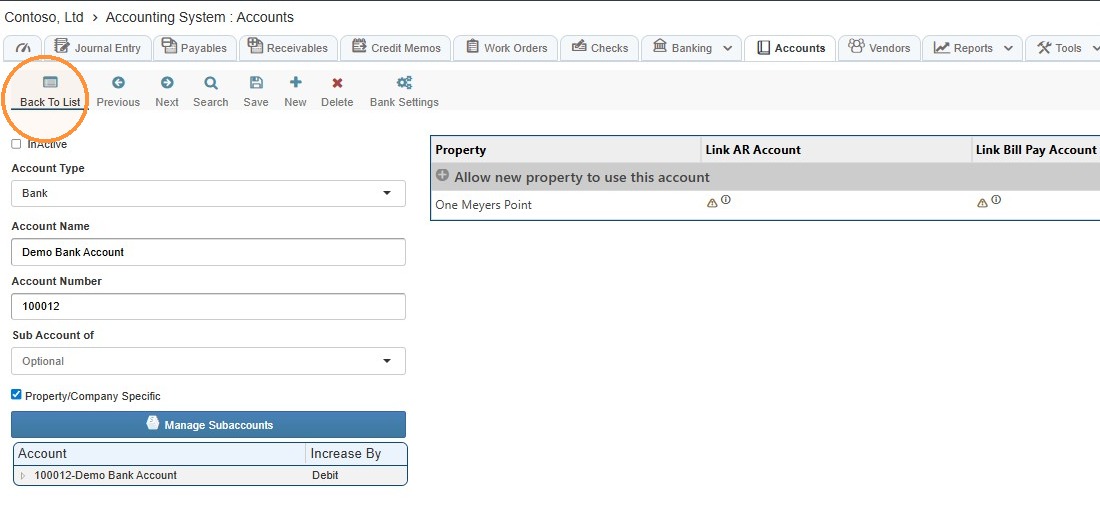
11. Select Back To List to return to the Chart of Accounts.
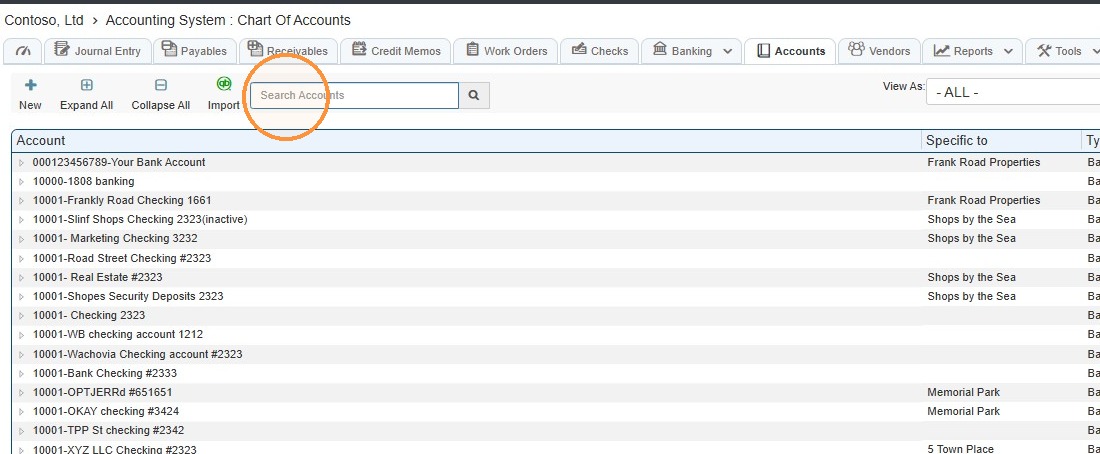
12. Confirm the bank account was added.
Select the Search Accounts field > Enter the account name you just created > Select Enter or the Magnifying Glass icon.

Related Tutorials: