How to Add and Configure a New Vendor
This guide shows how to quickly set up a vendor so bills, compliance, and company-specific accounts populate correctly and consistently across your system. It explains required profile fields, default and company-specific account settings (including the vendor account number vs. expense/accounting numbers), and key flags like 1099 and insurance compliance. It also details managing vendor files, contacts, insurance records, and ownership relationships for complete vendor administration.
How to Navigate to Vendors
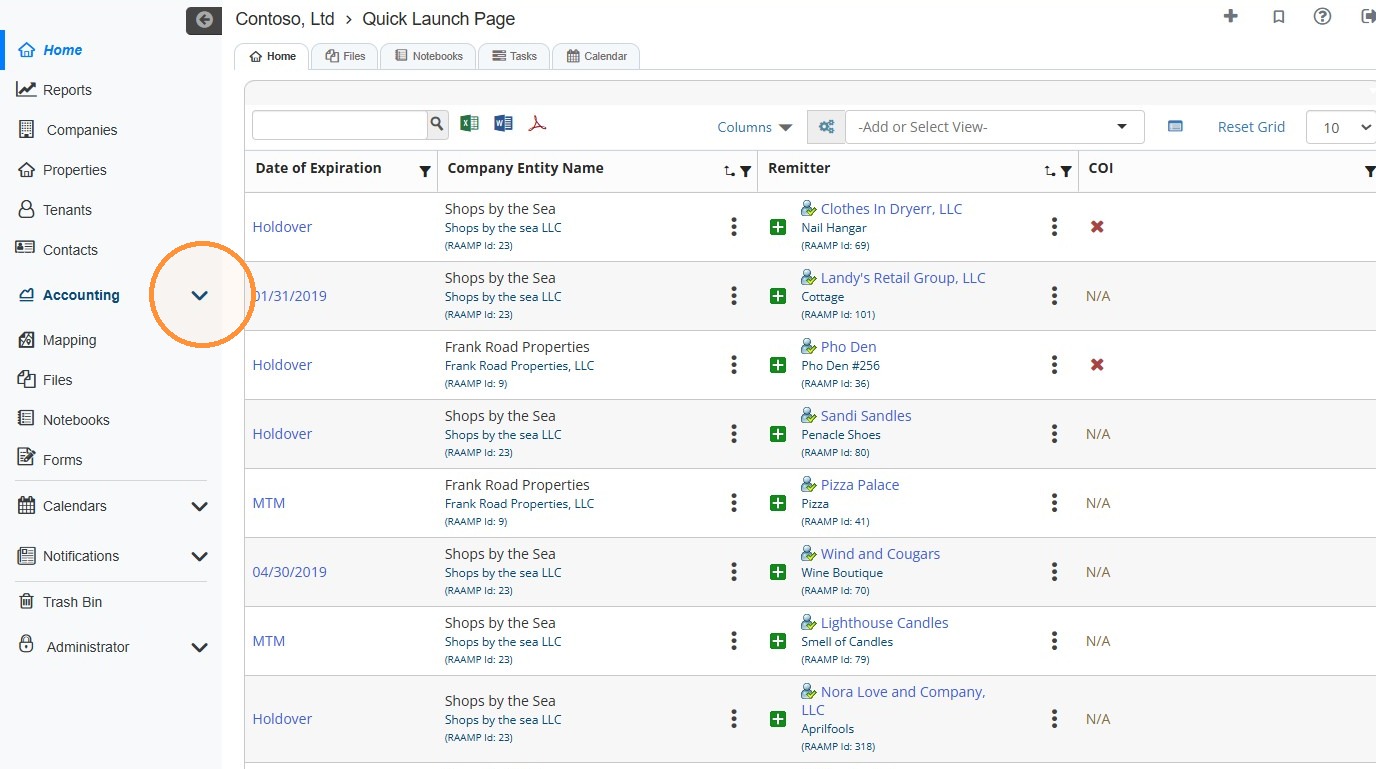
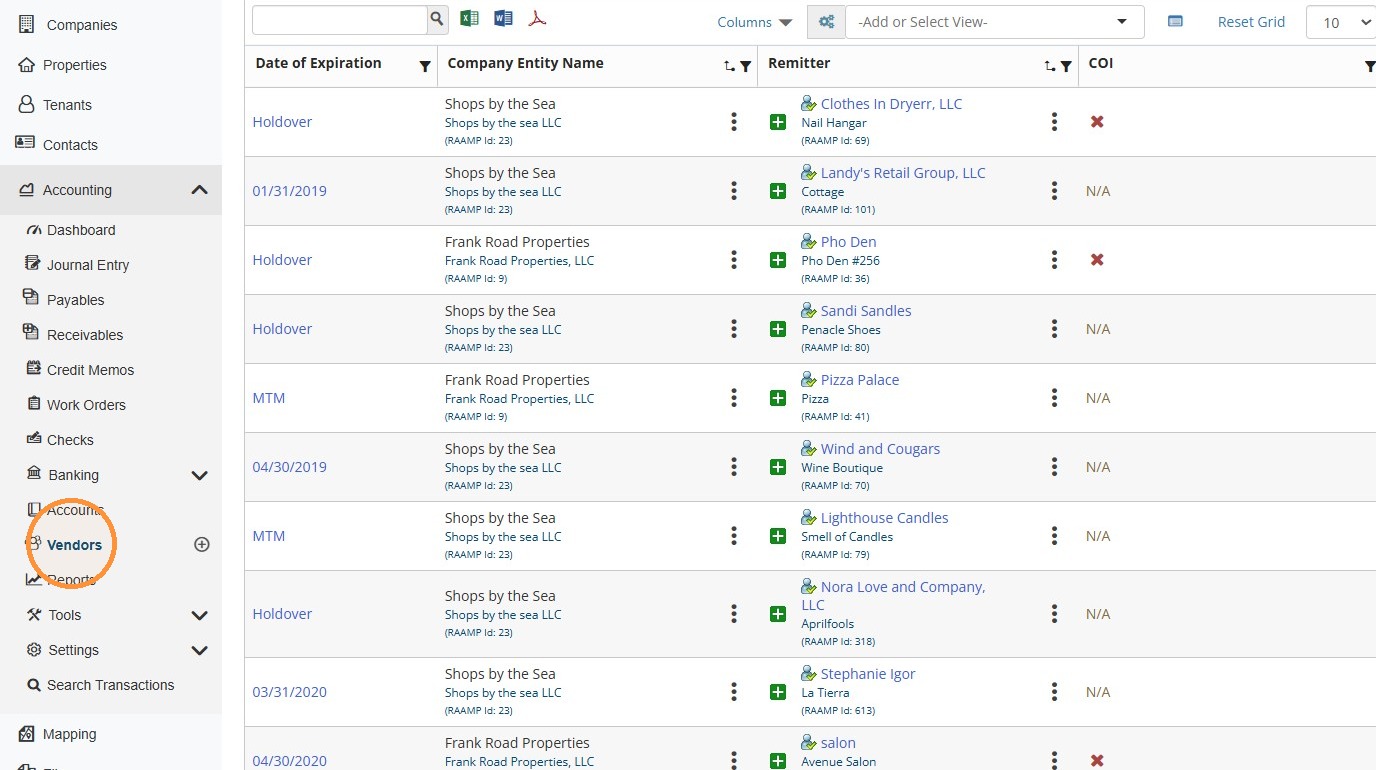
1. From the navigation menu, select Accounting > select Vendors.
Vendor Tab Overview
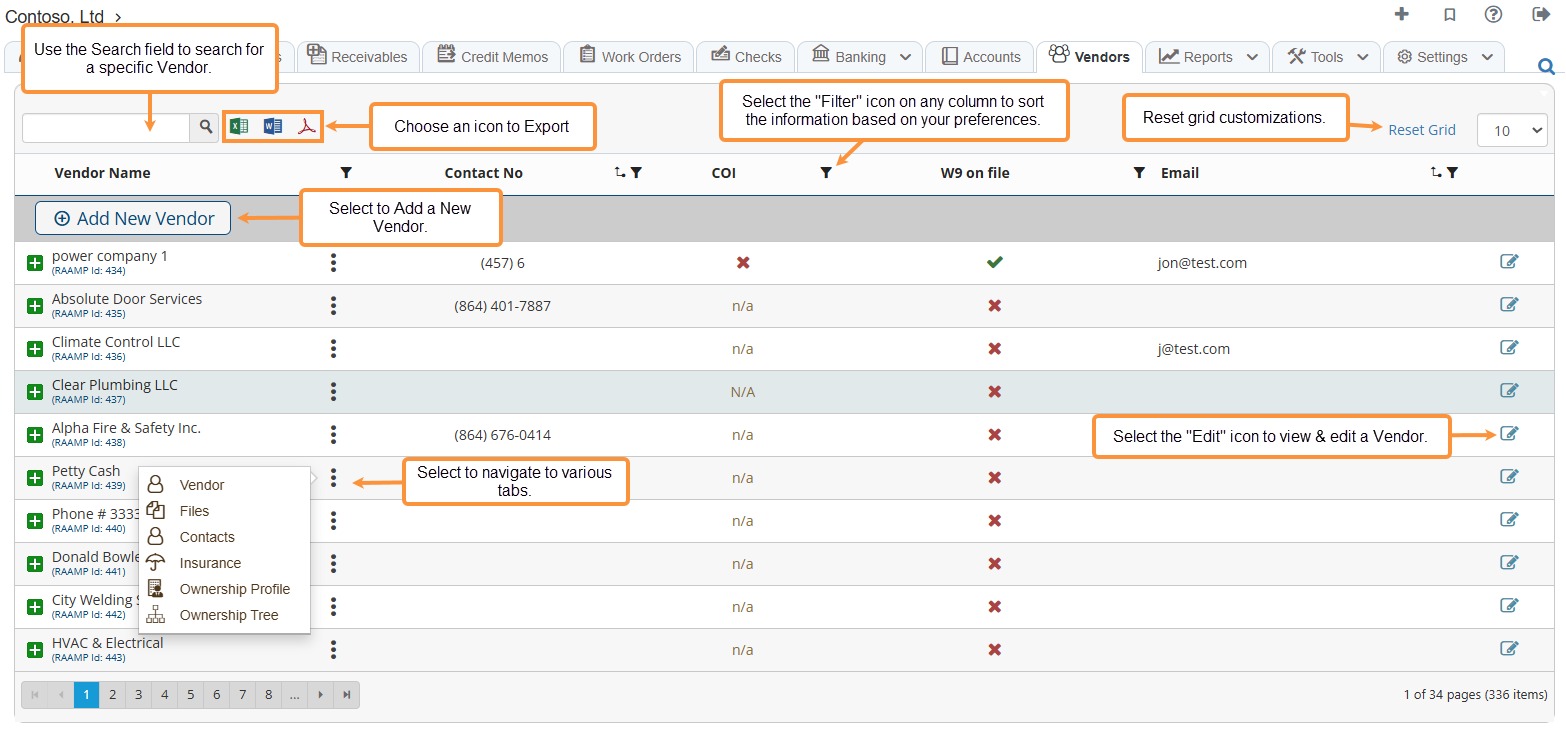
2. Vendor Tab Overview
How to Add a New Vendor
Tip: In RAAMP, a vendor is a person or business that provides goods or services and may receive payments. However, you don't always need to create a vendor record to pay someone.
In RAAMP, you can use existing companiescompanies, properties, tenants, and contacts for both billing and payments. You don't always need a separate vendor record.
Important: Before creating or importing a vendor, check whether the company, property, tenant, or contact already exists in RAAMP to prevent duplicate records.
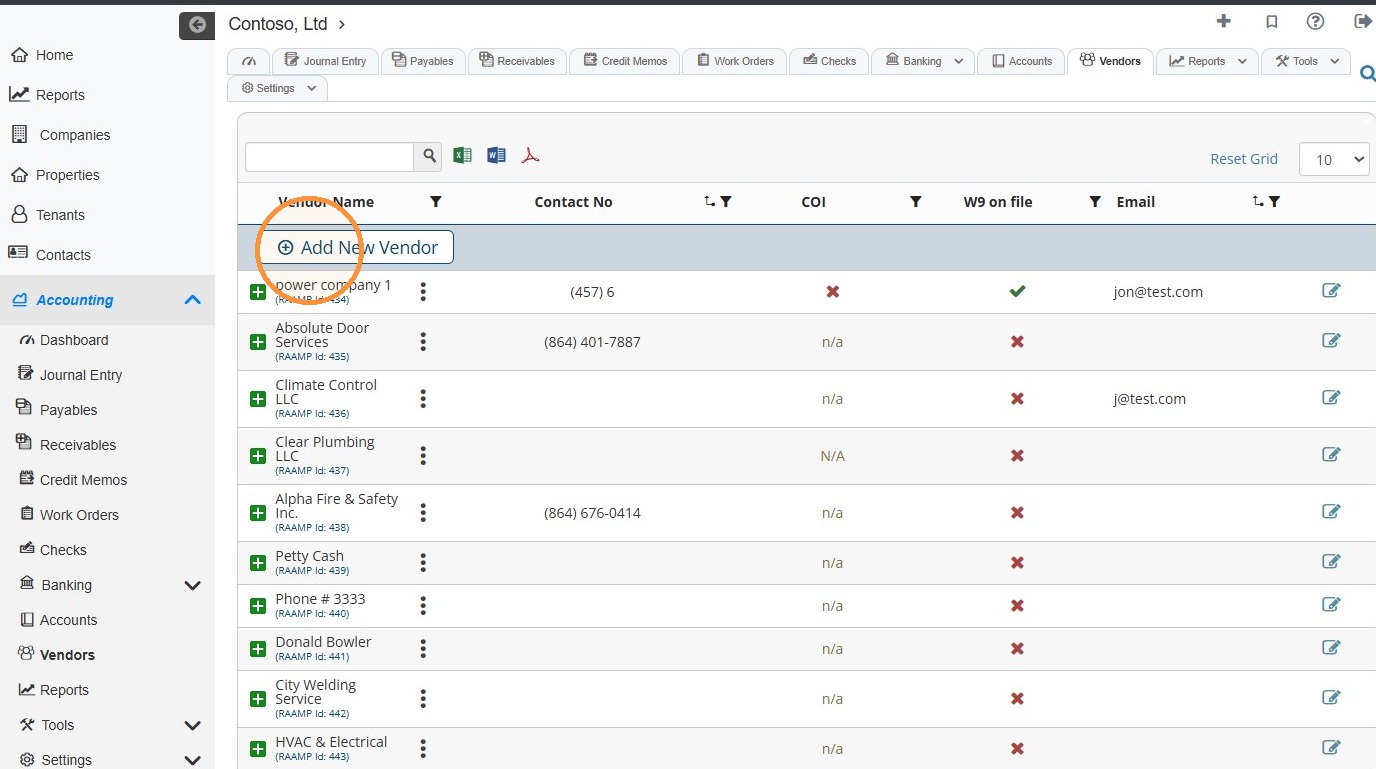
3. From the Vendor tab, select Add New Vendor.
4. Complete the Vendor Profile fields.
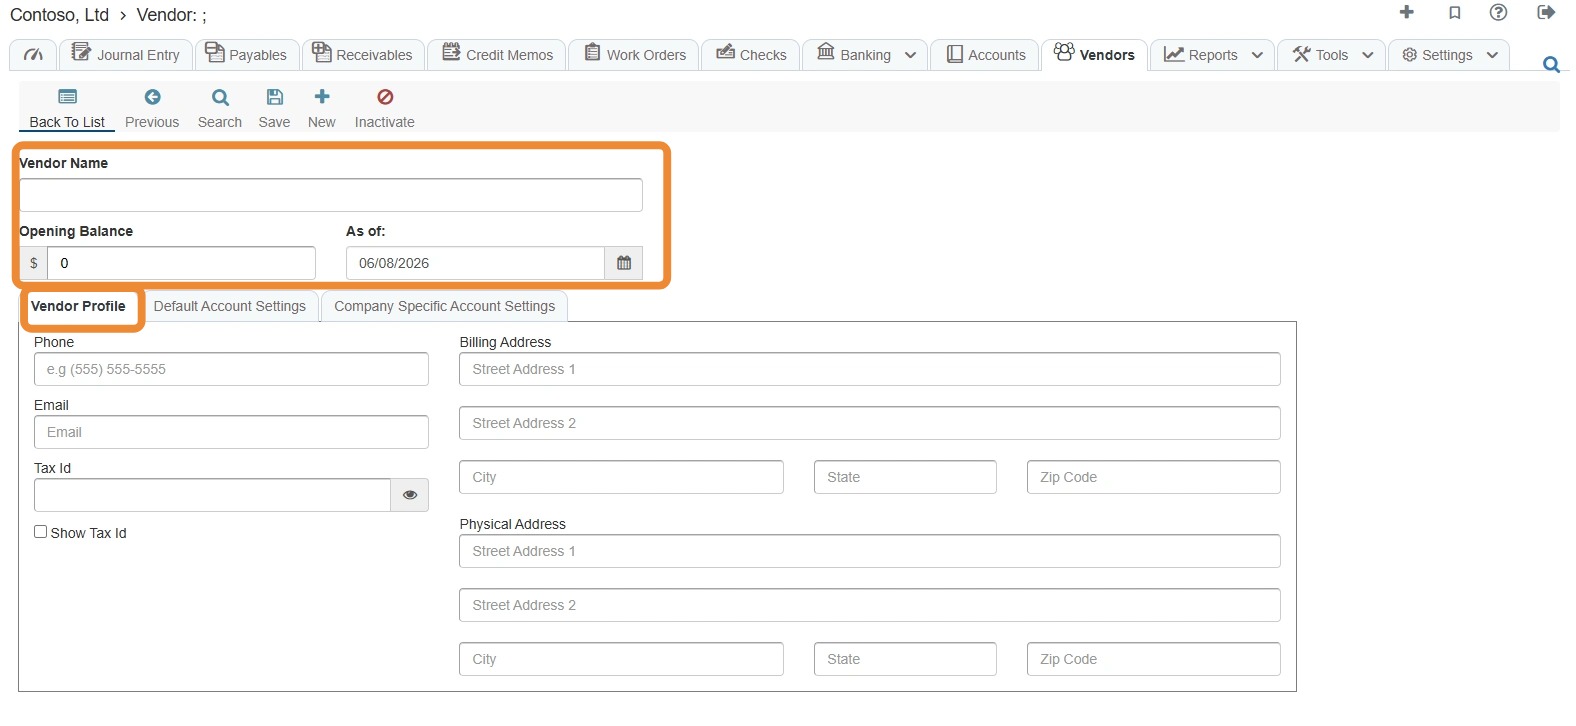
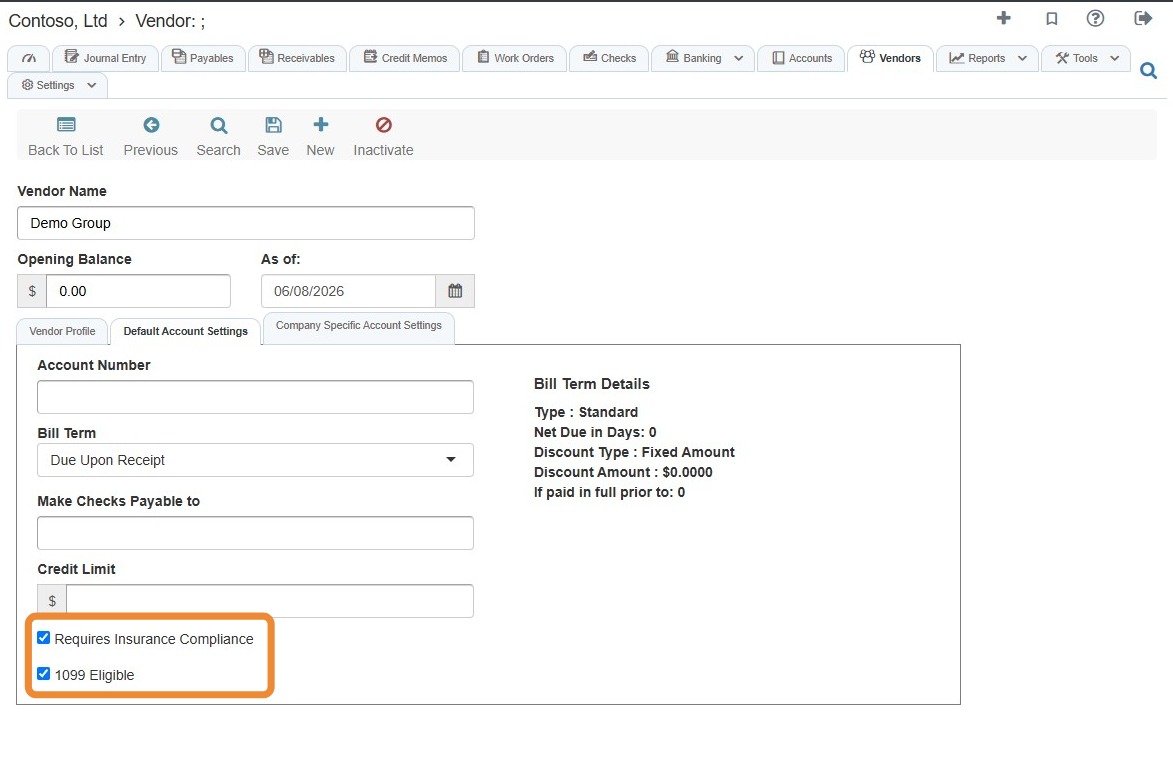
5. Select the Default Account Settings tab > Complete the Default Account Settings fields.
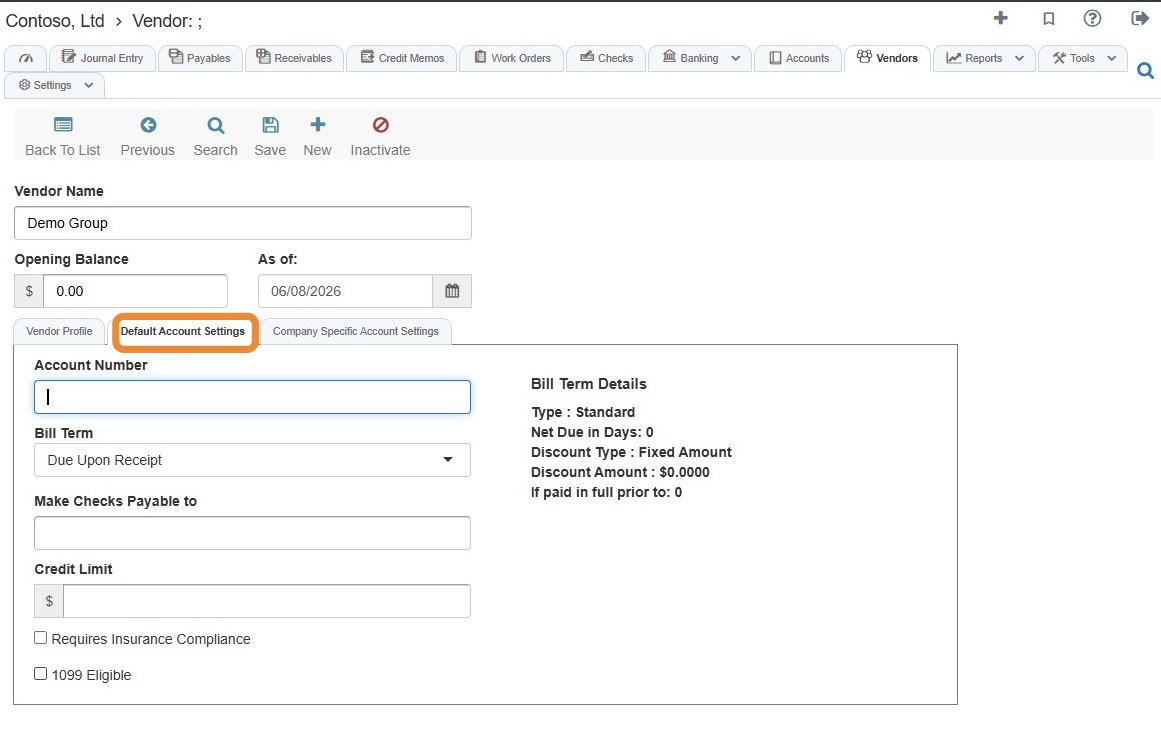
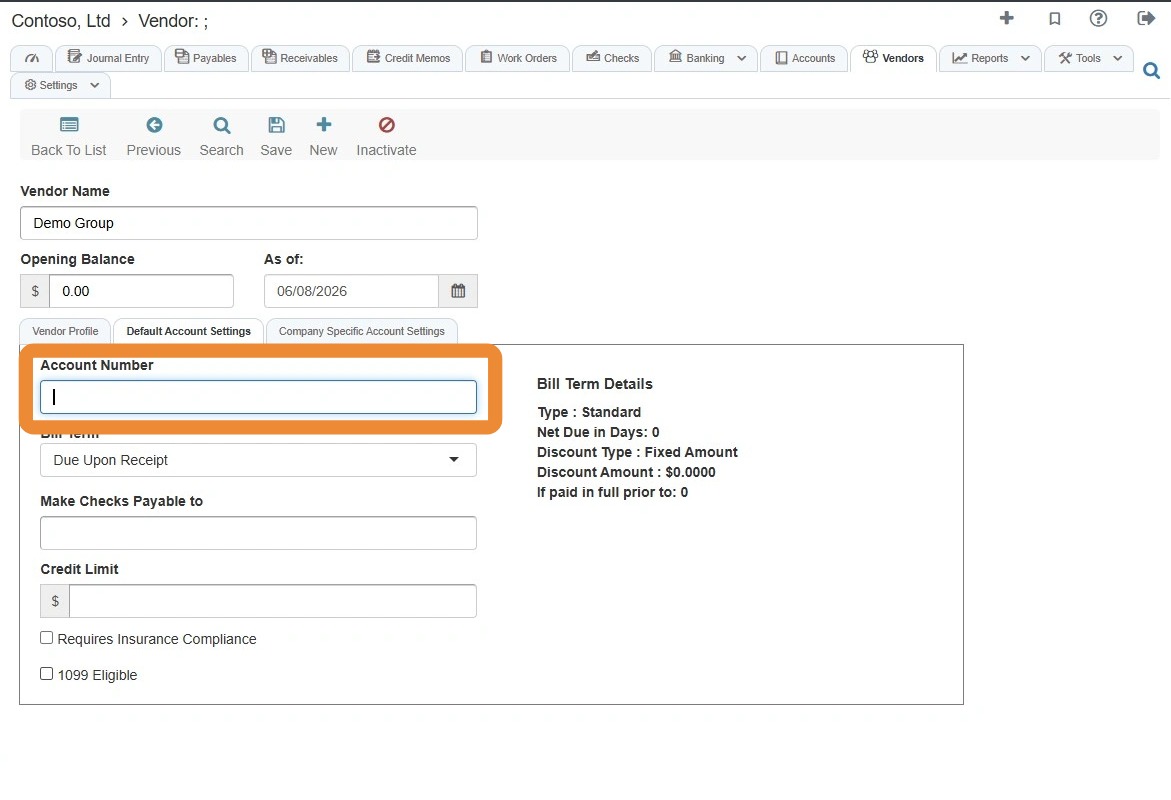
Tip: The account number field refers to the account number that your company has with that vendor, which may vary by property or company, not the vendor’s bank account number or the expense account number.
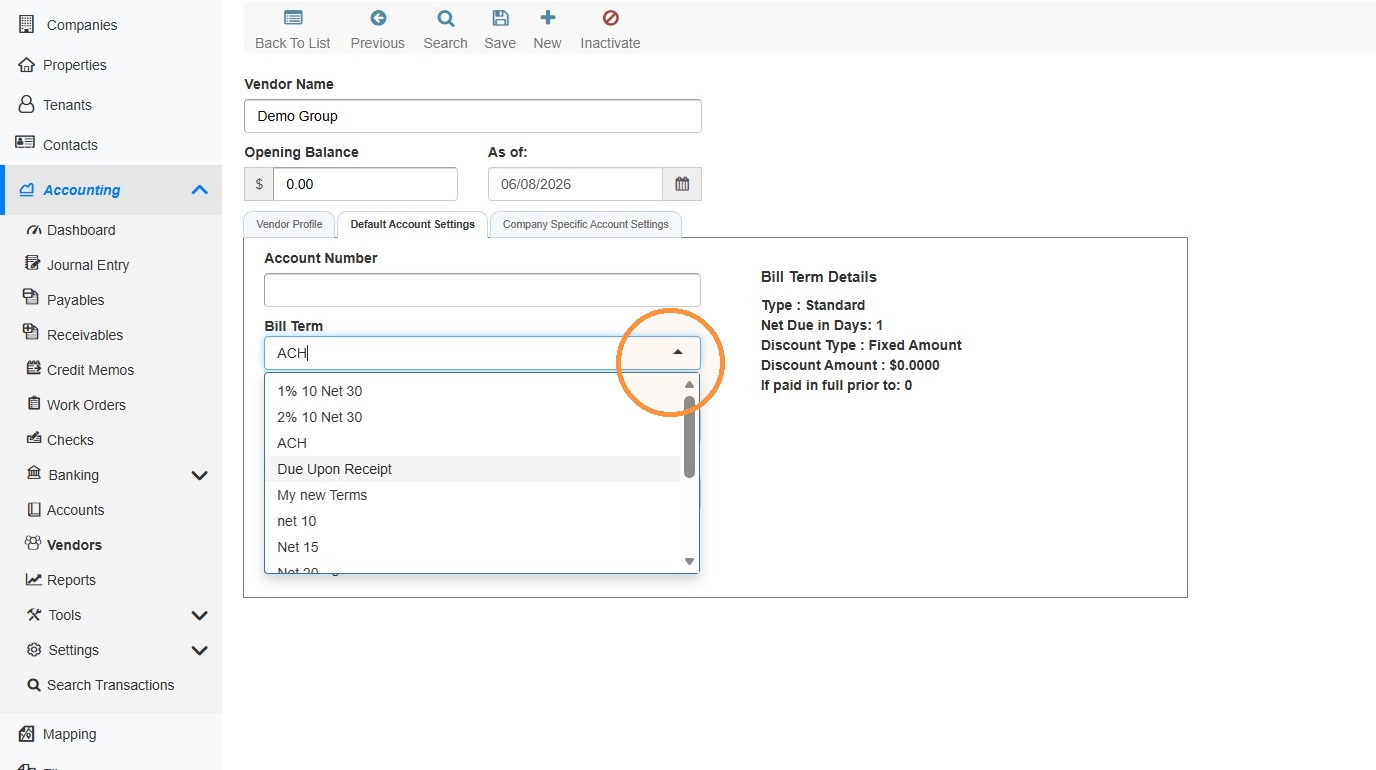
6. Select the appropriate option from the Bill Term dropdown.
NOTE: The bill term field should contain the vendor’s standard payment terms—such as due upon receipt or net terms—so those terms automatically populate when a new bill is created.
7. If the vendor requires insurance compliance and/or is 1099 eligible, select the appropriate checkboxes.
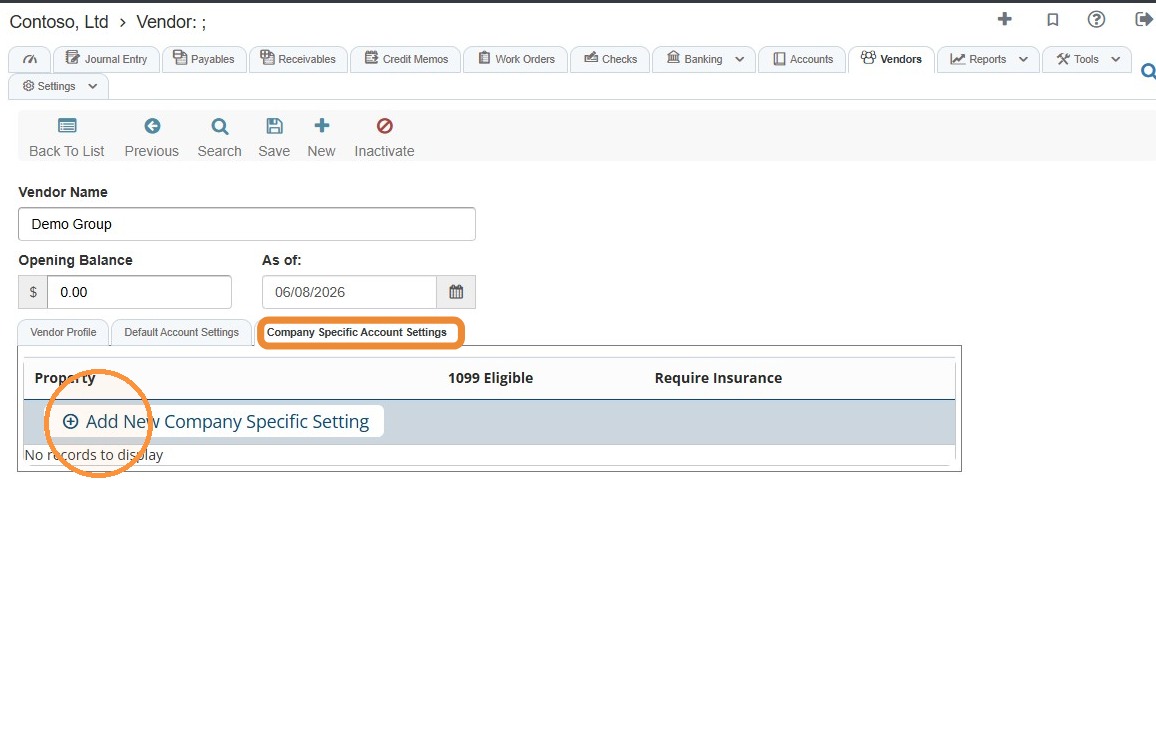
8. Select the Company Specific Account Settings tab to add a company-specific account to the vendor > Select Add New Company Specific Setting.
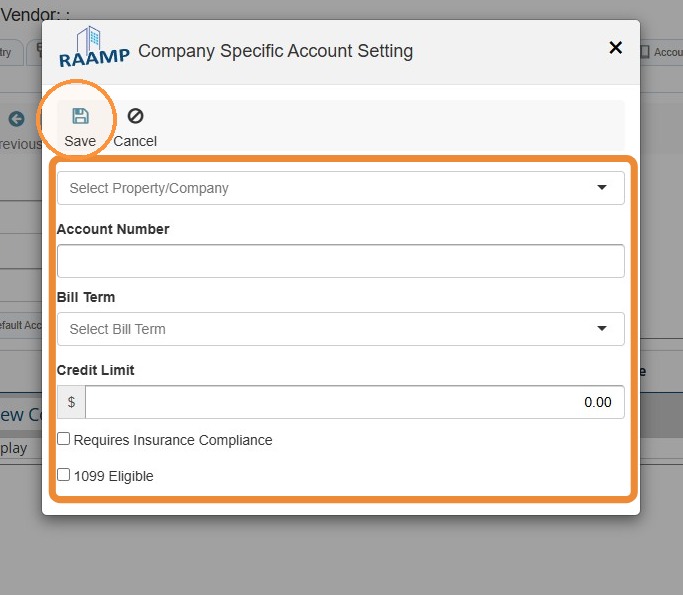
9. Complete the information for the Company Specific Account Settings > Select Save.
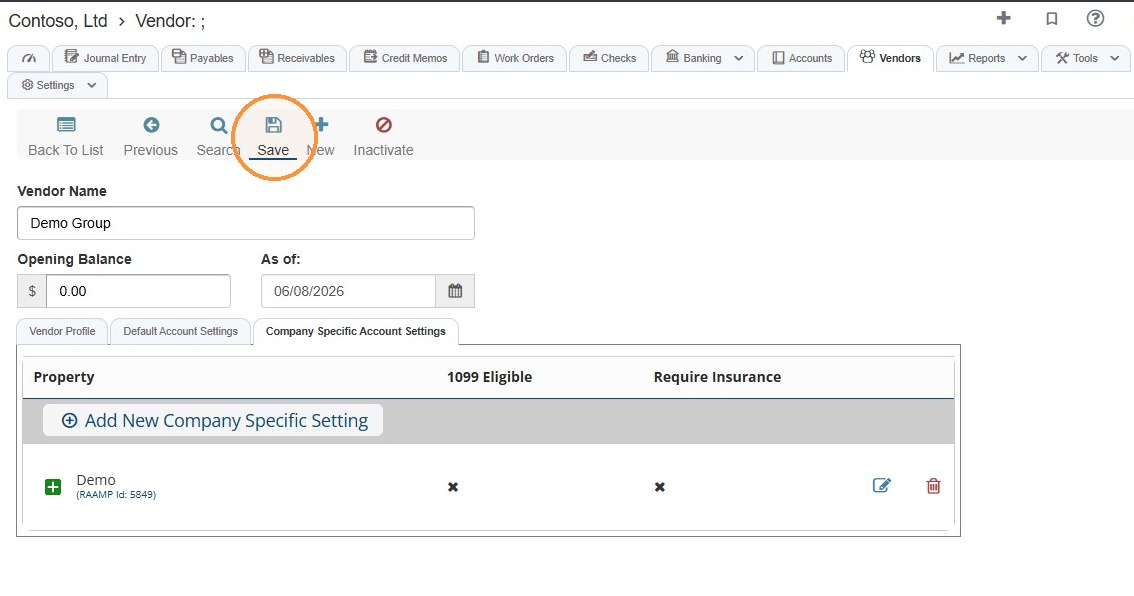
10. Once all required vendor information has been completed, select Save.
Vendor Specific Tabs
11. Once the vendor is created, you can navigate between various tabs for that vendor.
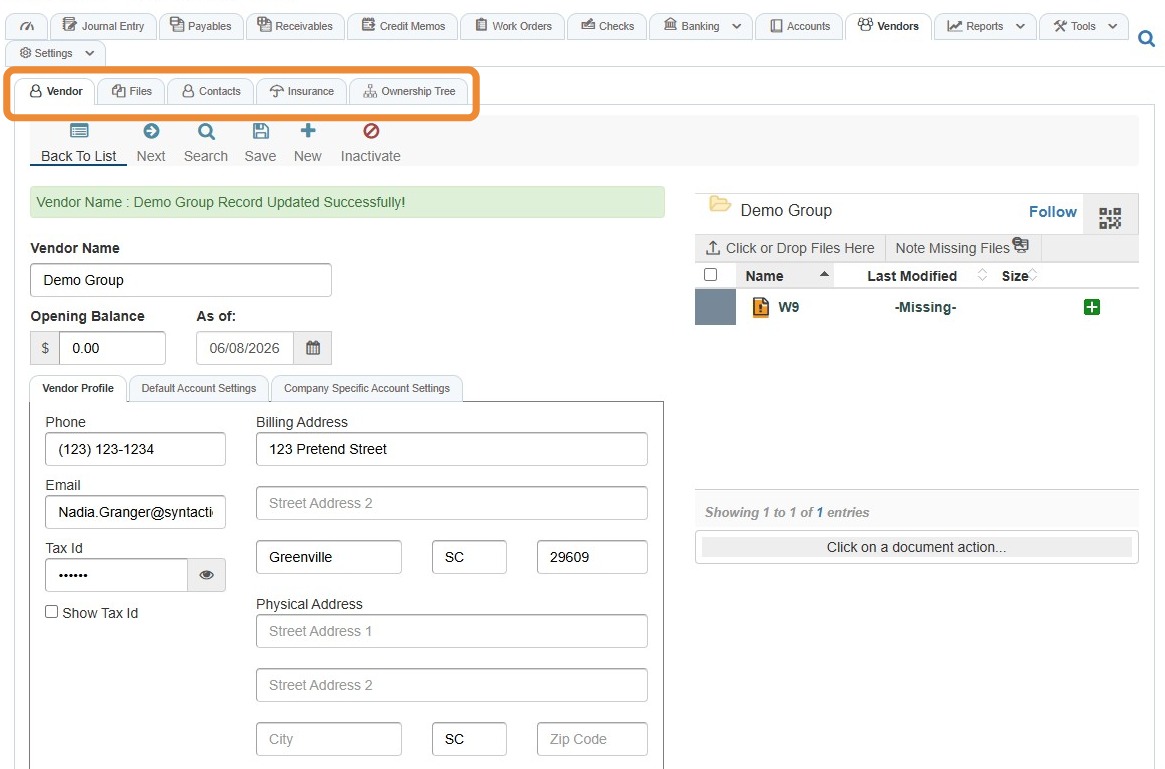
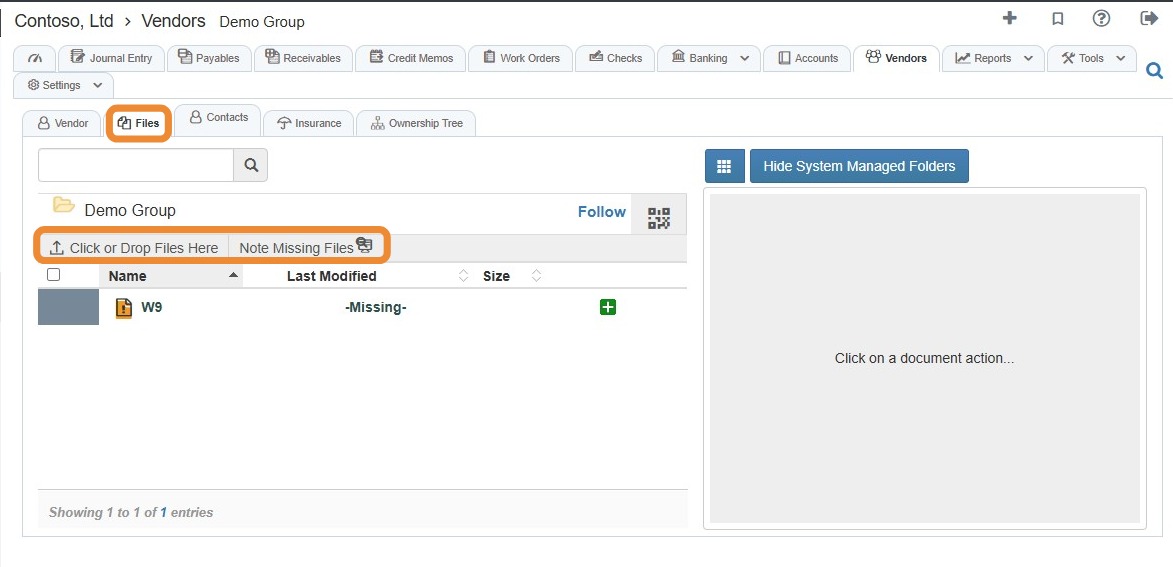
12. Files Tab: Allows you to upload and view vendor-related files such as the vendor's W9.
You can also note missing files.
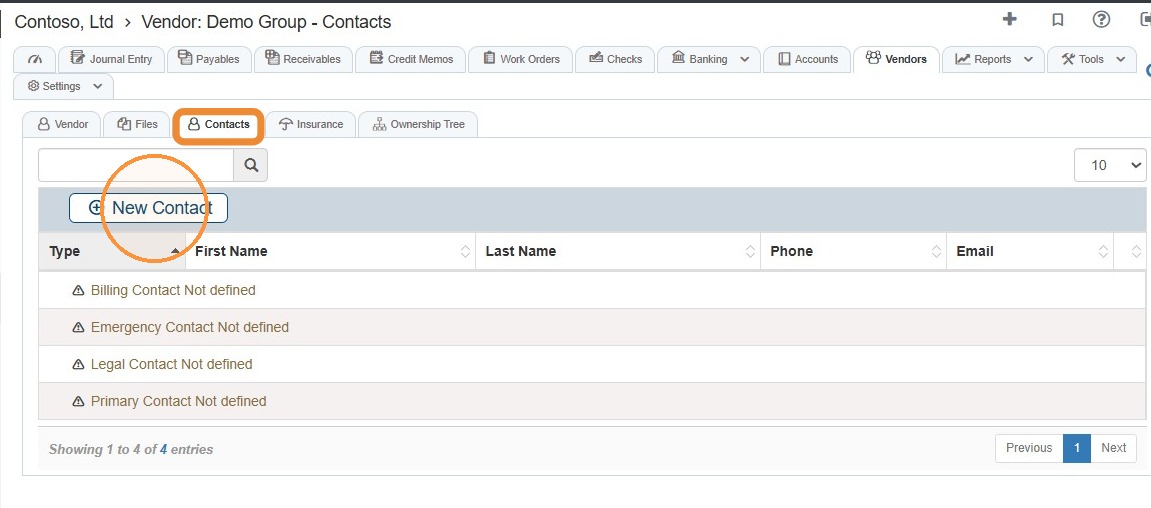
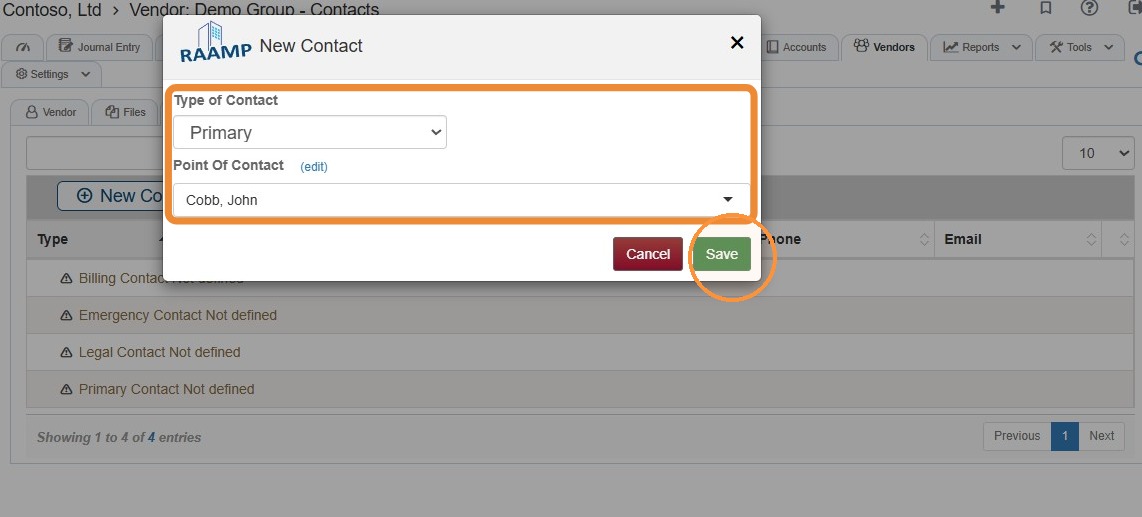
13. Contacts Tab: Allows you to view and add vendor-specific contacts.
Select New Contact > Complete the contact information > Select Save.
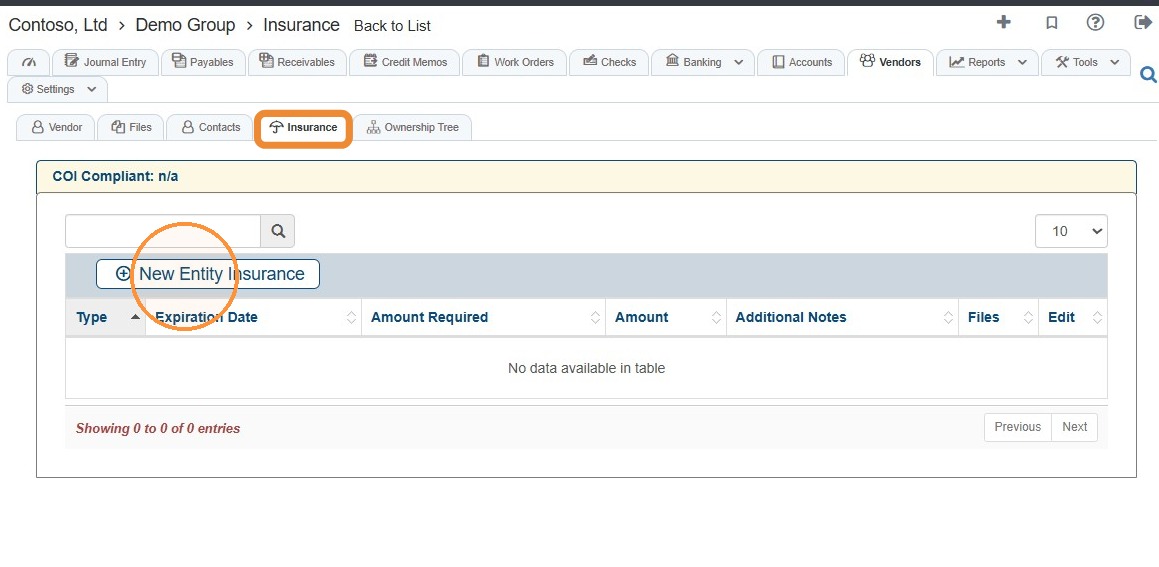
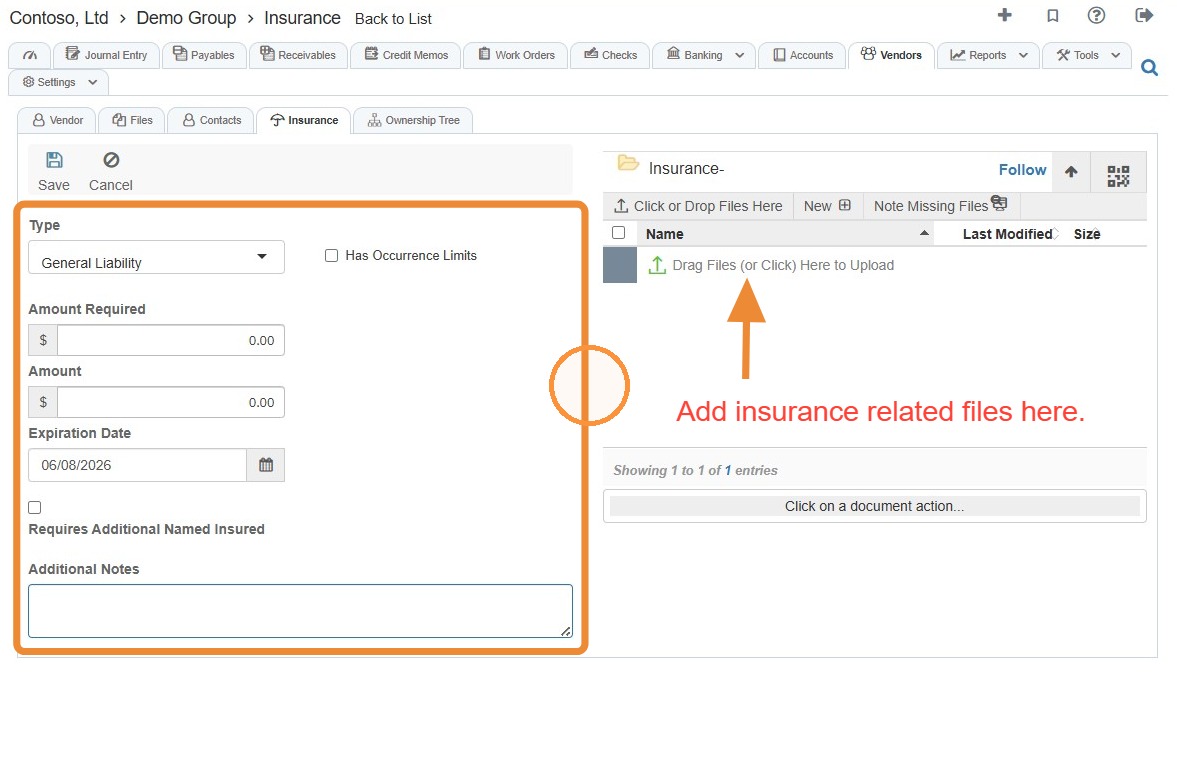
14. Insurance Tab: Allows you to view and add vendor-specific insurance information.
Select New Entity Insurance > Complete the insurance information and upload related files > Select Save.
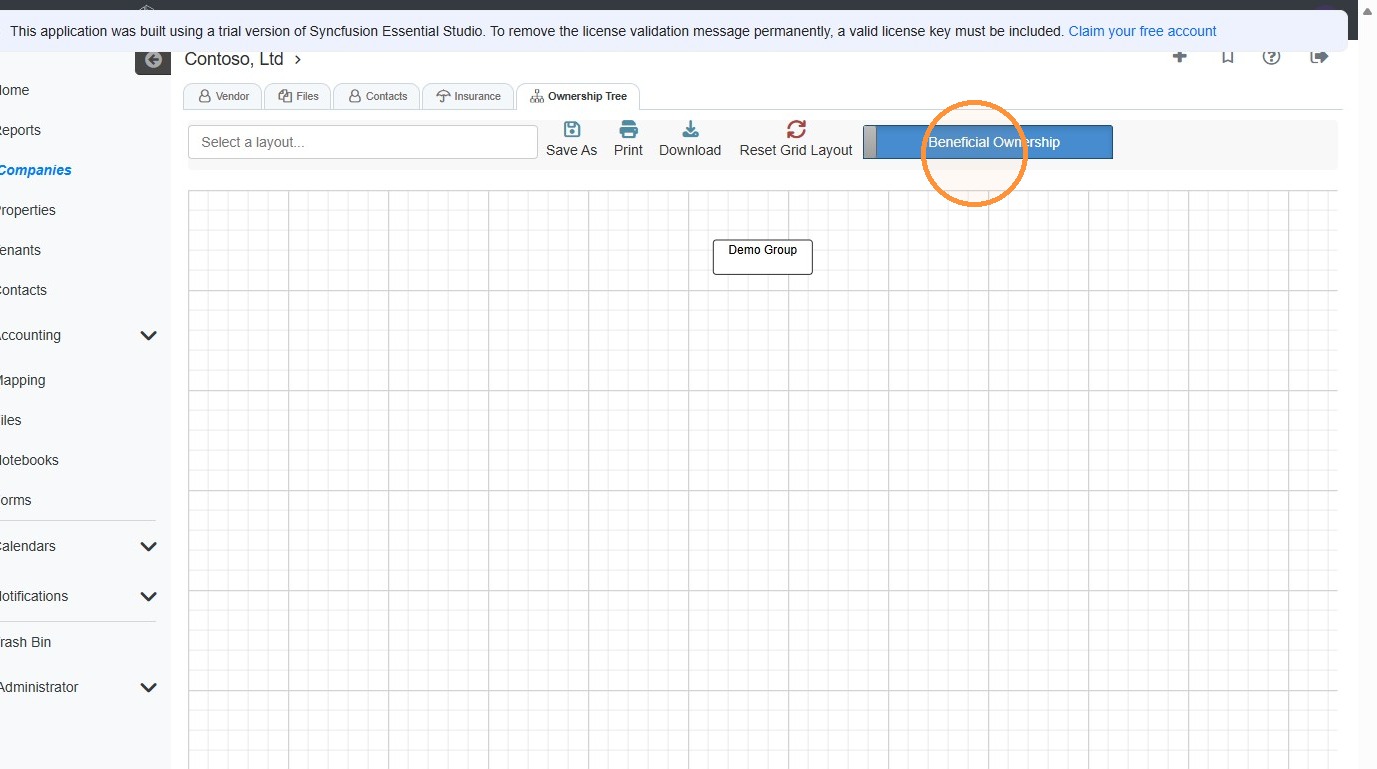
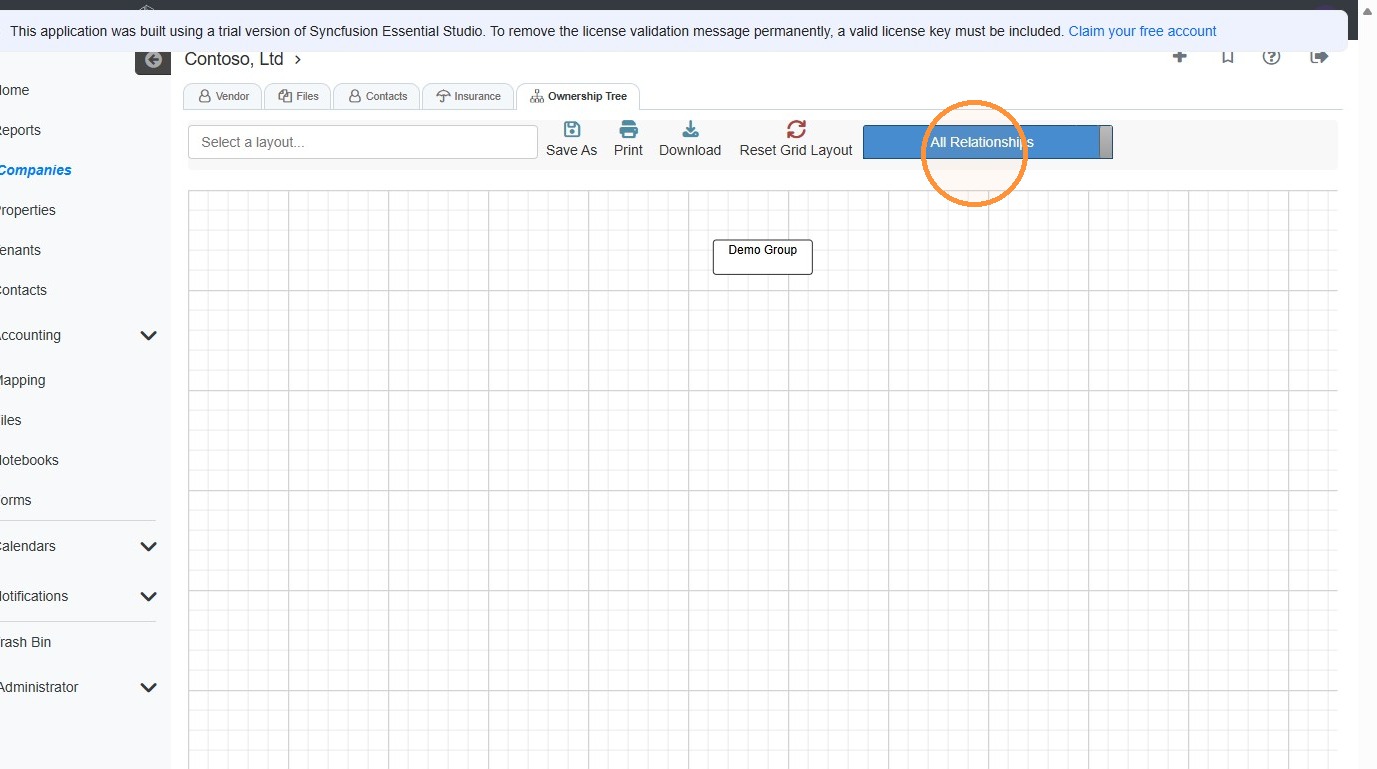
15. Ownership Tree Tab: Allows you to see a visual representation of a company’s ownership structure.
You can toggle between Beneficial Ownership and All Relationships.
Related Tutorial(s)