How to Receive Payment from Moved Out Tenant
This guide provides a step-by-step process for posting payments for moved-out tenants. It includes selecting the right company/property and tenant, entering payment details (method, reference, memo, amount), and applying the payment to specific invoices. It also explains how to change the entity type if a payment needs to be applied to a property instead. Follow this guide to prevent errors and ensure correct invoice matching.
How to Access Receive Payment Screen
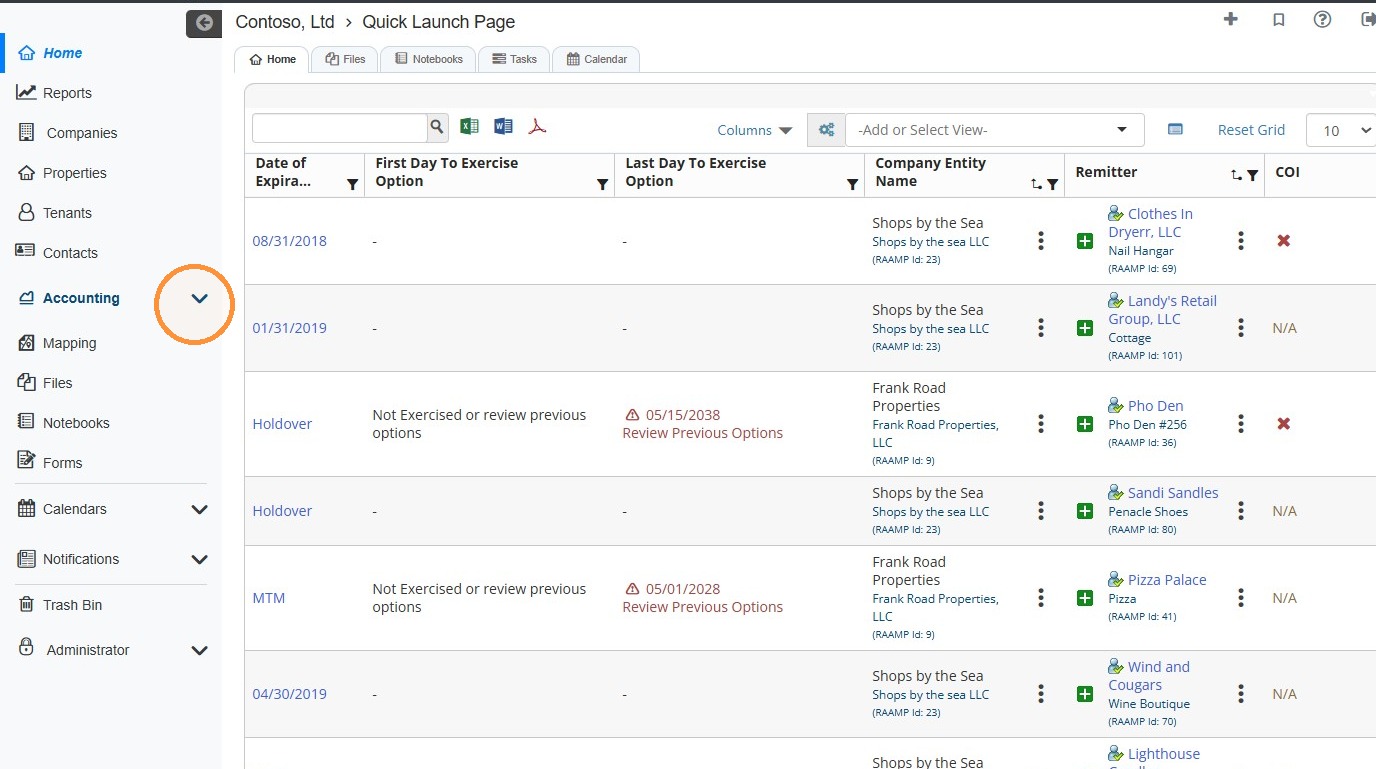
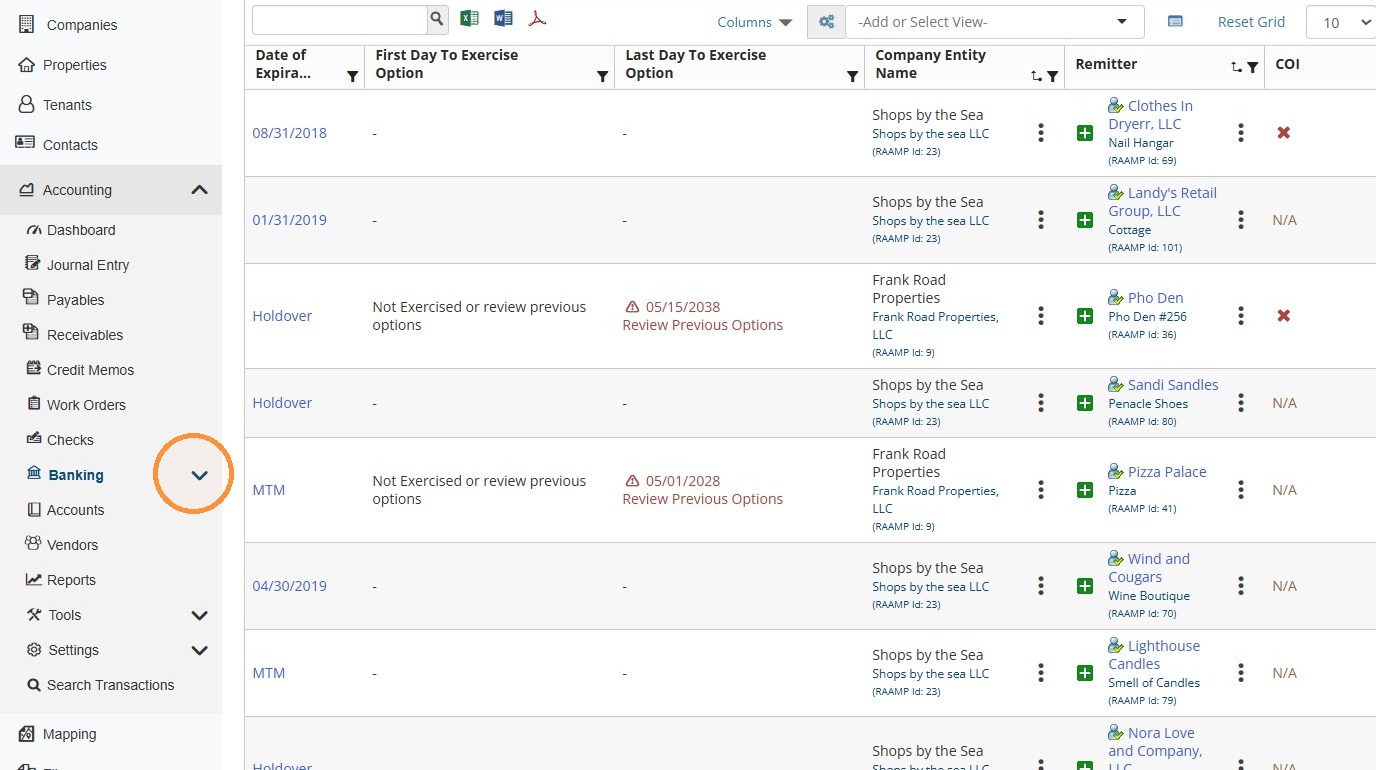
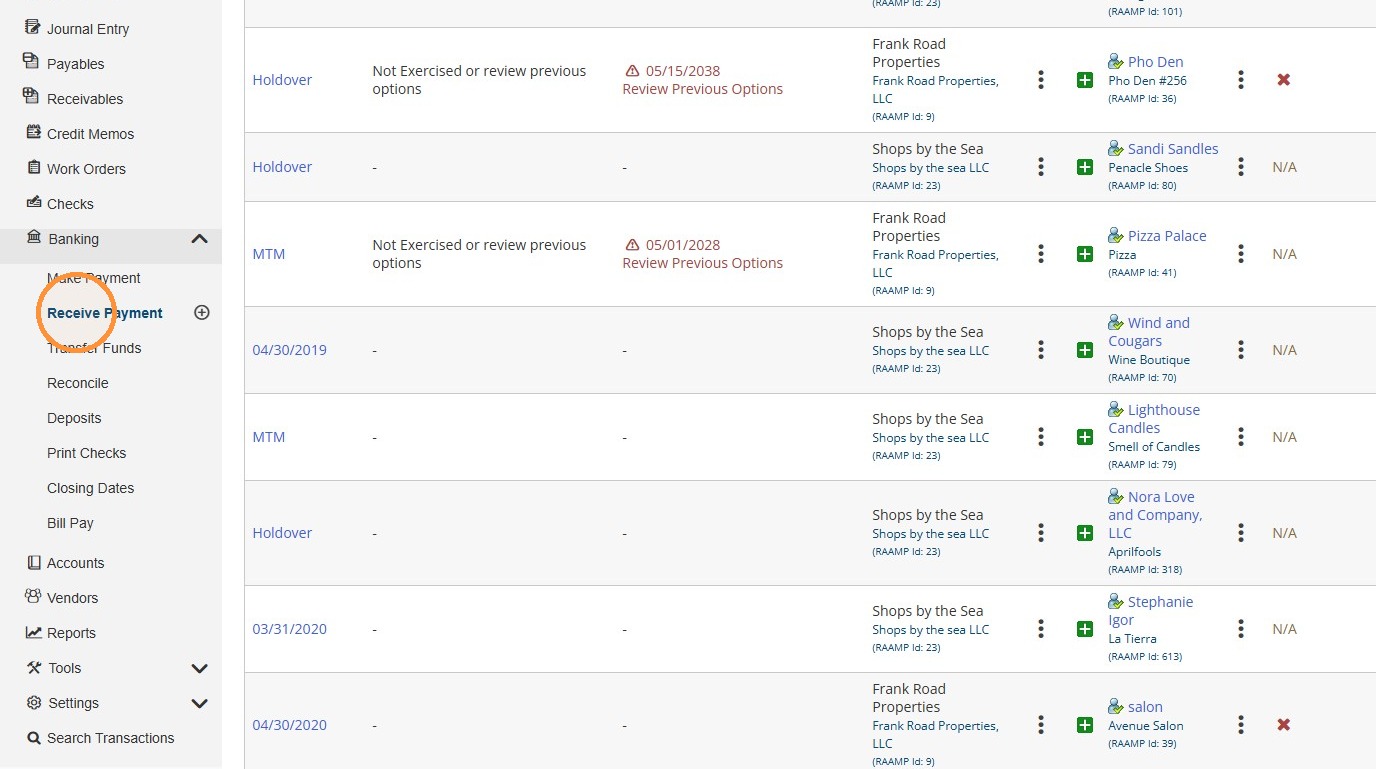
1. From the navigation menu, select Accounting > Banking > Receive Payment.
Receive Payment Overview
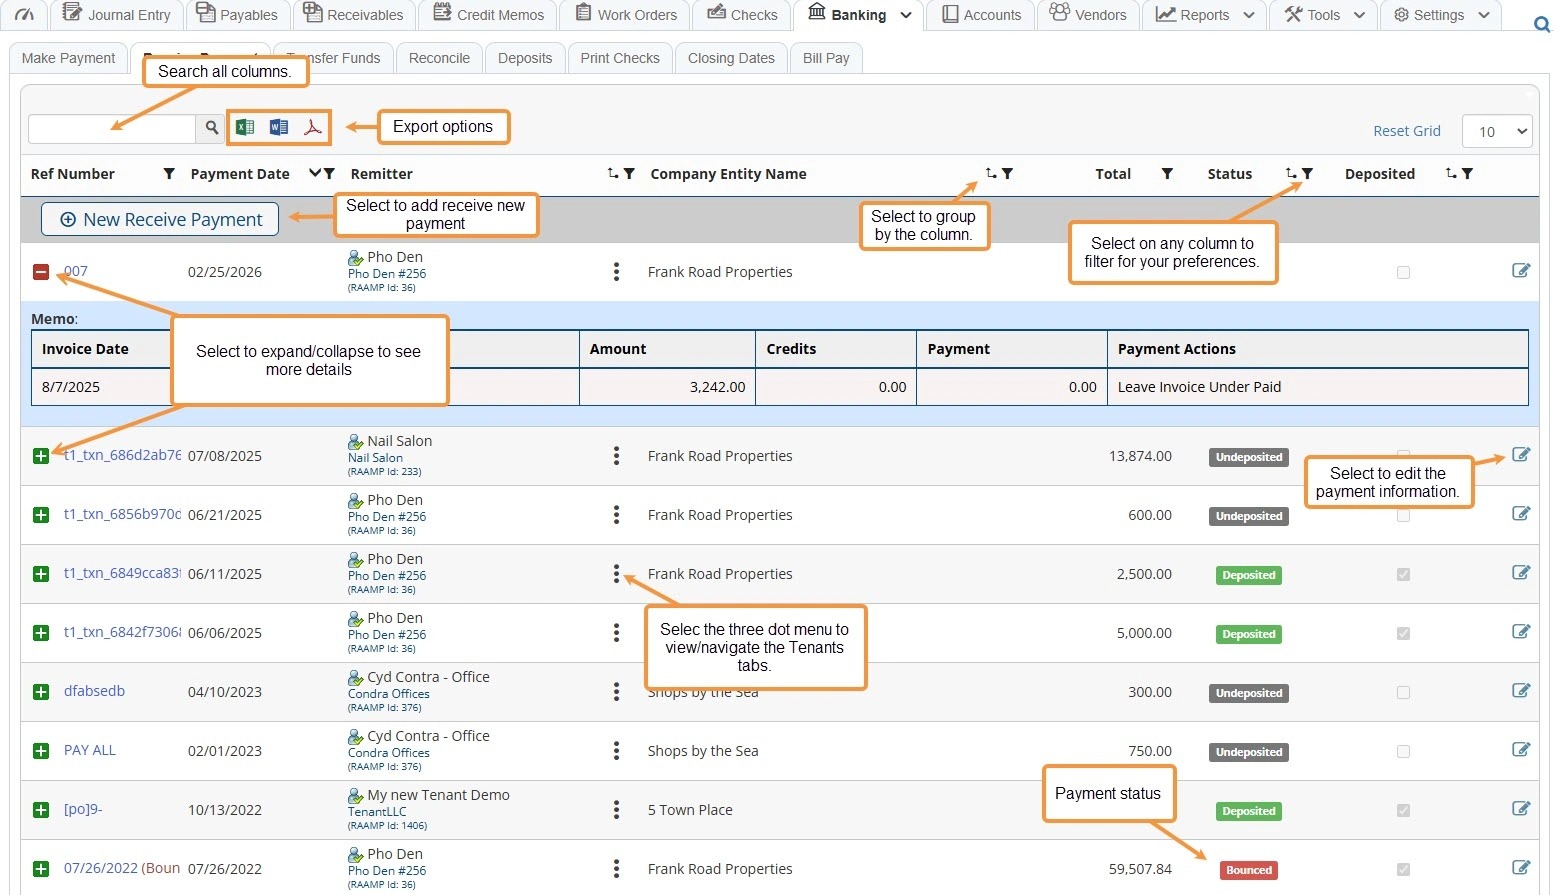
2. Receive Payment Screen Overview
How to Apply Payment from Moved Out Tenant
Alert: ⚠️ Before proceeding, confirm the following:
- Does the tenant have a remaining ledger balance?
- Are there security deposit funds still held?
- Is a forwarding address on file?
👉 It is strongly recommended to resolve or verify these items before completing the move-out to ensure accounting and compliance accuracy.
3. Select New Receive Payment.
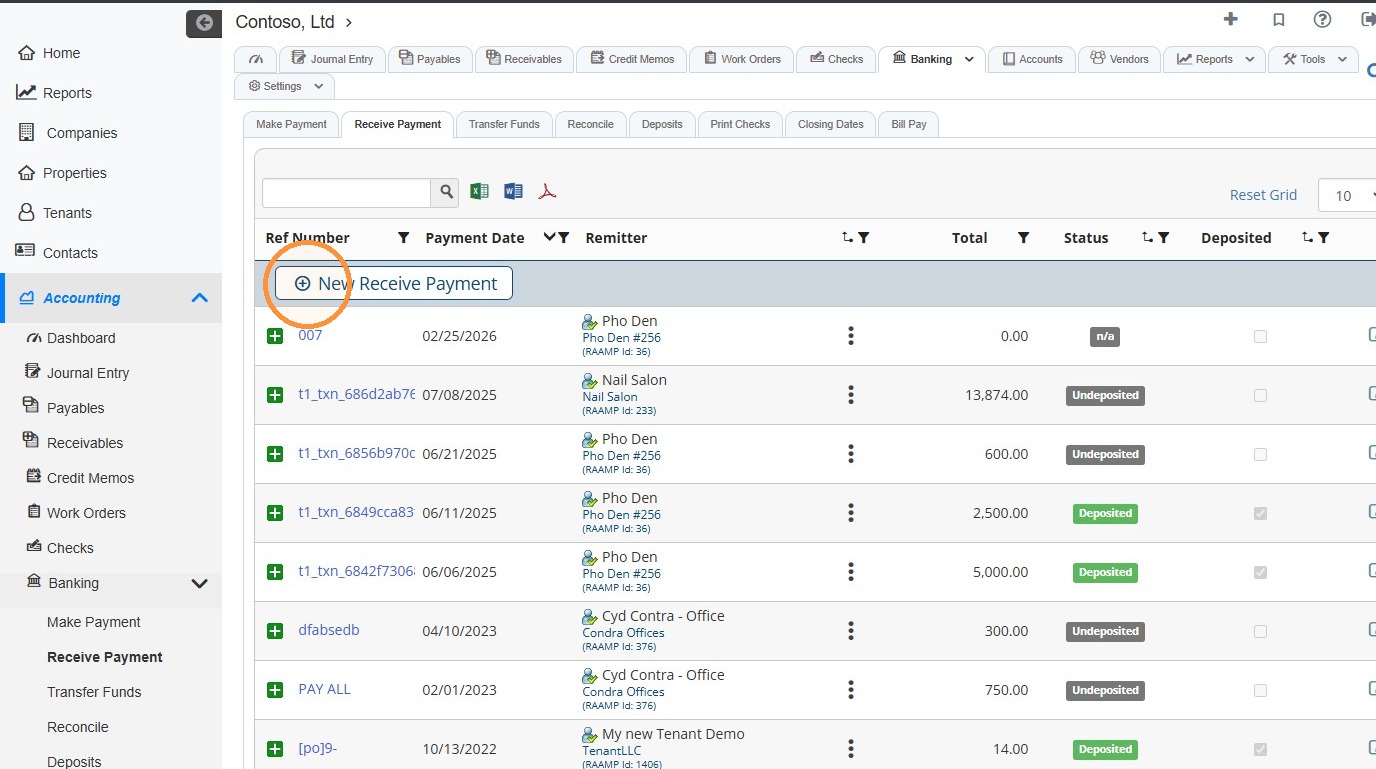
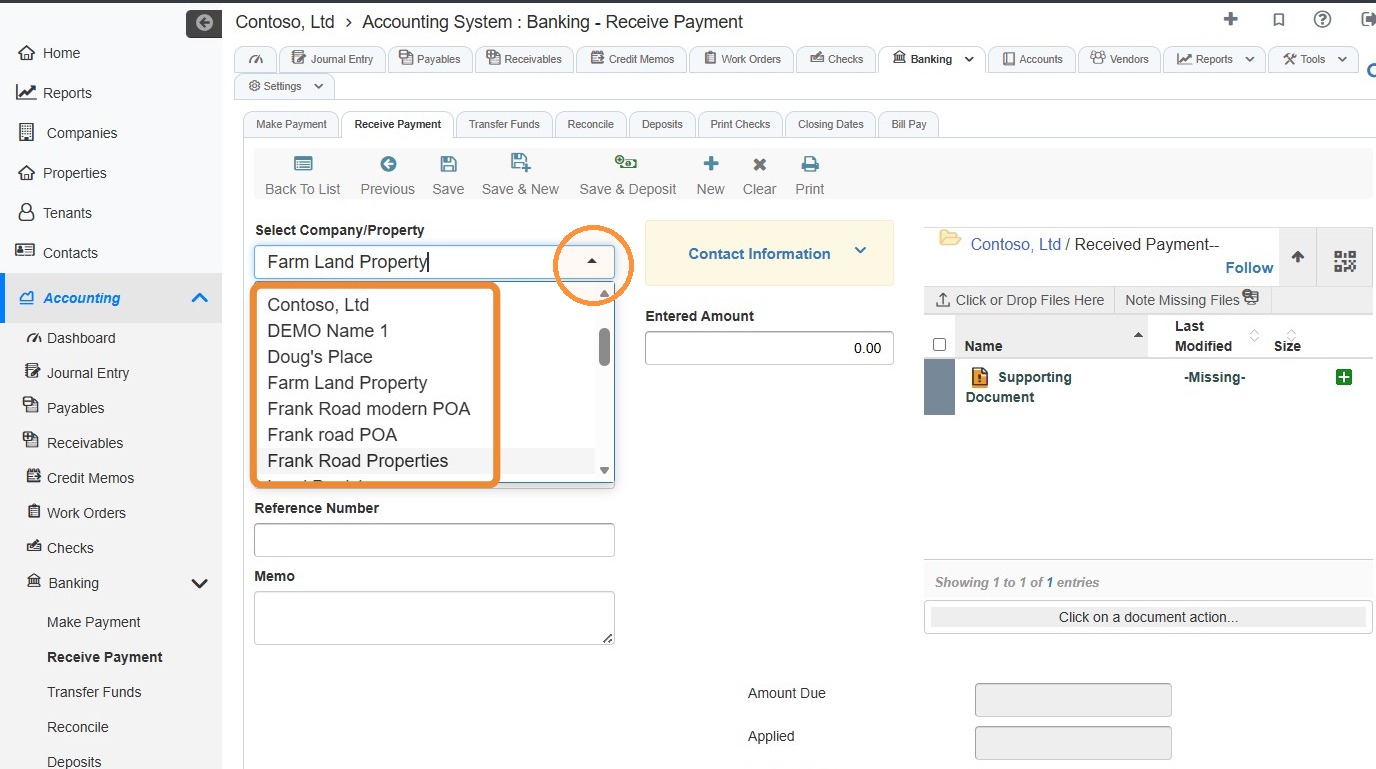
4. Select the Company/Property field and choose the preferred company/property from the dropdown.
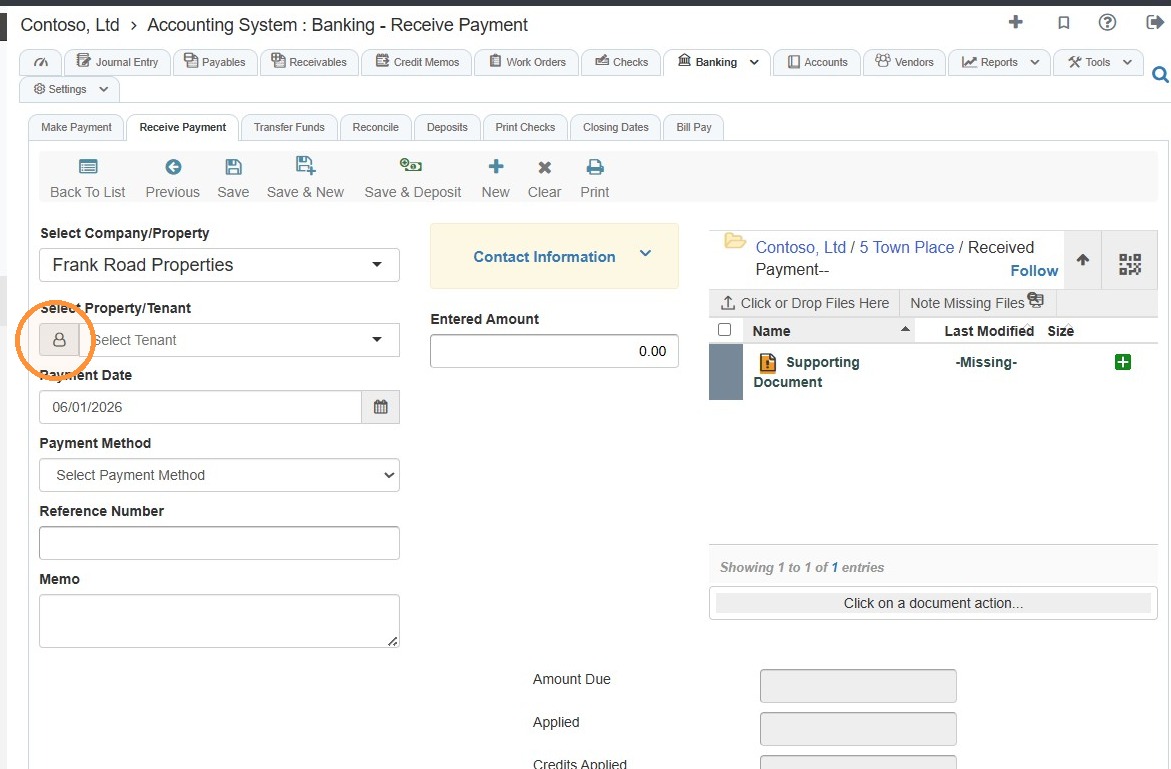
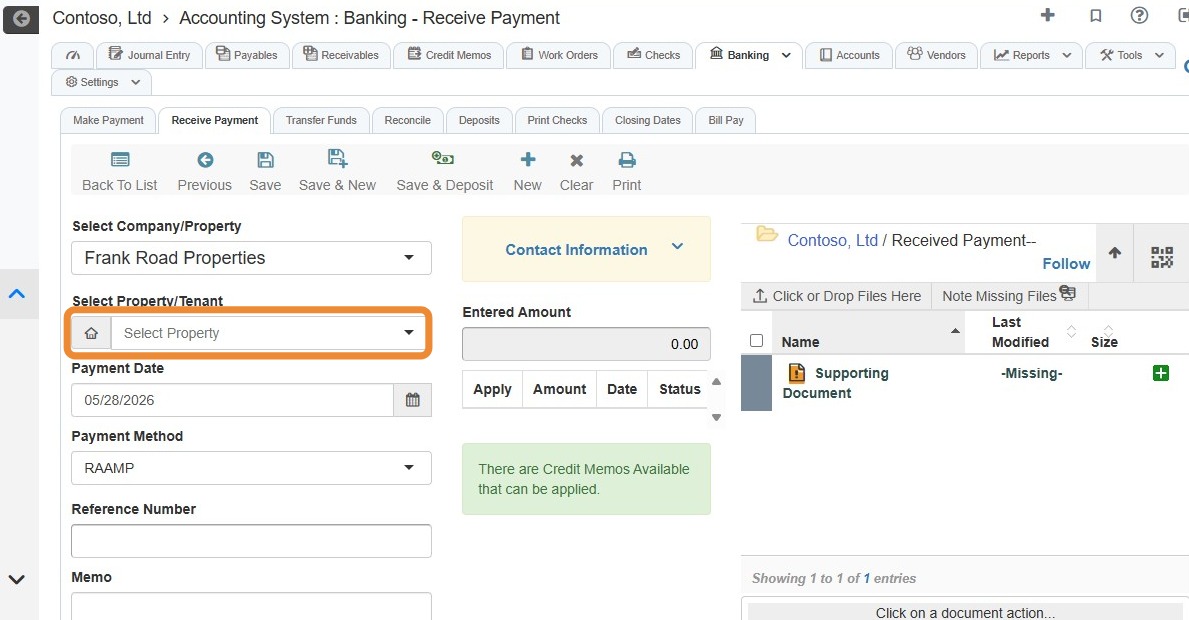
5. Select the Property/Tenant icon.
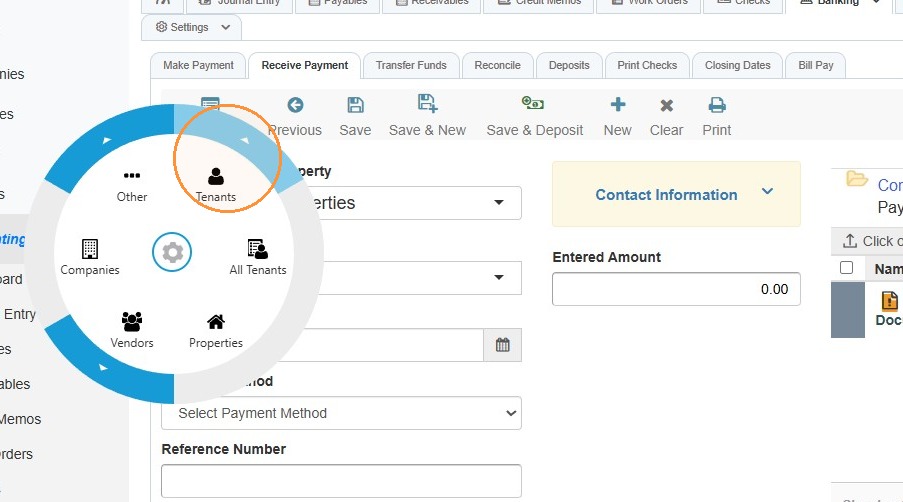
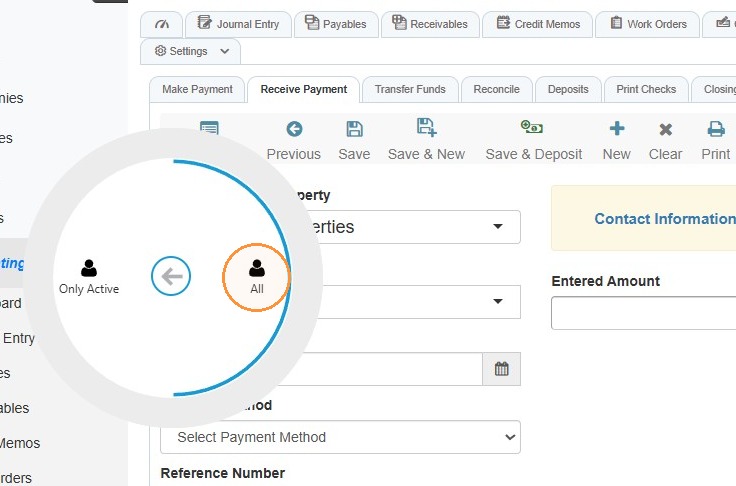
6. Select Tenant > All.
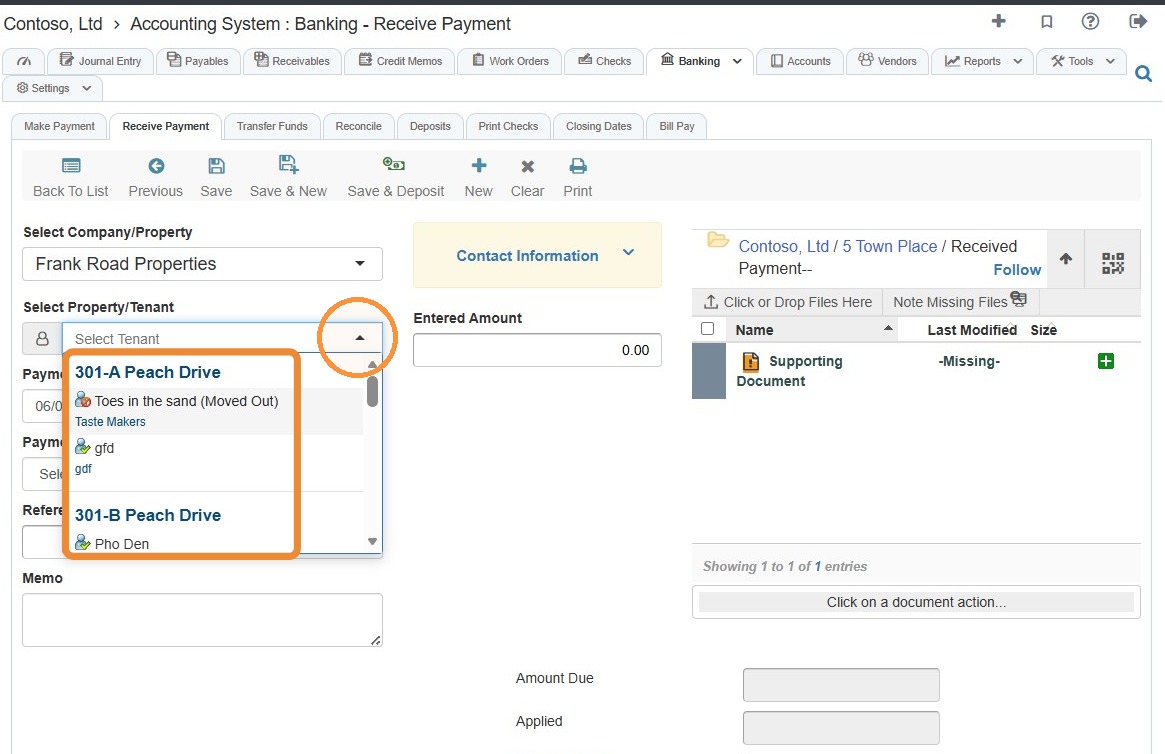
7. Select the preferred moved out tenant.
Alert: 🔍 Review before continuing:
- Check the tenant ledger for open balances
- Confirm security deposit status
📌 Moving out a tenant with unresolved balances may affect reporting and collections.
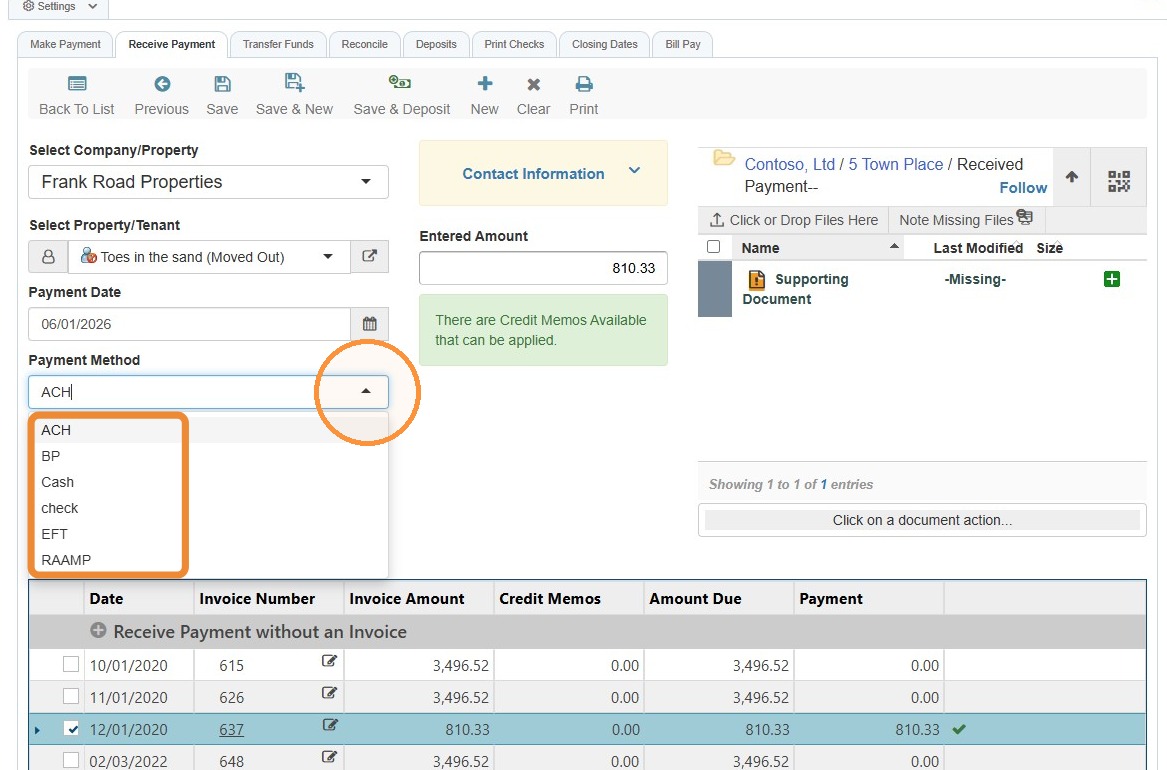
8. Select the Payment Method field > Choose the payment method.
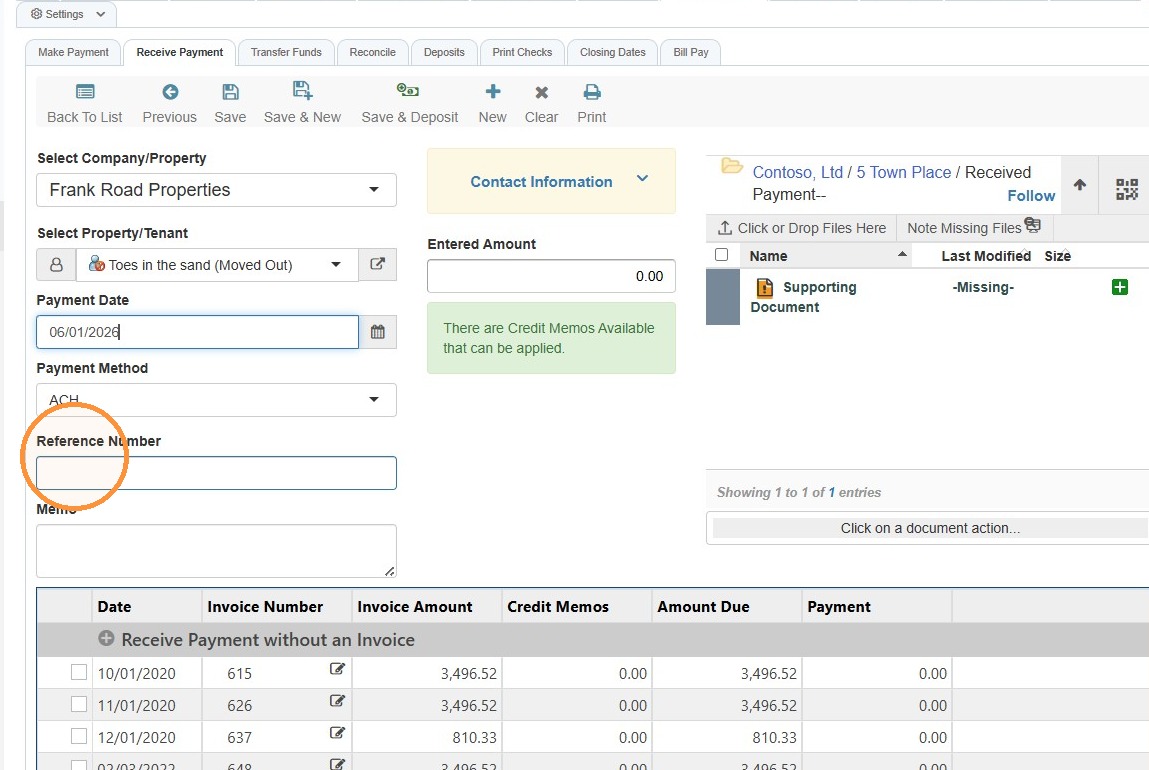
9. Select the Reference Number field > Enter the reference number.
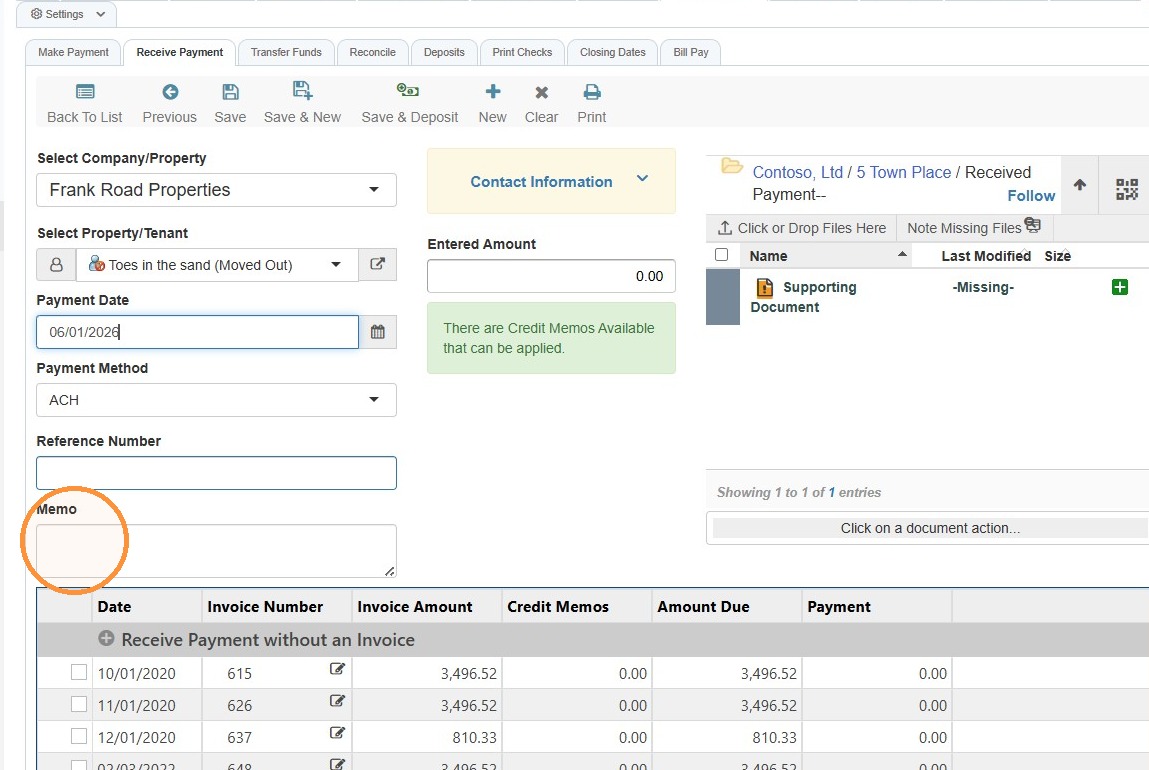
10. Select the Memo field > Enter the memo.
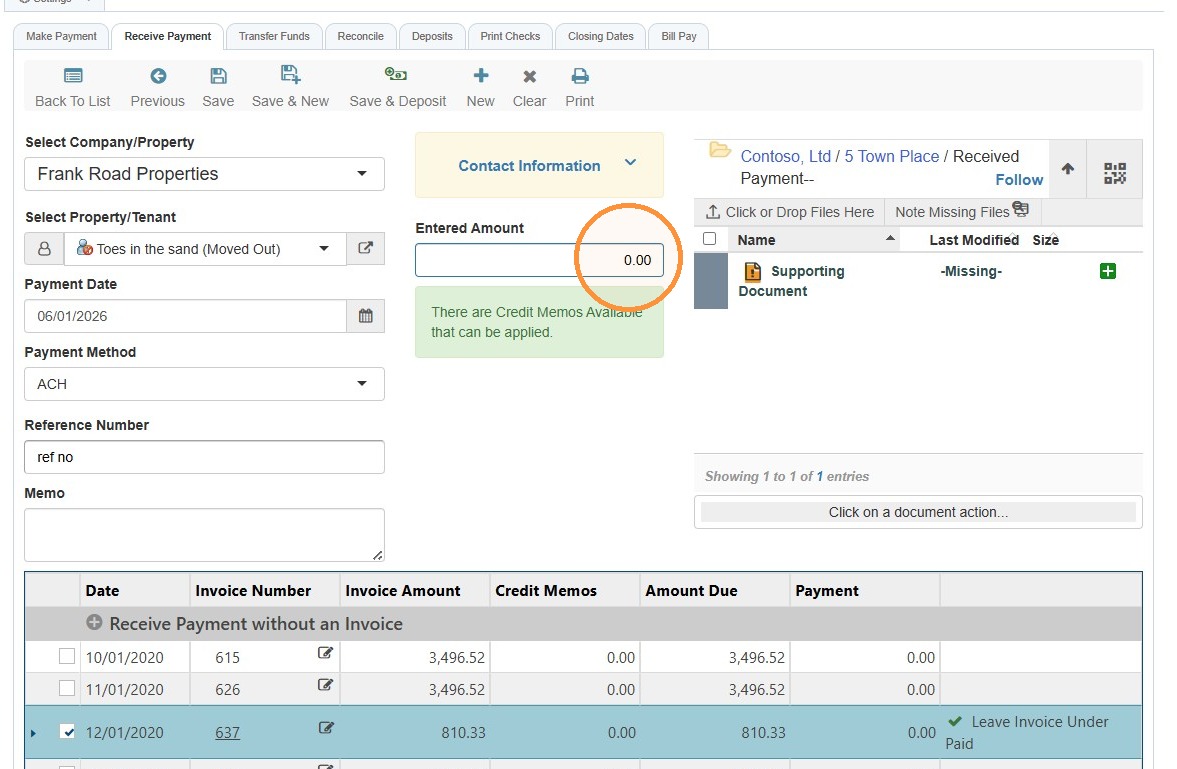
11. Select the Entered Amount field > Enter the payment amount.
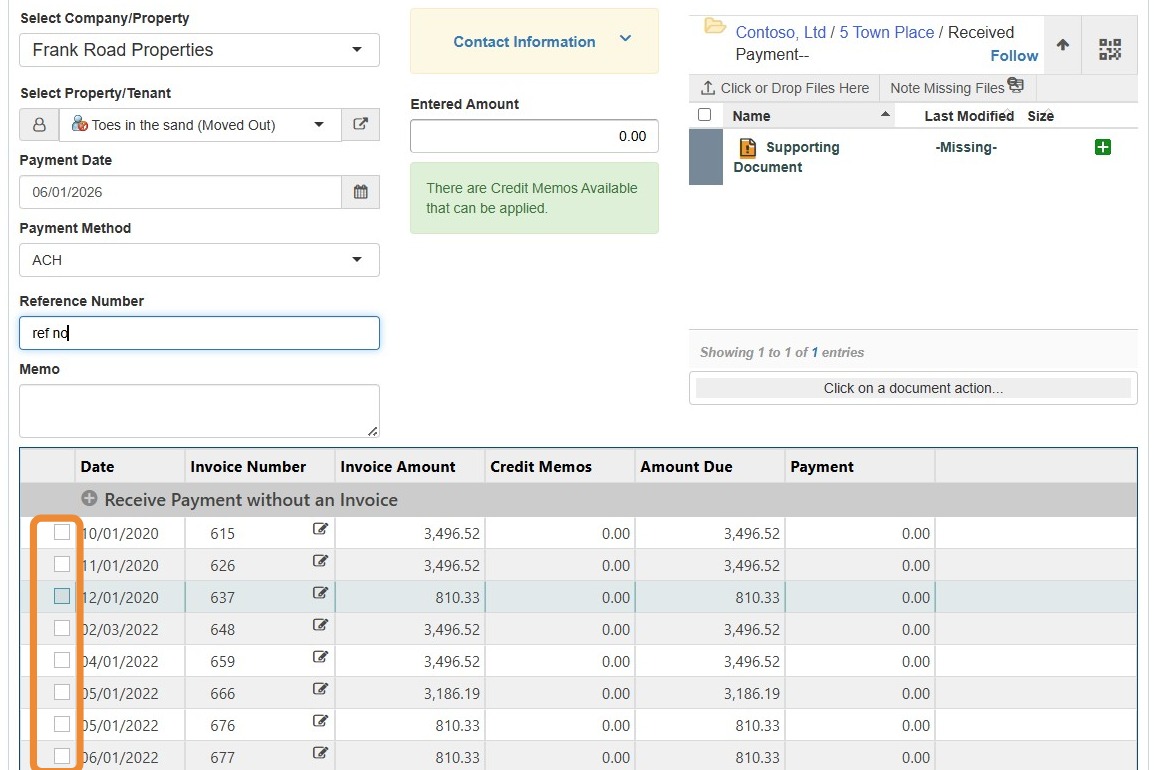
12. Select the checkbox(es) next to the invoice(s) for which payment has been received.
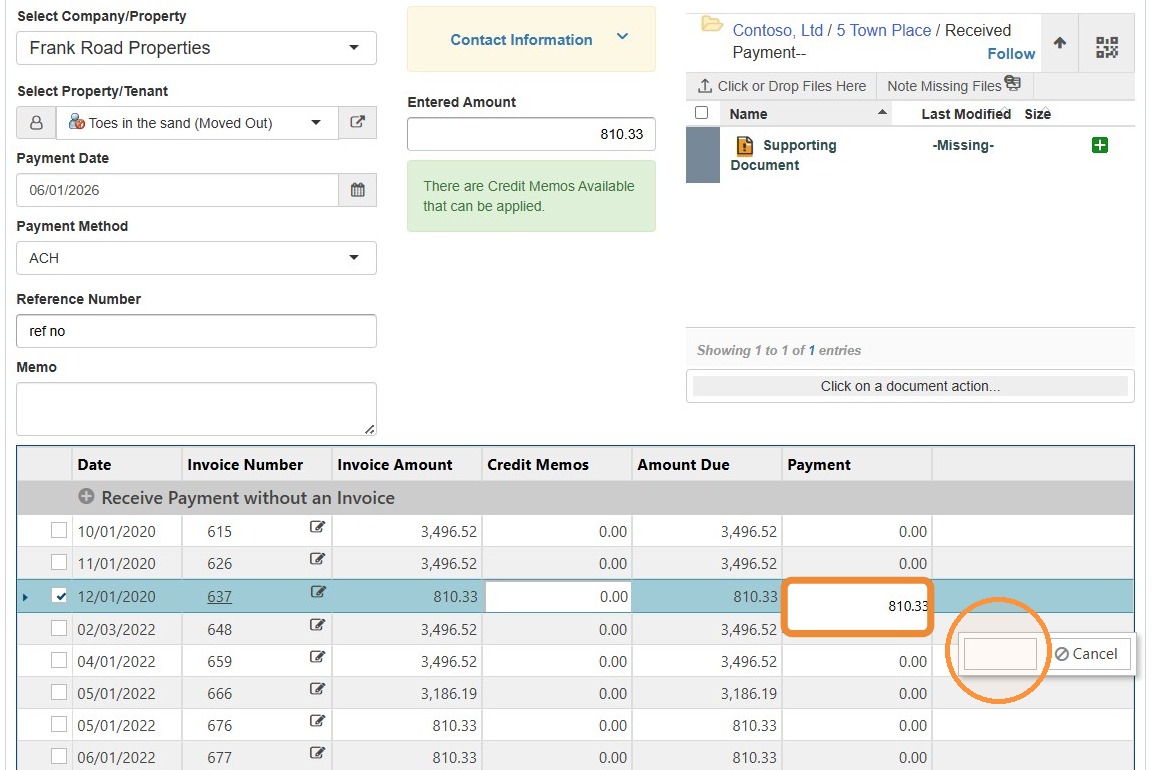
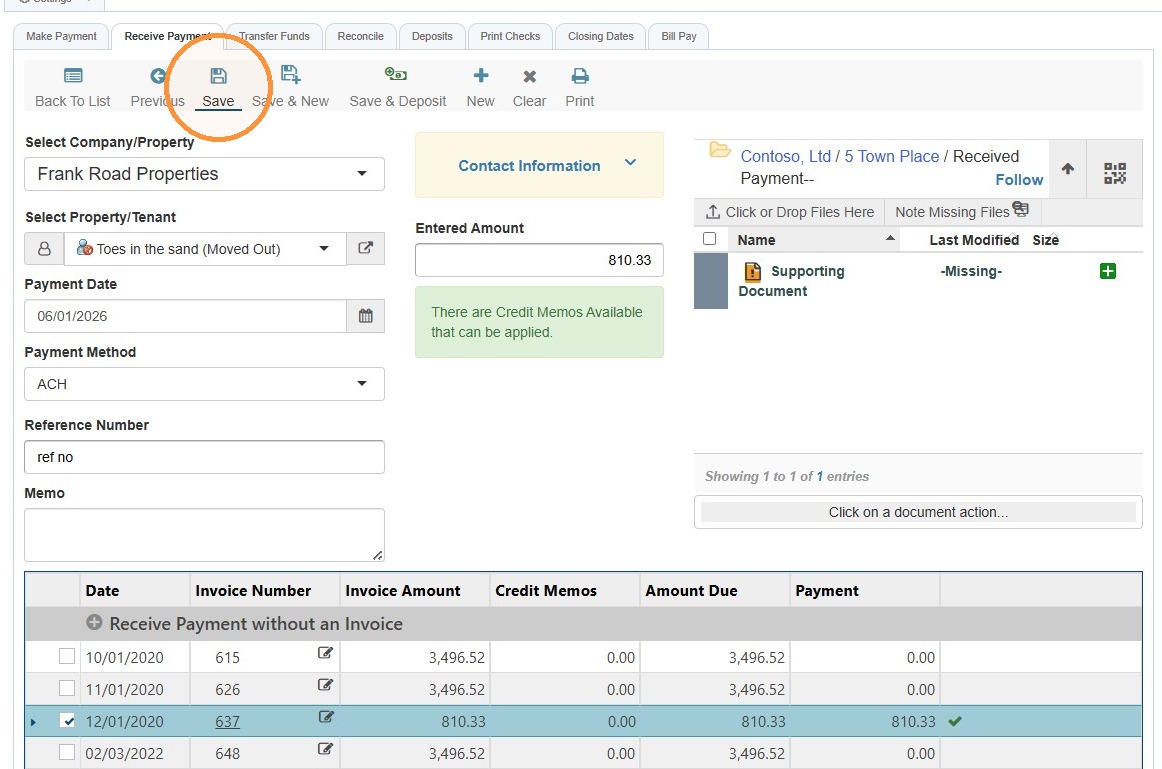
13. Select the Payment field > Enter the amount of payment for each invoice > Save.
Alert: 🚨 Final Check Before Move-Out Please confirm:
- ✅ Ledger balance has been reviewed
- ✅ Security deposit has been accounted for
- ✅ Forwarding address is correct or updated
⚠️ Once moved out, correcting these items may require additional steps.
14. Select Save.
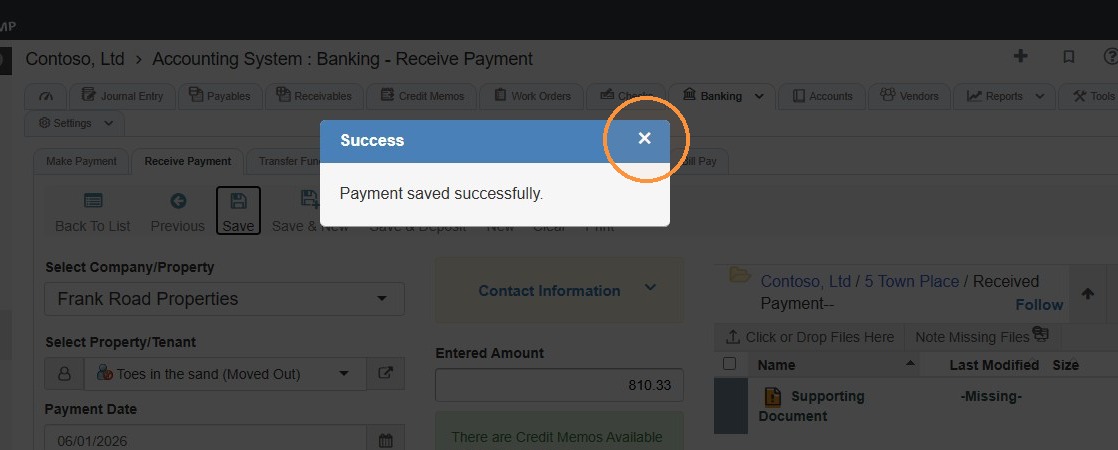
15. You'll receive a success message, select the x.
Alert: 📌 Recommended Follow-Up Actions:
- Process security deposit disposition
- Send final statement to forwarding address
- Address any remaining balances or refunds
How to Change Entity Type
Tip: If you need to change the entity type, follow the steps below.
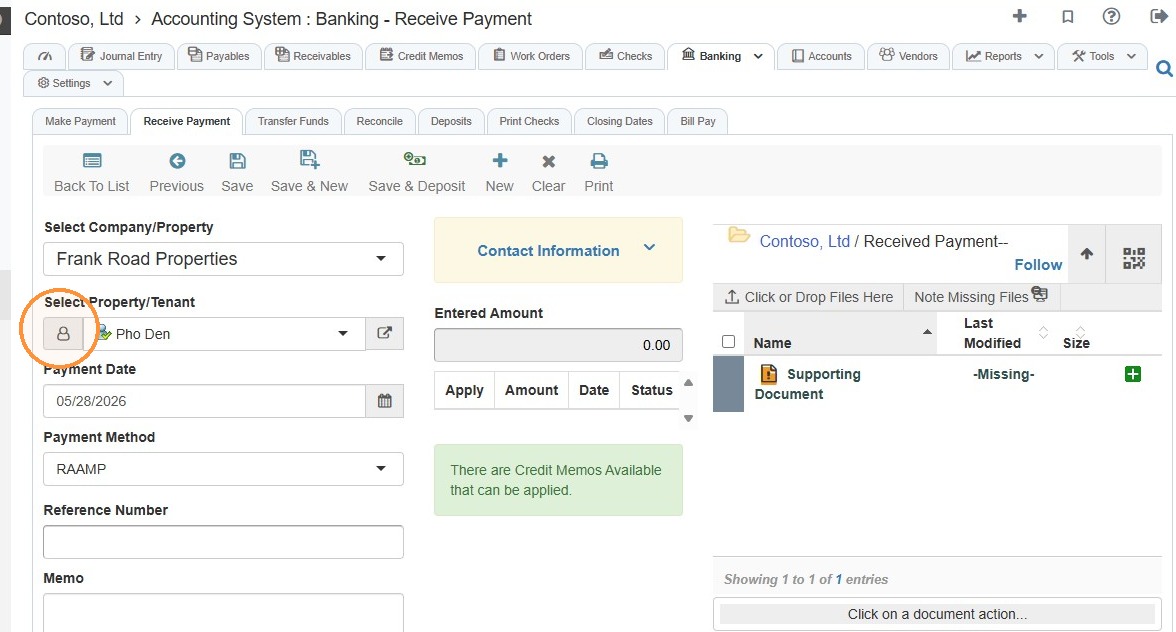
16. Select the Property/Tenant icon.
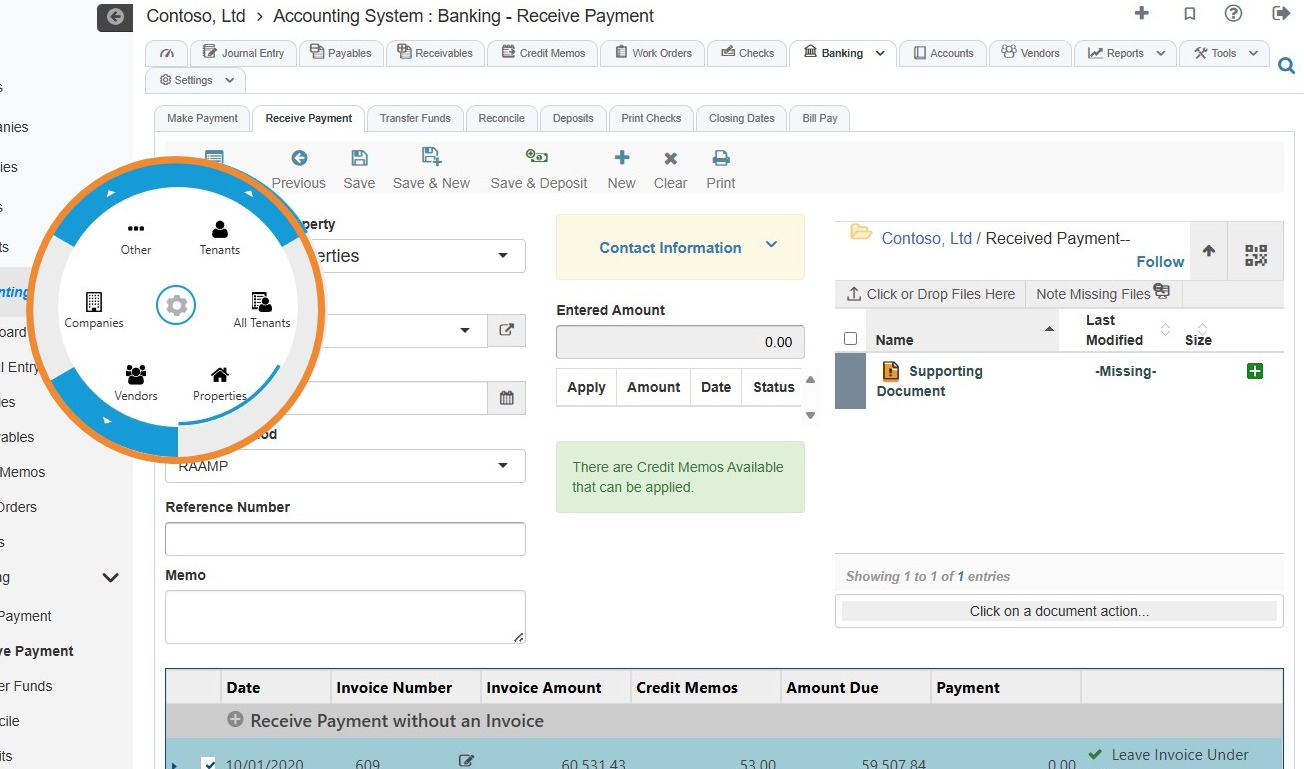
17. Choose the entity type from the radial menu.
For example, if you want to pay a property, select Properties.
Related Tutorial(s):