How to Work with Credit Cards
This guide shows how to record and manage bills paid with credit cards in RAAMP by creating a Credit Card payment method and adding a Credit Card account in the Chart of Accounts. Follow it to ensure transactions are linked to the correct account, enable bill pay, and maintain proper subaccount structure for accurate reconciliation and property linking. It prevents posting errors and improves accounting workflow.
Tip: RAAMP allows you to track bills paid via a Credit Card.
- You need to set up a Credit Card as a Payment Method.
- You need to create a Credit Card account in the Chart of Accounts.
How to Set Up a Credit Card as Payment Method
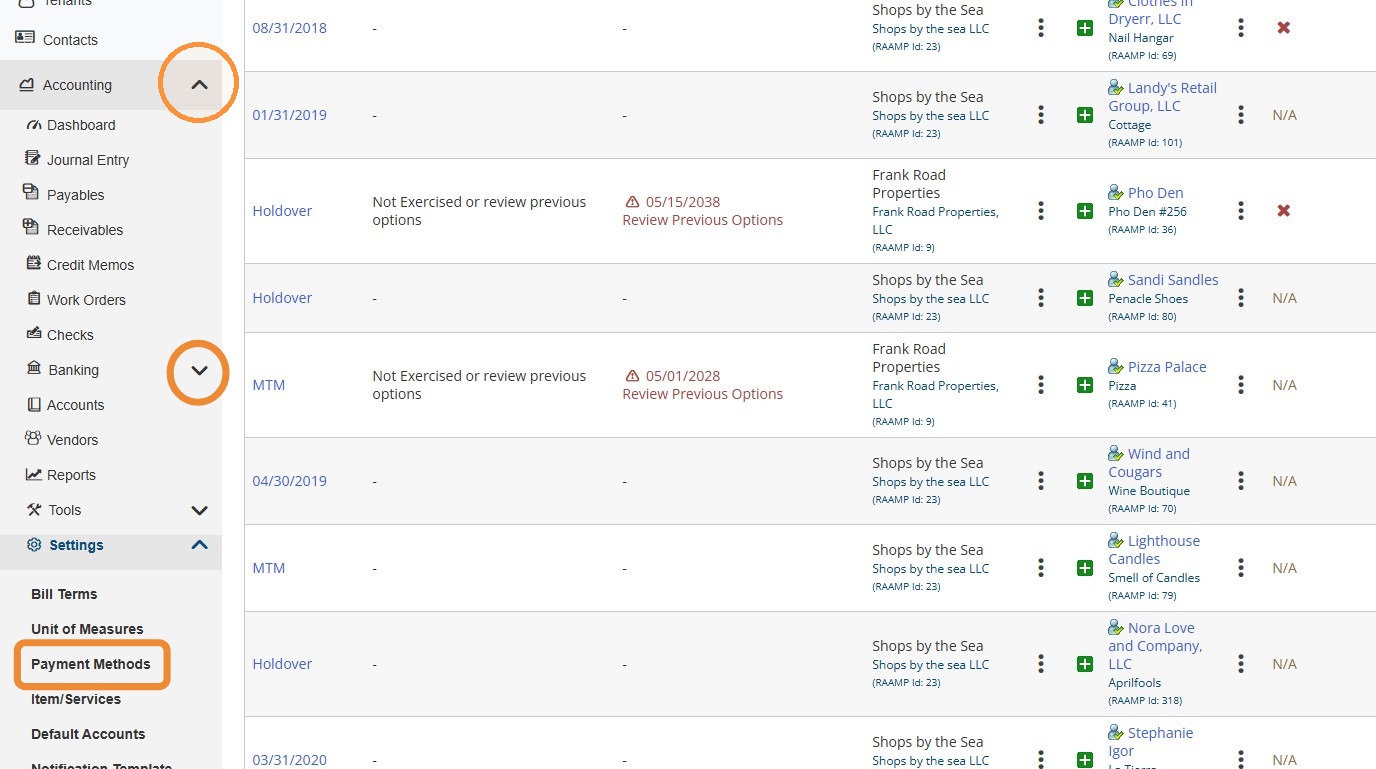
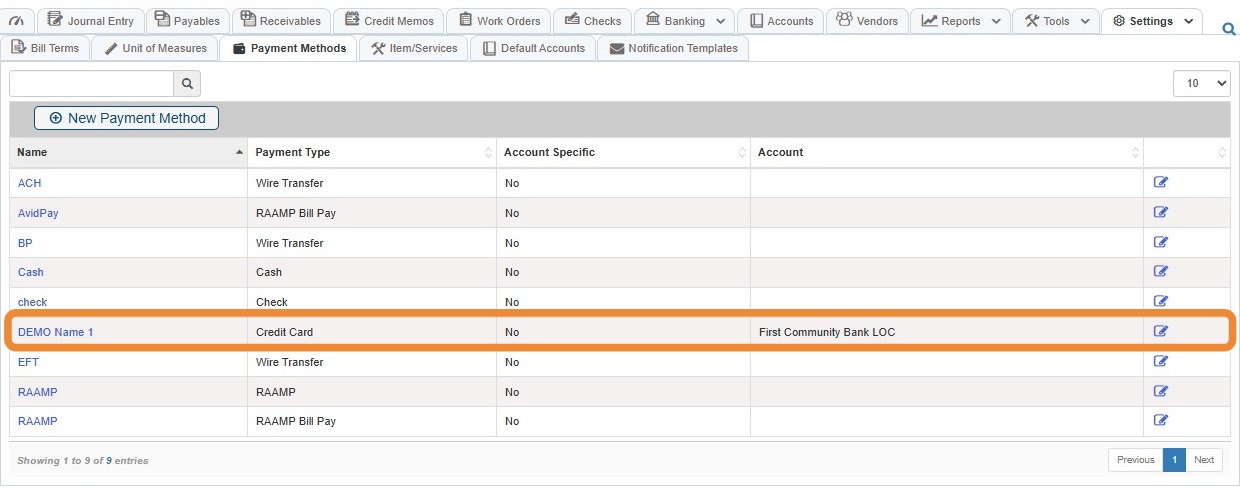
1. From the navigation menu, select Accounting > Select Settings > Select Payment Methods.
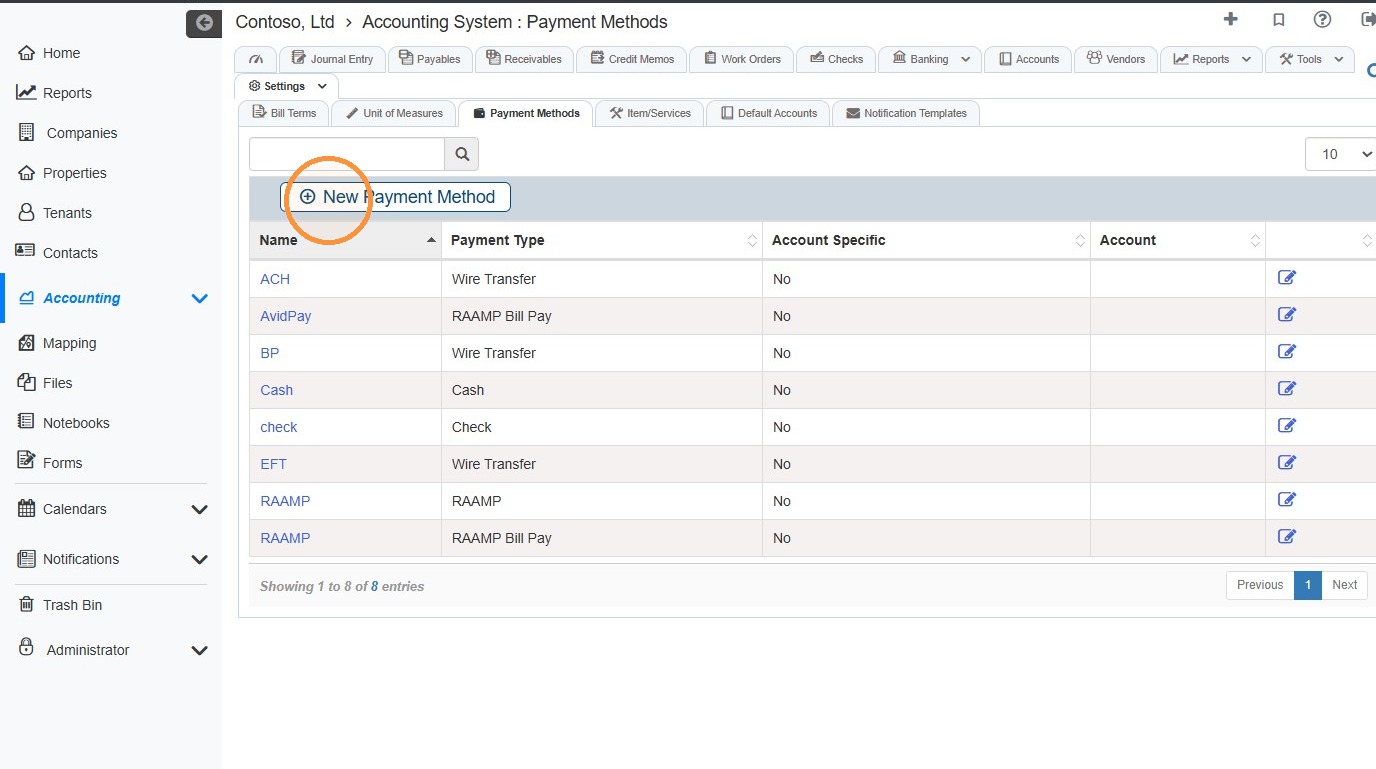
2. Select New Payment Method.
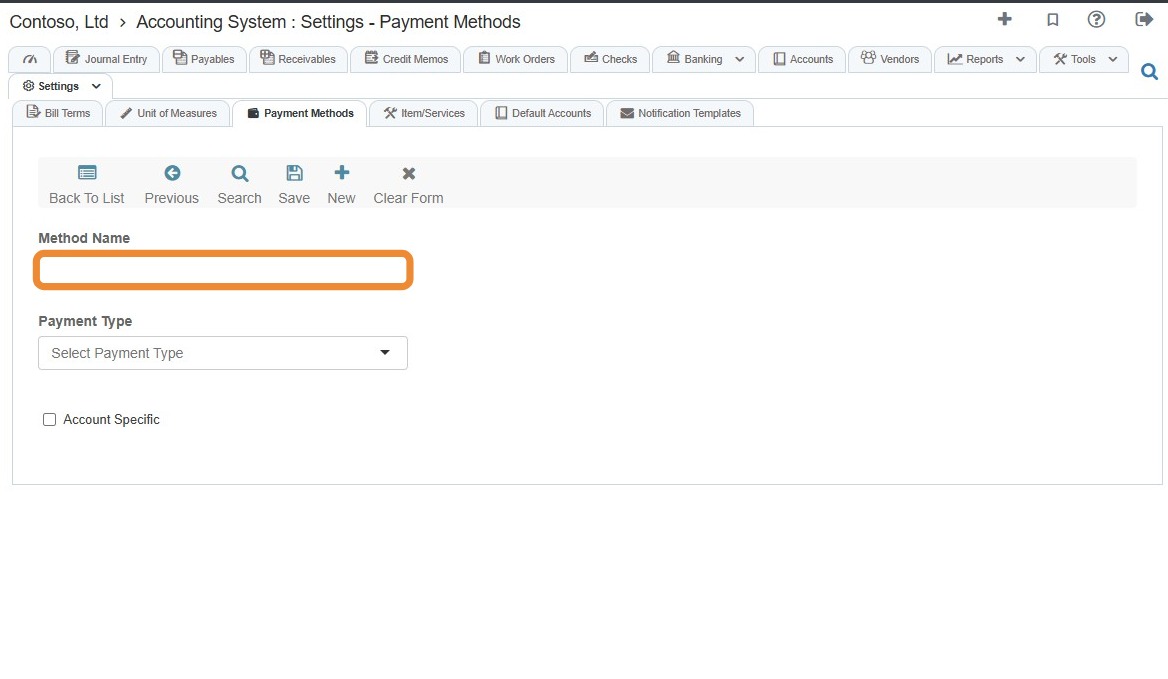
3. Select the Method Name field > Enter a name.
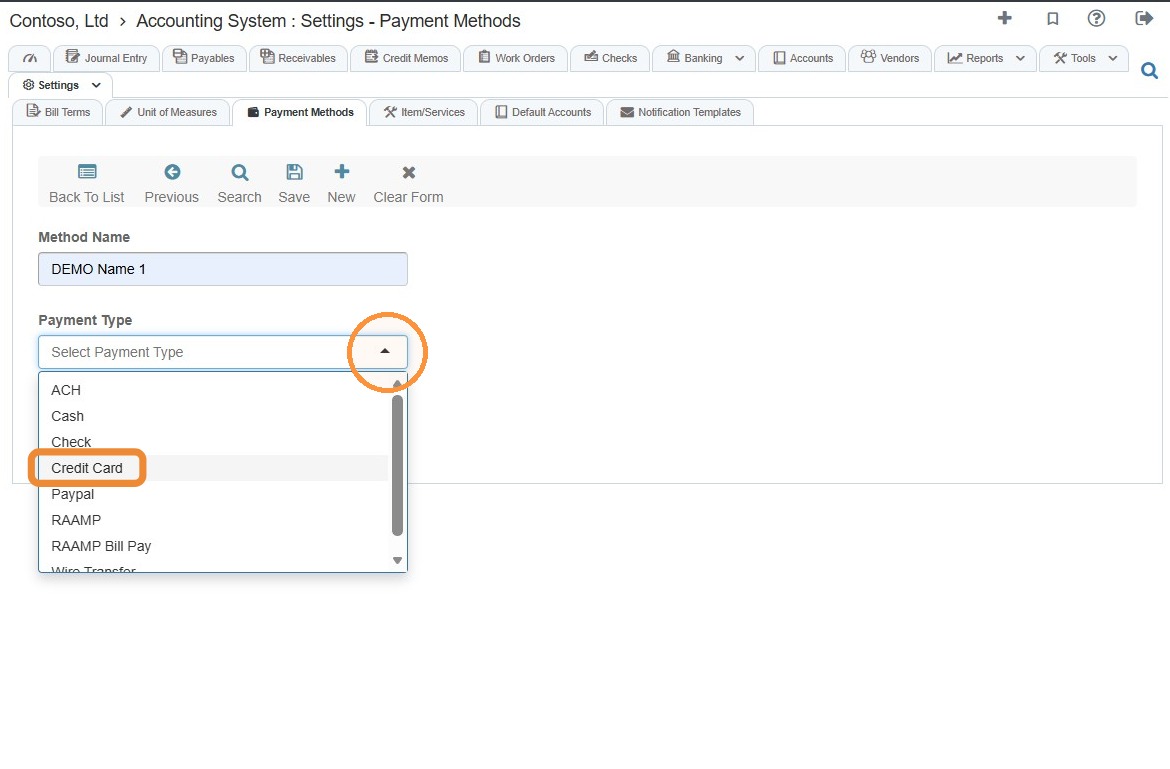
4. Select Credit Card from the Payment Type dropdown.
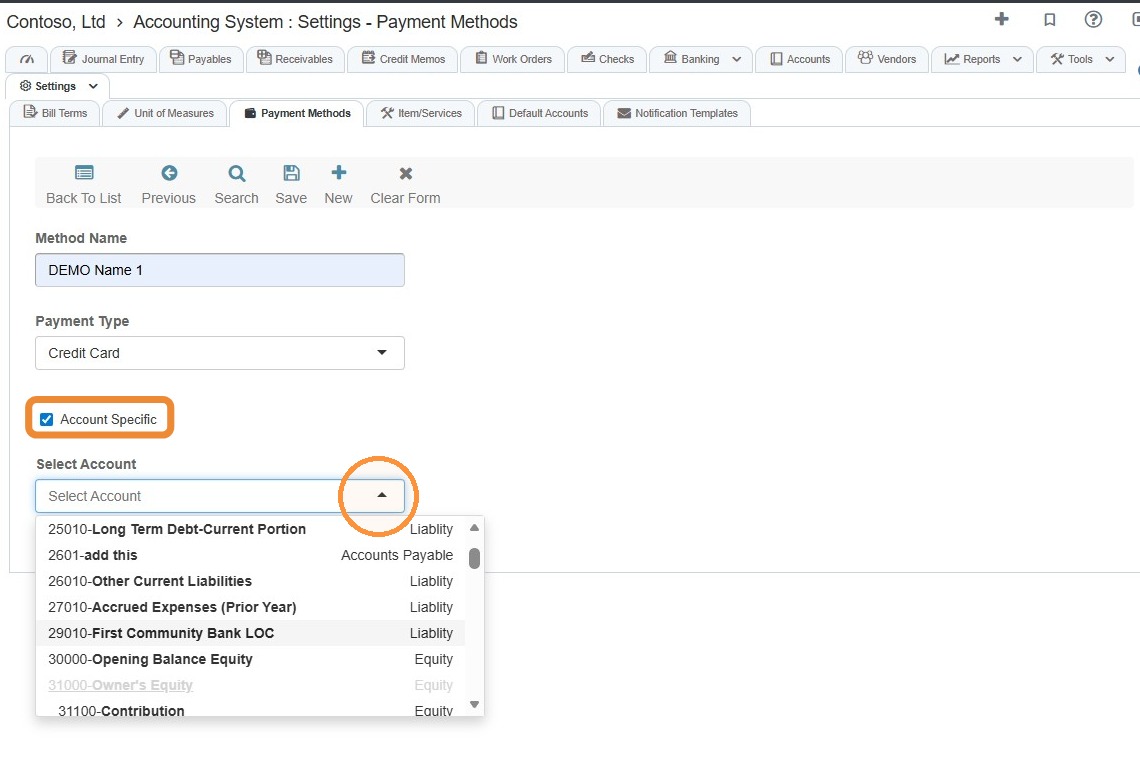
5. Select the Account Specific checkbox if you want to connect the credit card to a specific account.
Select the account from the dropdown menu.
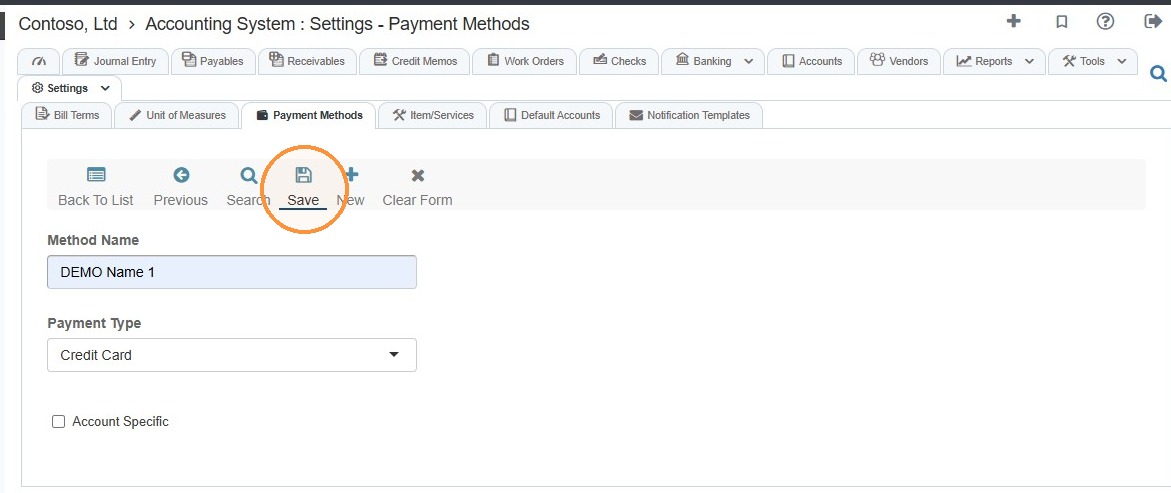
6. Select Save.
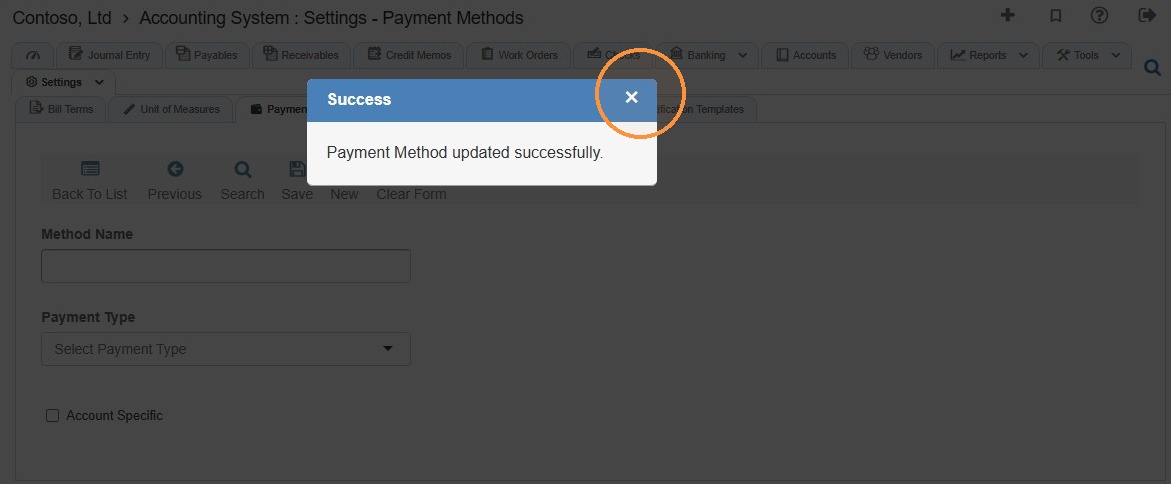
7. Acknowledge the Payment Method updated successfully confirmation.
8. Select Back To List to return to the Payment Methods summary.
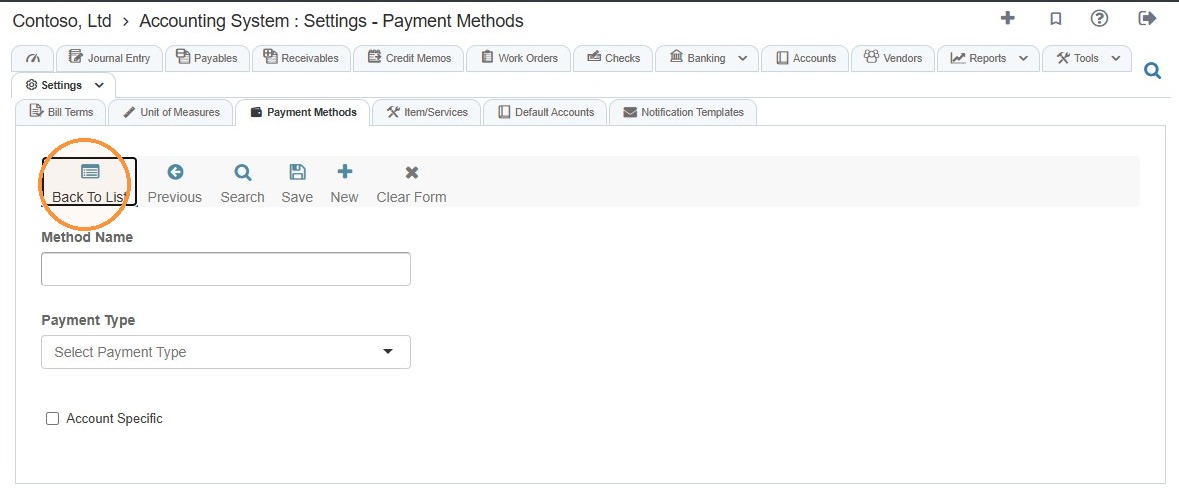
9. Confirm the Payment Method was added.
How to Create a Credit Card Account in Chart of Accounts
Tip: Important: Make sure the credit card account is assigned to the correct property/company and verify all account information before saving. If your organization uses separate credit cards for different properties or entities, create and assign each account accordingly.
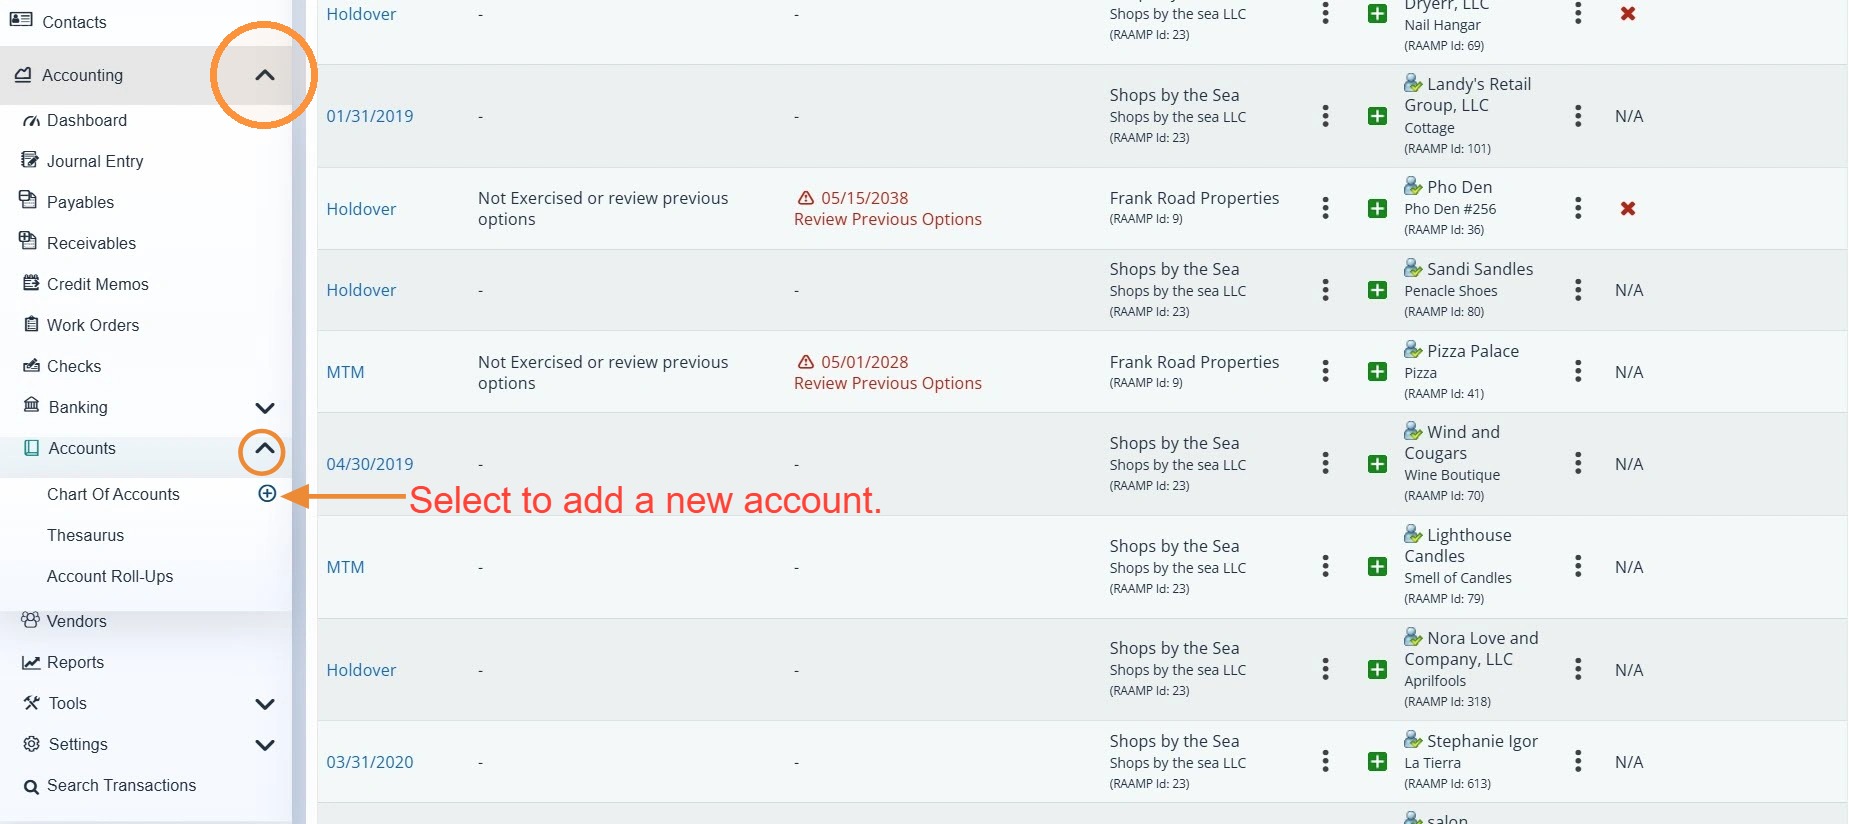
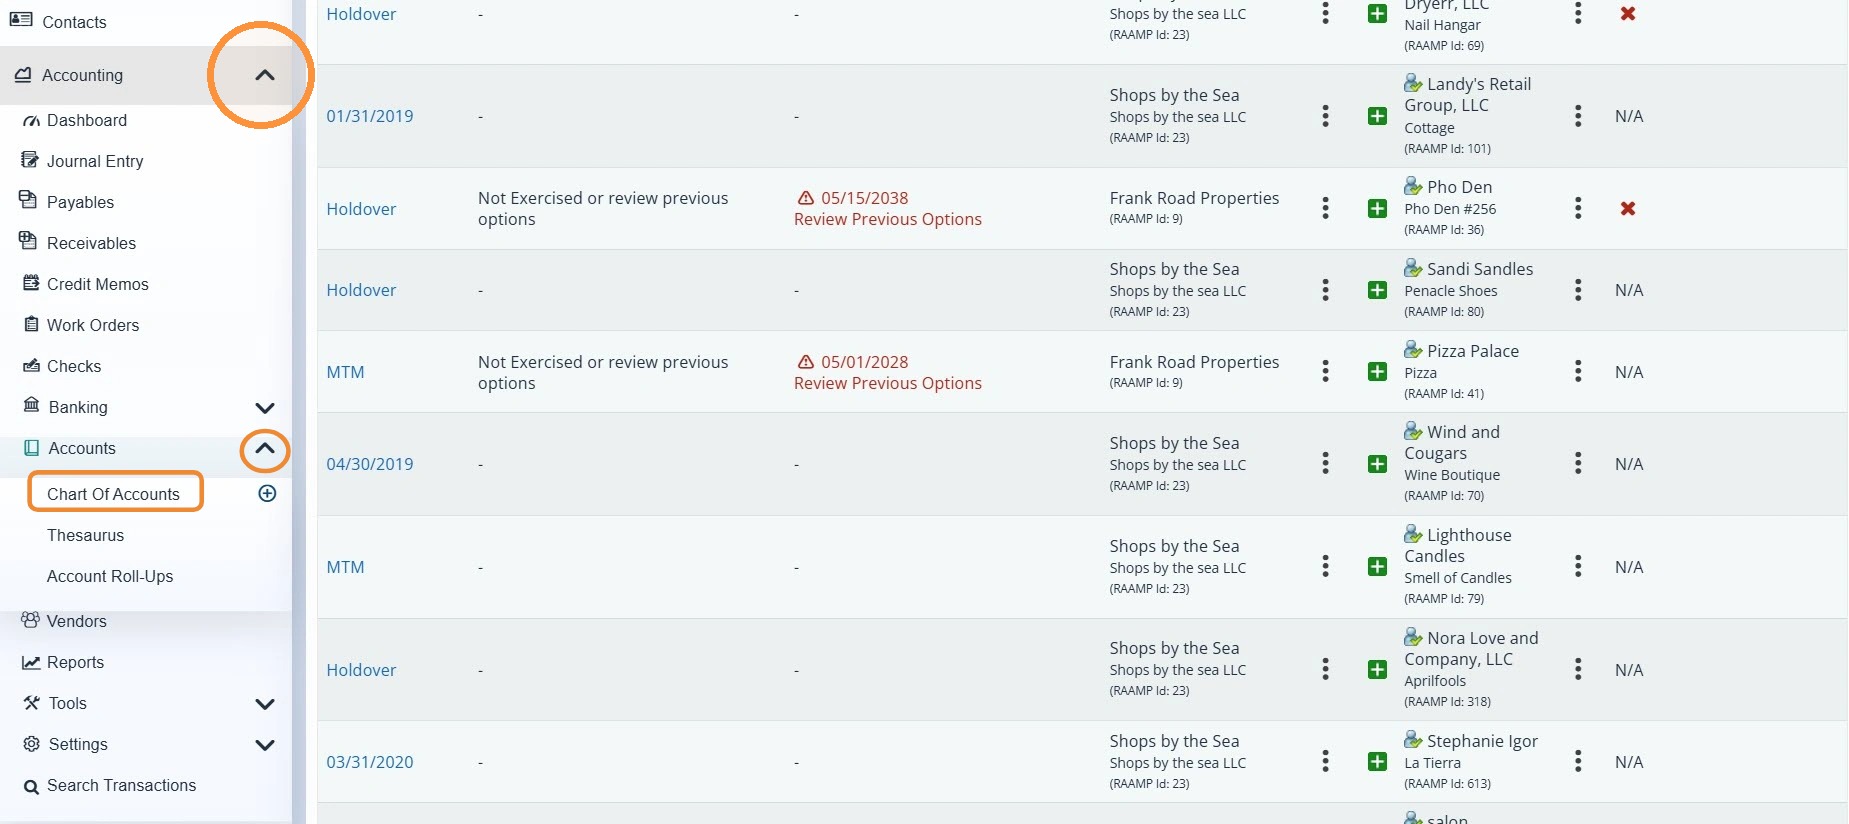
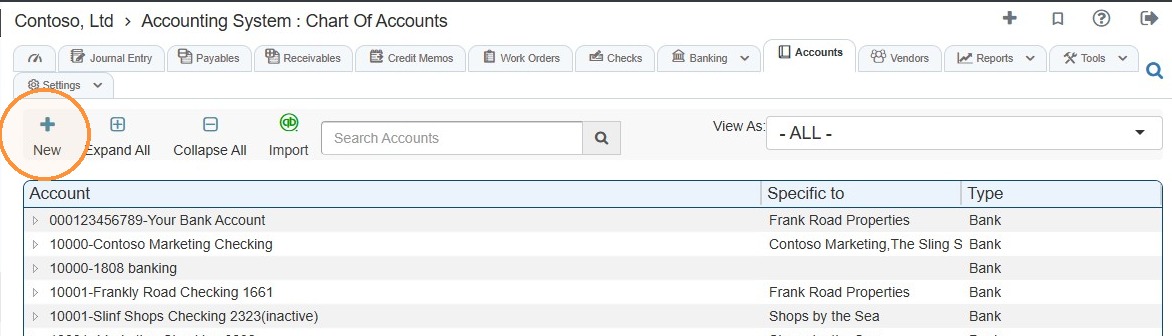
10. From the navigation menu, select Accounting > Select Accounts > Select Chart of Accounts > Select New.\ \ Alternatively, from the navigation menu, select Accounting > Select Accounts > Hover over Chart of Accounts > Select the + icon to go directly to Add New Account.
11. Select Account Type to view the dropdown menu > Select Credit Card.
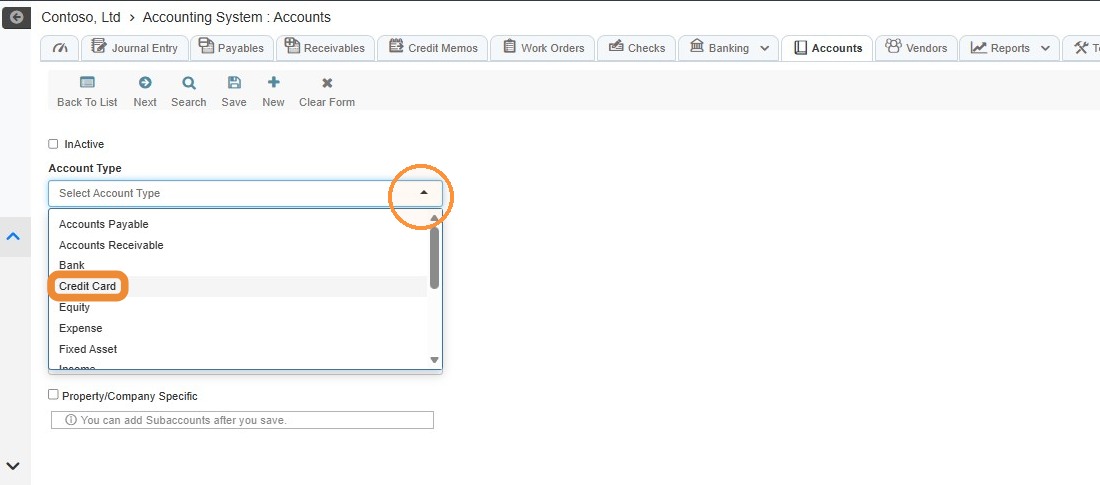
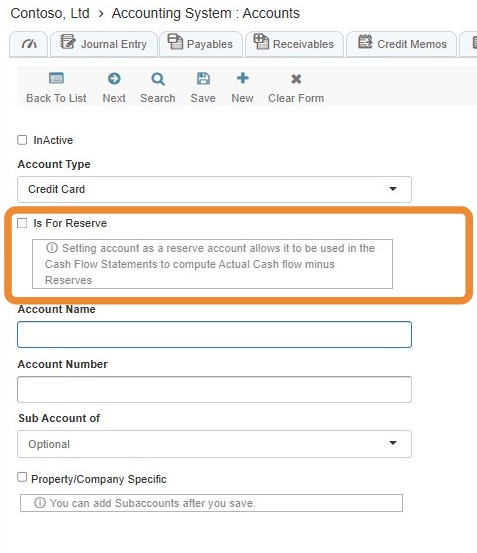
Tip: Only select "Is For Reserve" for an actual reserve subaccount. Reserve accounts are still included in bank reconciliation without this designation; the setting primarily affects cash-flow-after-reserves calculations and distributions.
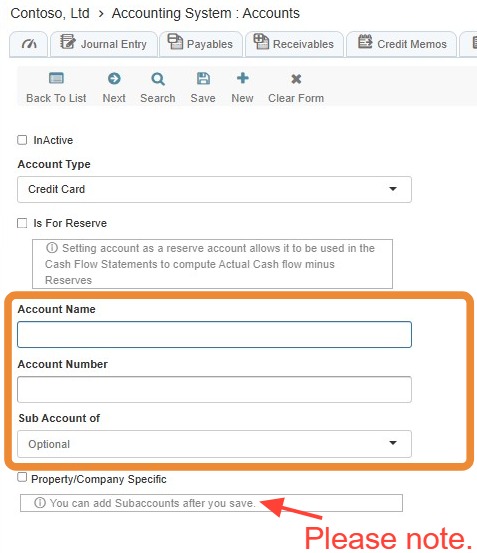
12. Complete the information accordingly.
Do not rely on prefilled information without verifying it against the property's banking documentation.
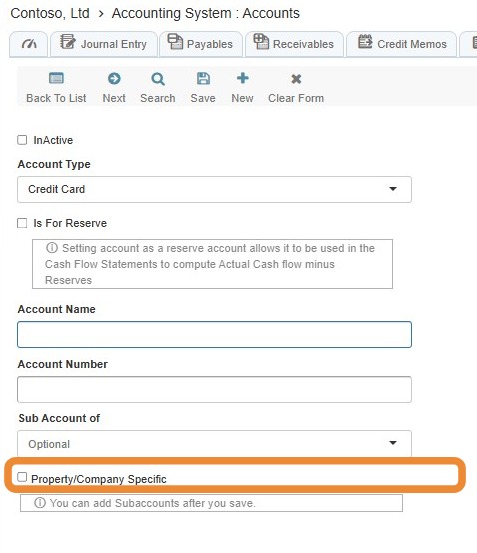
13. Make the account property/company specific when appropriate.
The account must be associated with the correct entity to keep transactions and reporting organized.
14. Select Save.
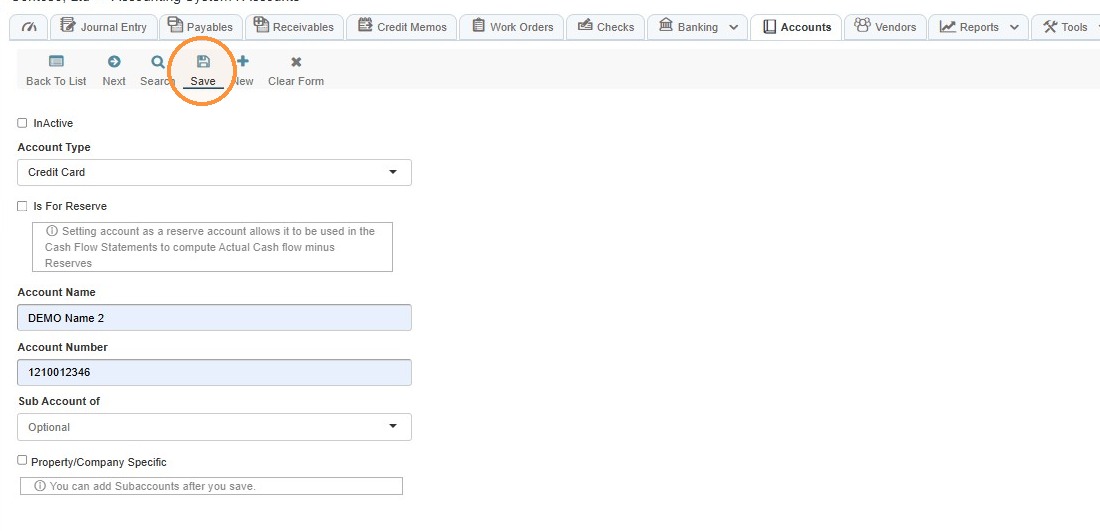
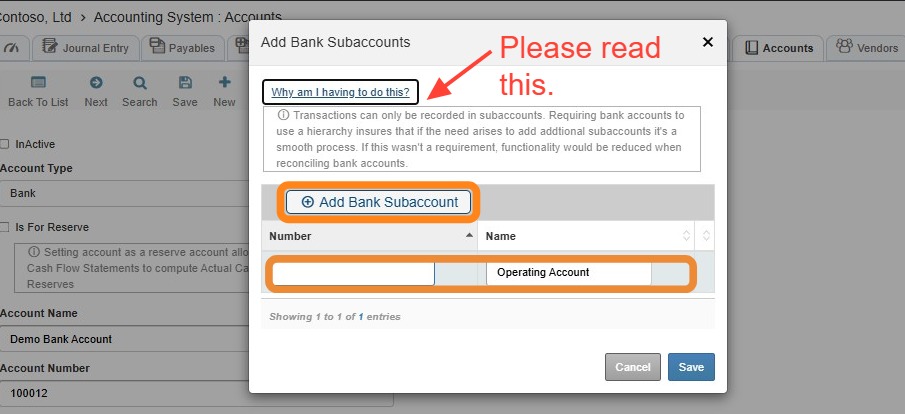
Tip: If you are creating a header/root account, the Add Bank Subaccounts box will appear. This is one way you can add the subaccounts.\ \ Select Add Bank Subaccount > Complete the information > Select Save.
Why are you having to do this? \ Transactions can only be recorded in subaccounts. Requiring bank accounts to use a hierarchy ensures that if the need arises to add additional subaccounts, it's a smooth process. If this weren't a requirement, functionality would be reduced when reconciling bank accounts.
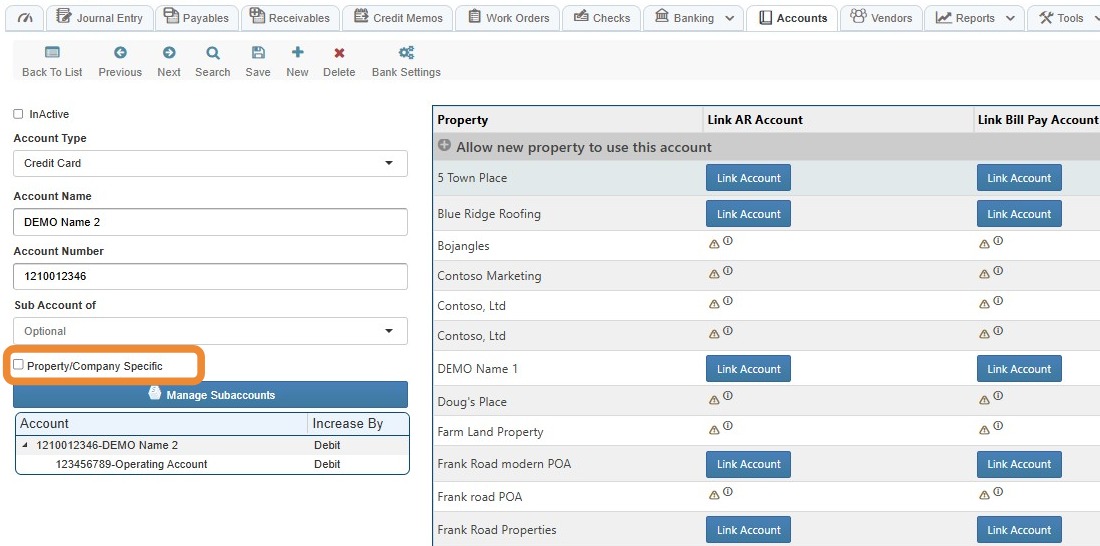
15. Select the Property/Company Specific checkbox.
16. Select Allow new property to use this account.
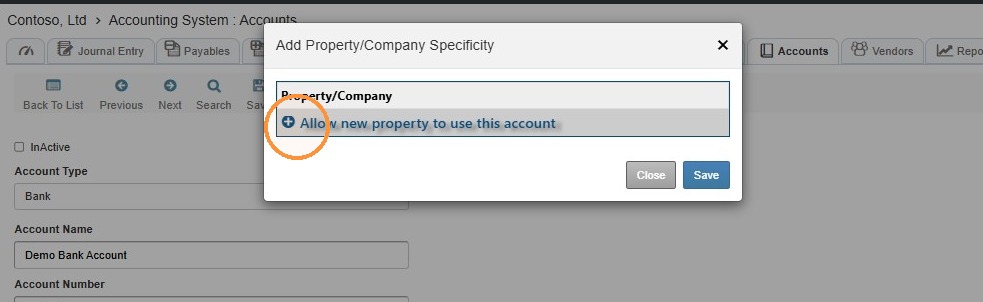
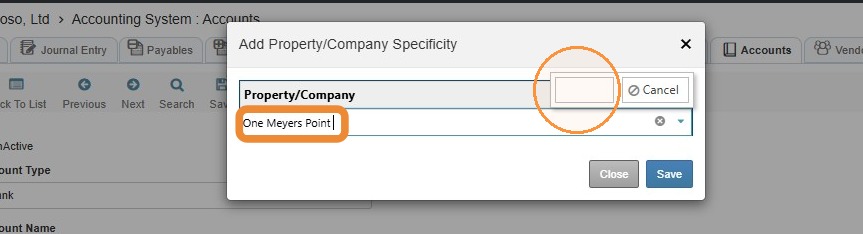
17. Select the Property/Company to make the bank account specific to > Select Save > Select Save.
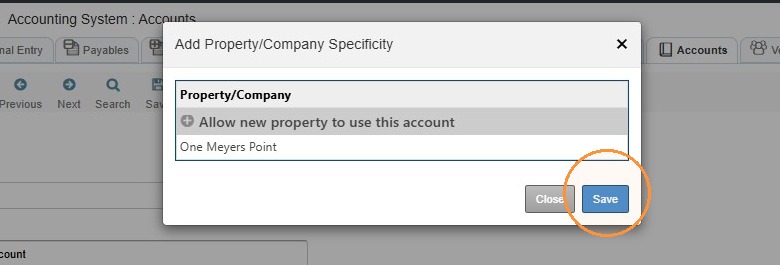
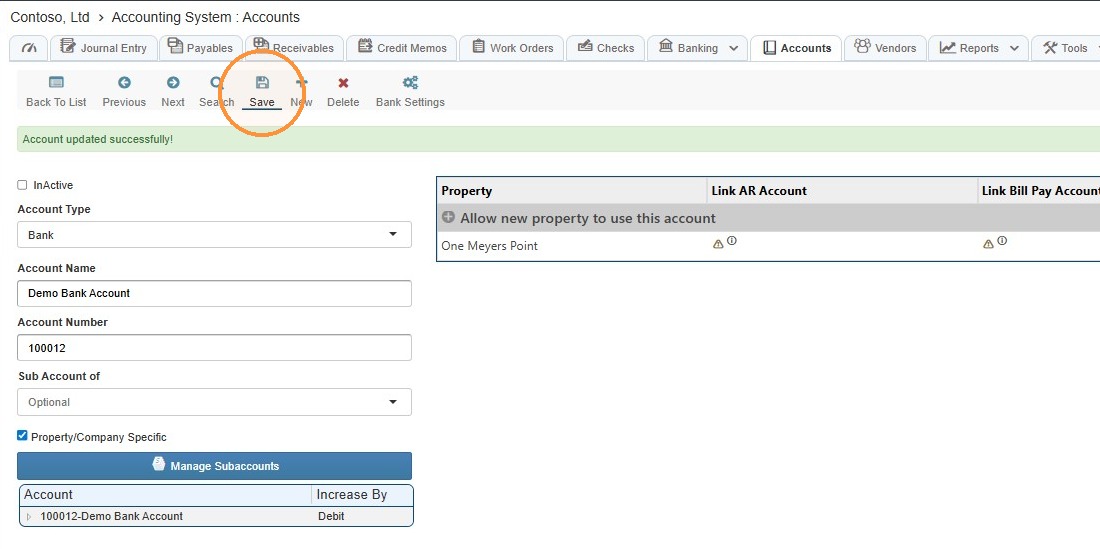
18. Select Save to finalize the credit card configuration.
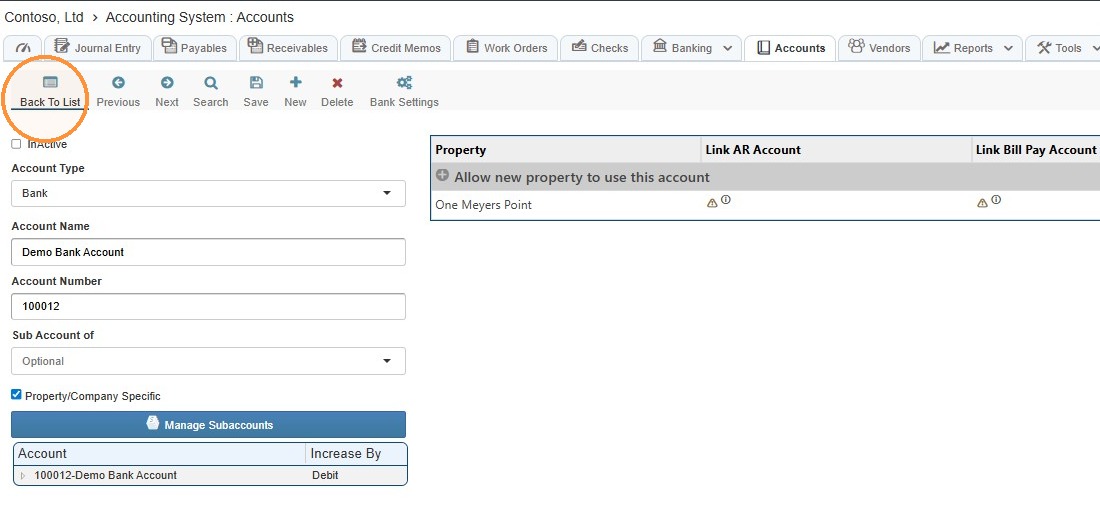
19. Select Back To List to return to the Chart of Accounts.
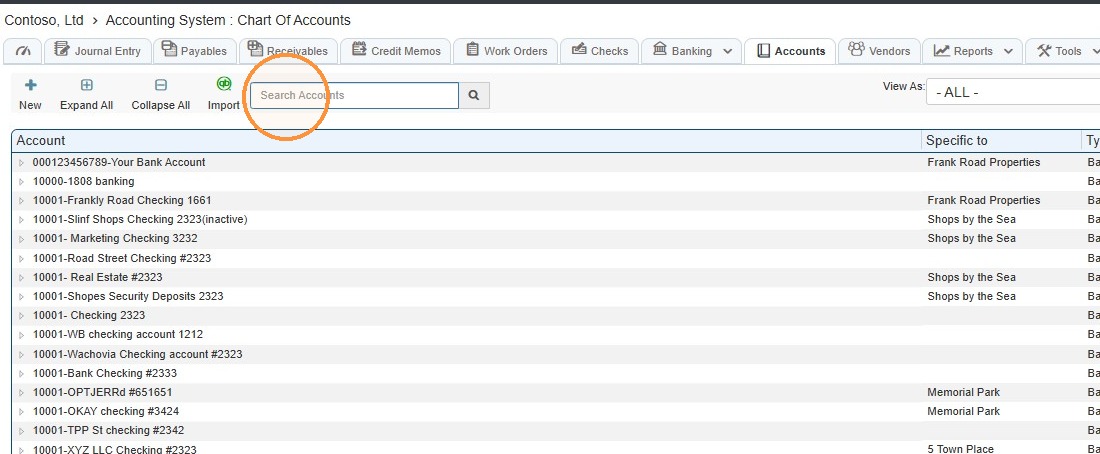
20. Confirm the account was added.
Select the Search Accounts field > Enter the account name you just created > Select Enter or the Magnifying Glass icon.

Related Tutorials: