How to Manually Add New Bills/Credit
This guide shows how to quickly create, reconcile, and save bills or credits—covering vendor selection, auto-populated expense coding, memo/ref/terms input, file attachments, and printing. It also explains resolving mismatched billed vs. due amounts and how to change the vendor/tenant entity type so you can bill or pay any company regardless of status. Use it to avoid errors and speed up payables.
How to Navigate to the Bill Screen
1. From the navigation menu, select Accounting > Select Payables.
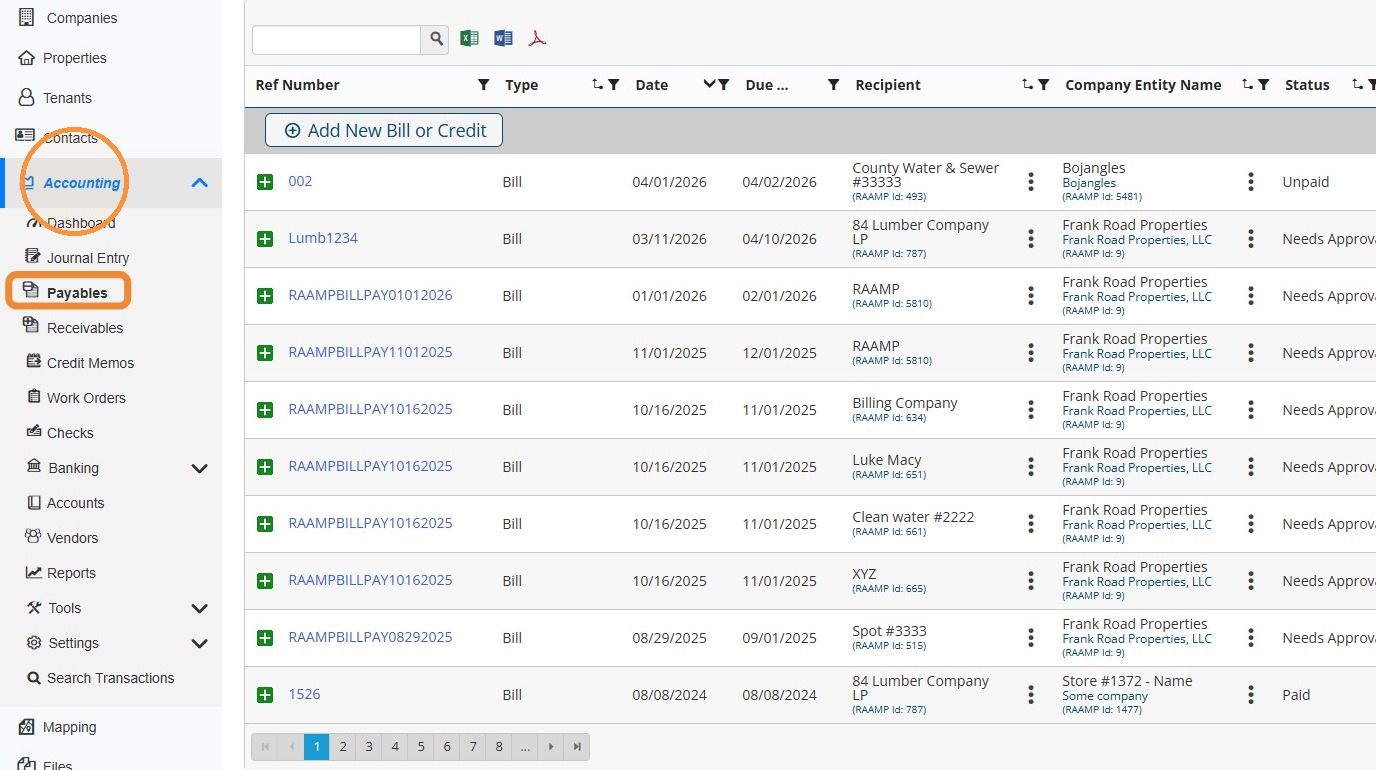
2. To view the Bill screen, select Add New Bill or Credit.
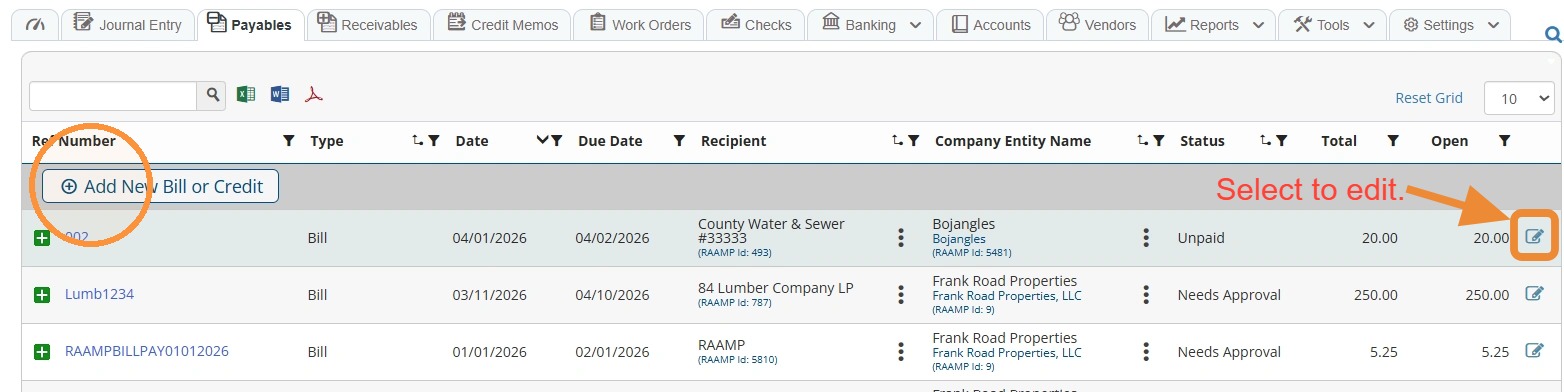
To edit a specific bill from the list, select the edit icon for that bill.
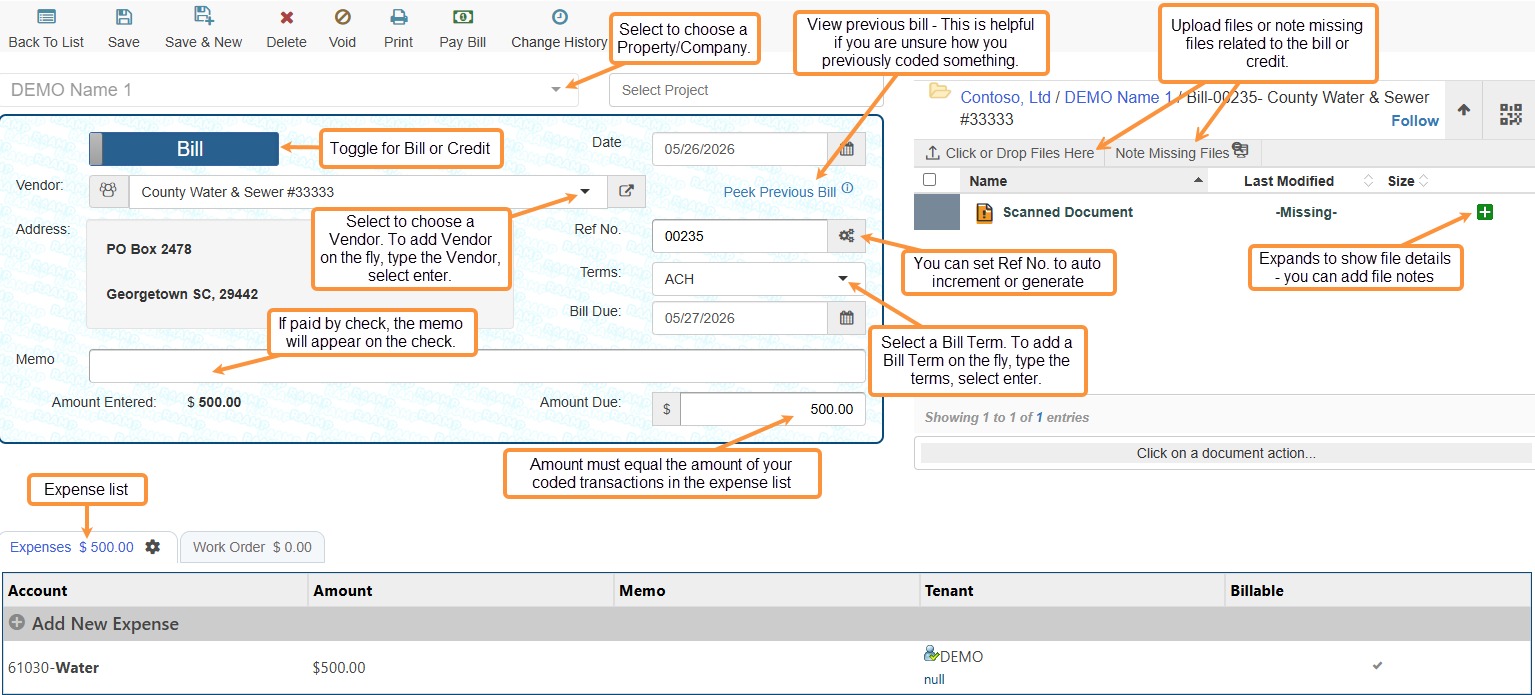
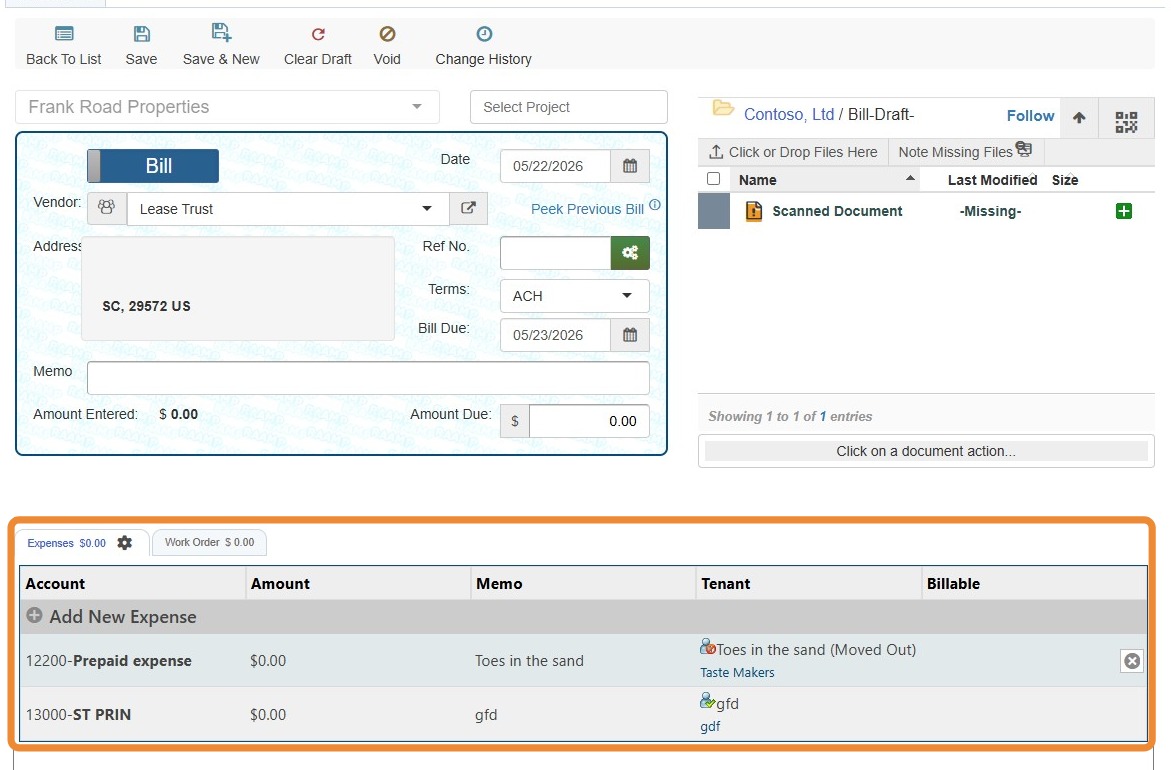
3. Bill Screen Overview
How to Add a New Bill or Credit
4. From the Payables list, select Add New Bill or Credit.
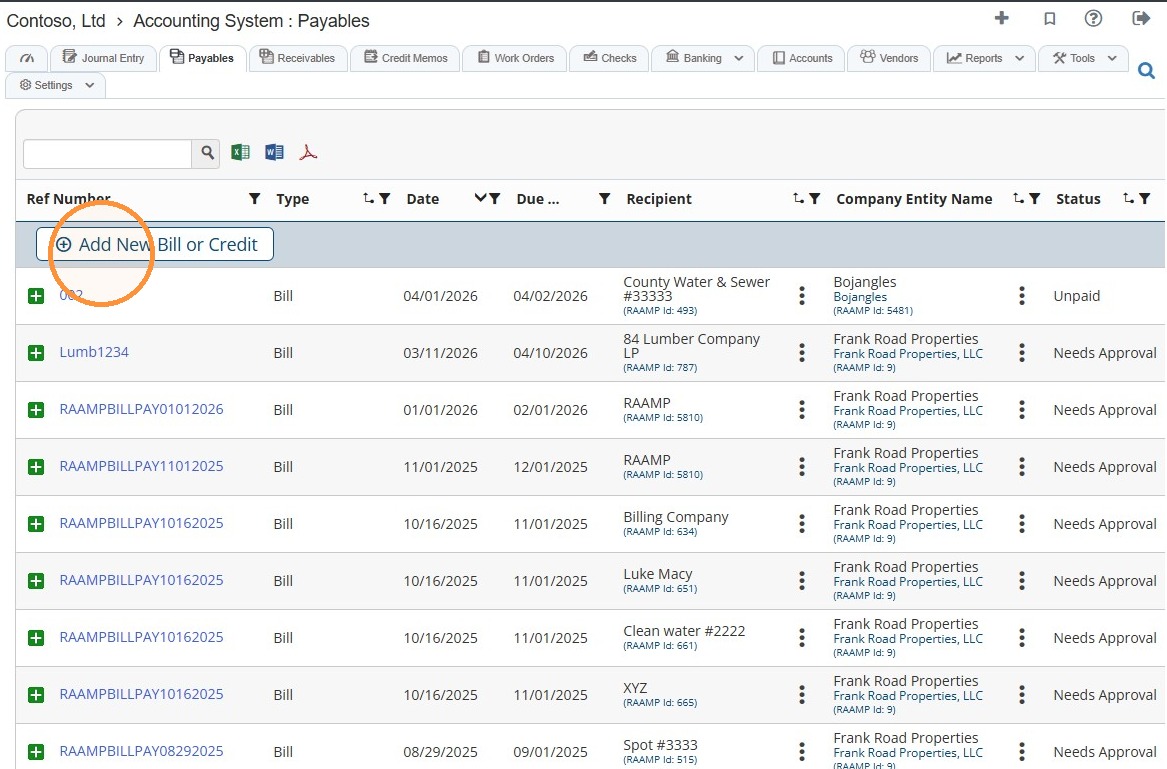
Tip: When you create a new payable, it automatically saves as a draft. If you try to create a new payable and haven’t saved your previous draft, it will open the last draft you were working on. To start with a blank bill, select Clear Draft.
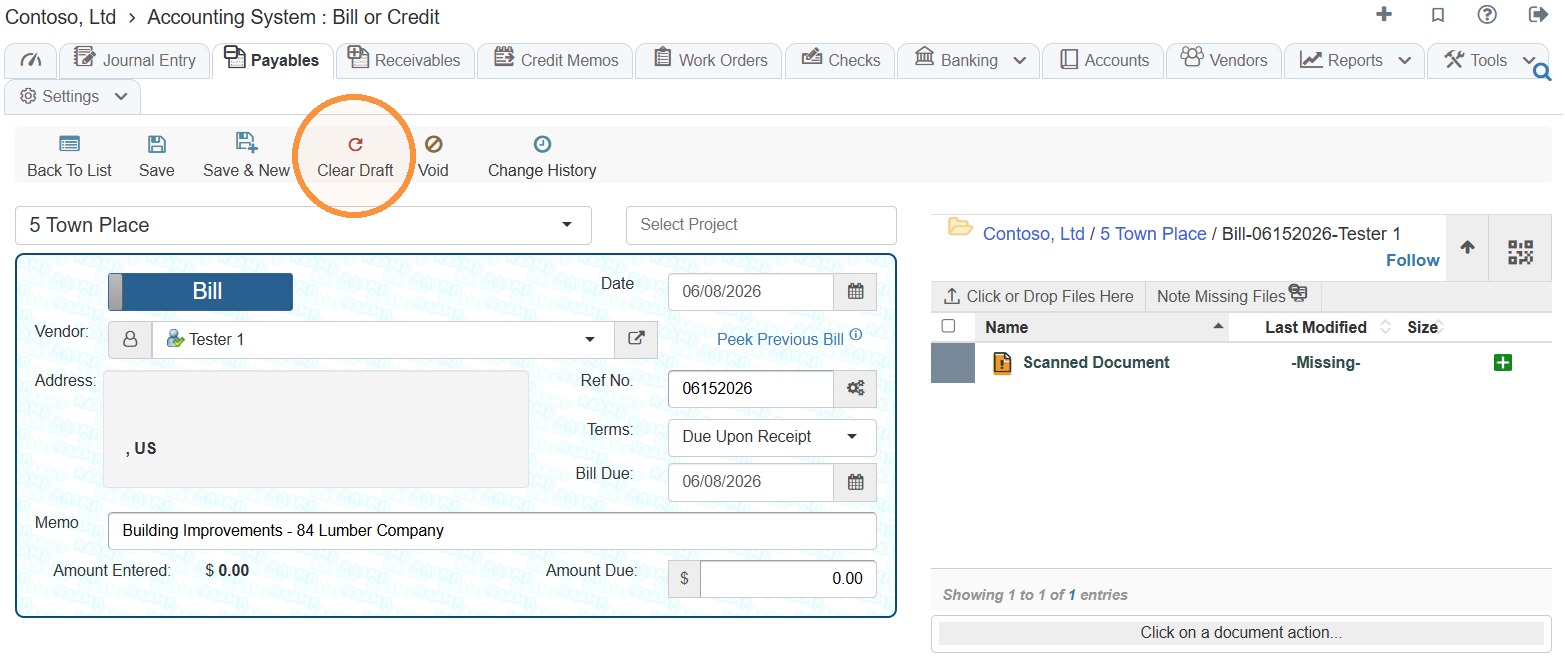
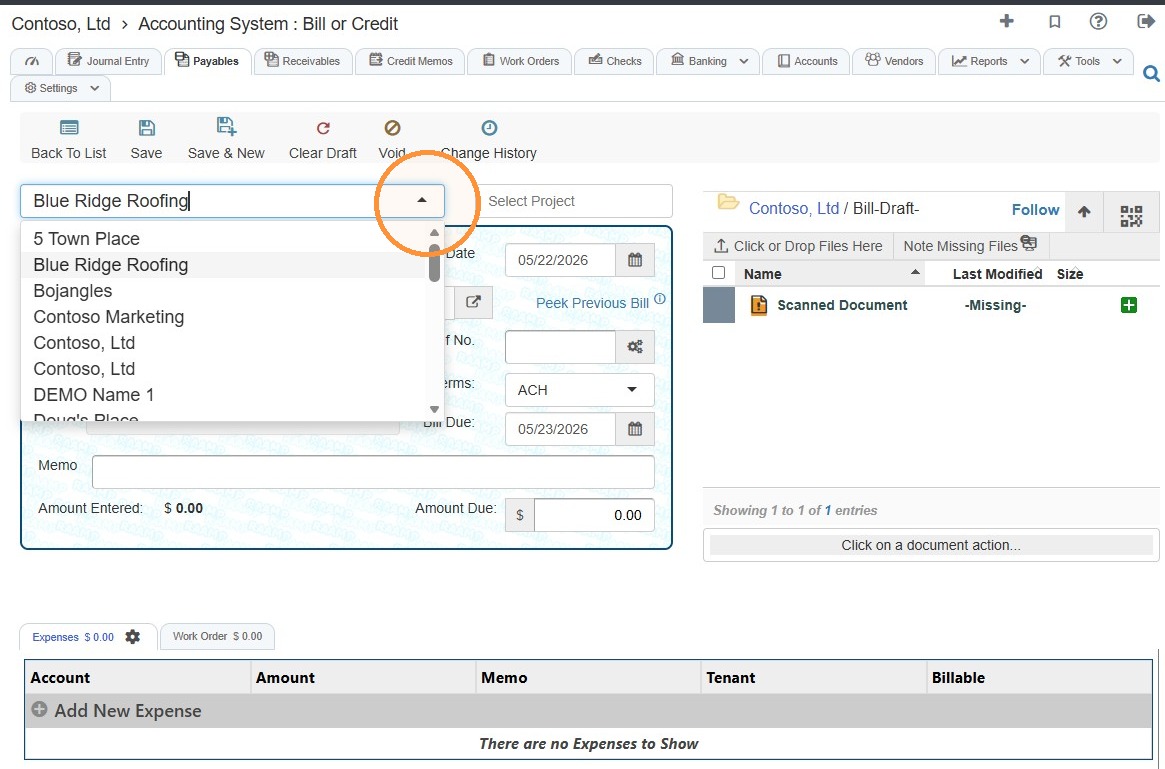
5. Select the associated Property/Company from the dropdown menu.
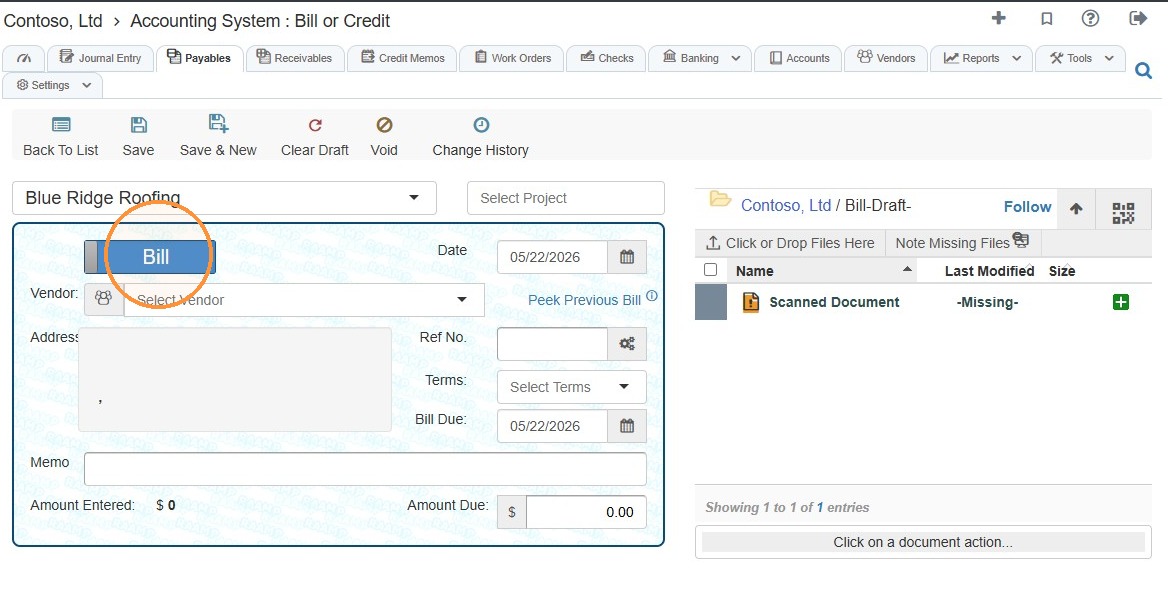
6. Toggle to Bill or Credit based on your needs.
Tip: If you prefer to use AI to enter a bill, stop here and see How to Use AI to Enter a Bill.
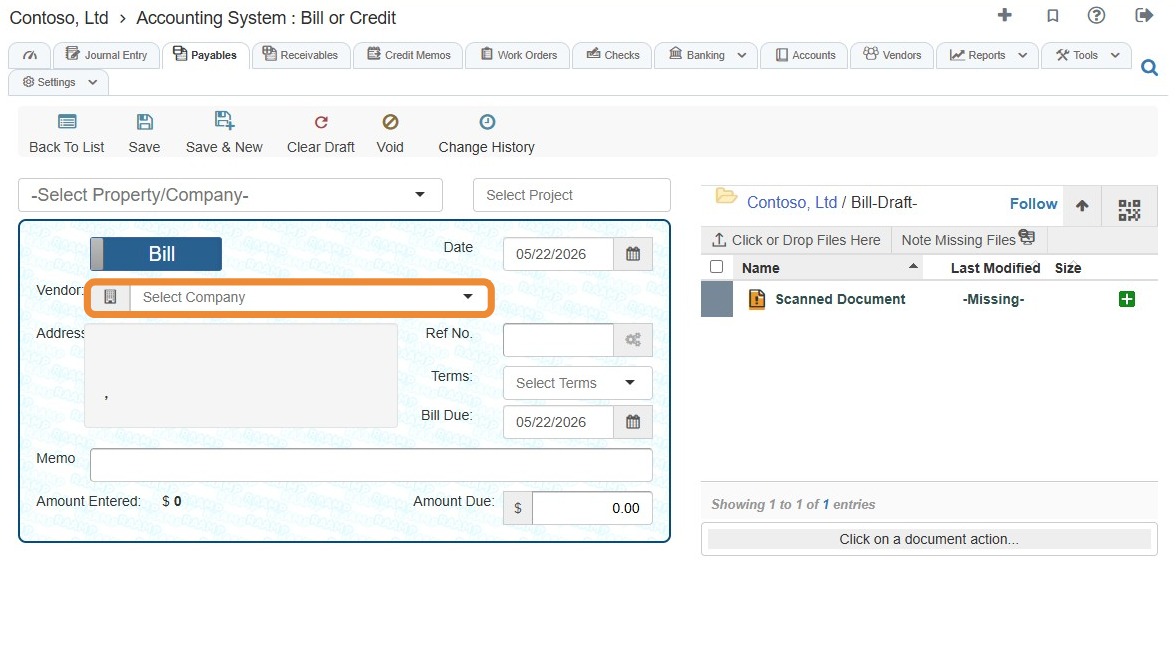
7. Select the Select Vendor field > Choose the Vendor from the dropdown menu.
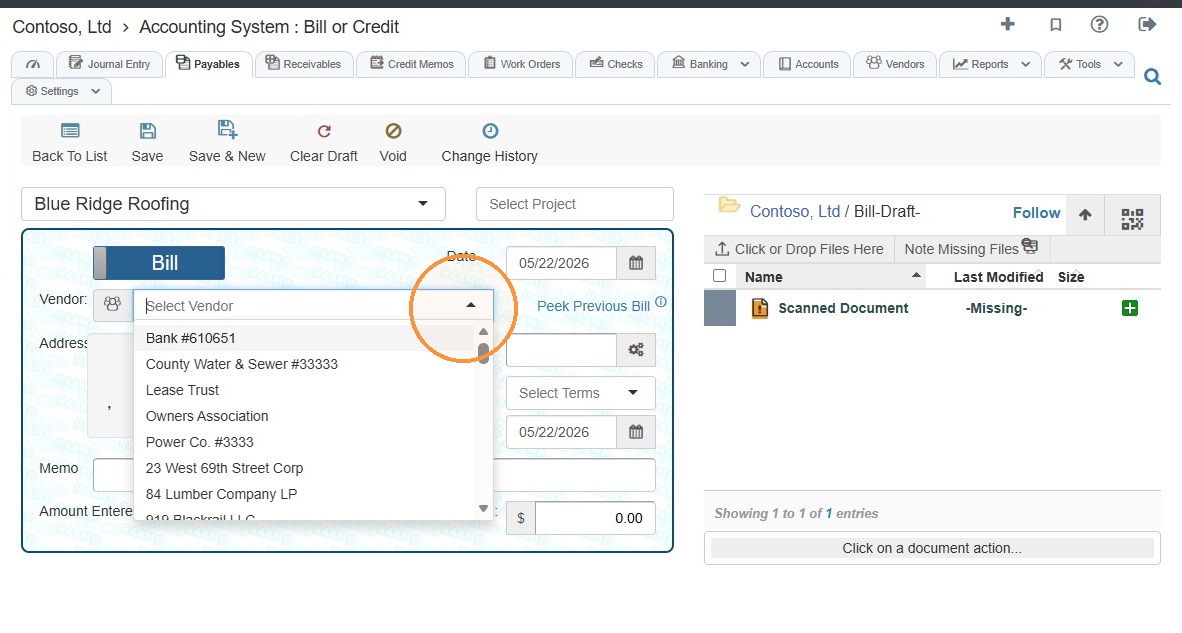
Alert: If you need to change the vendor entity type, refer to the section on changing the entity type.
8. If you have previously paid the vendor for this property or company, the expenses list will automatically populate with coded expenses based on your last bill for that vendor.
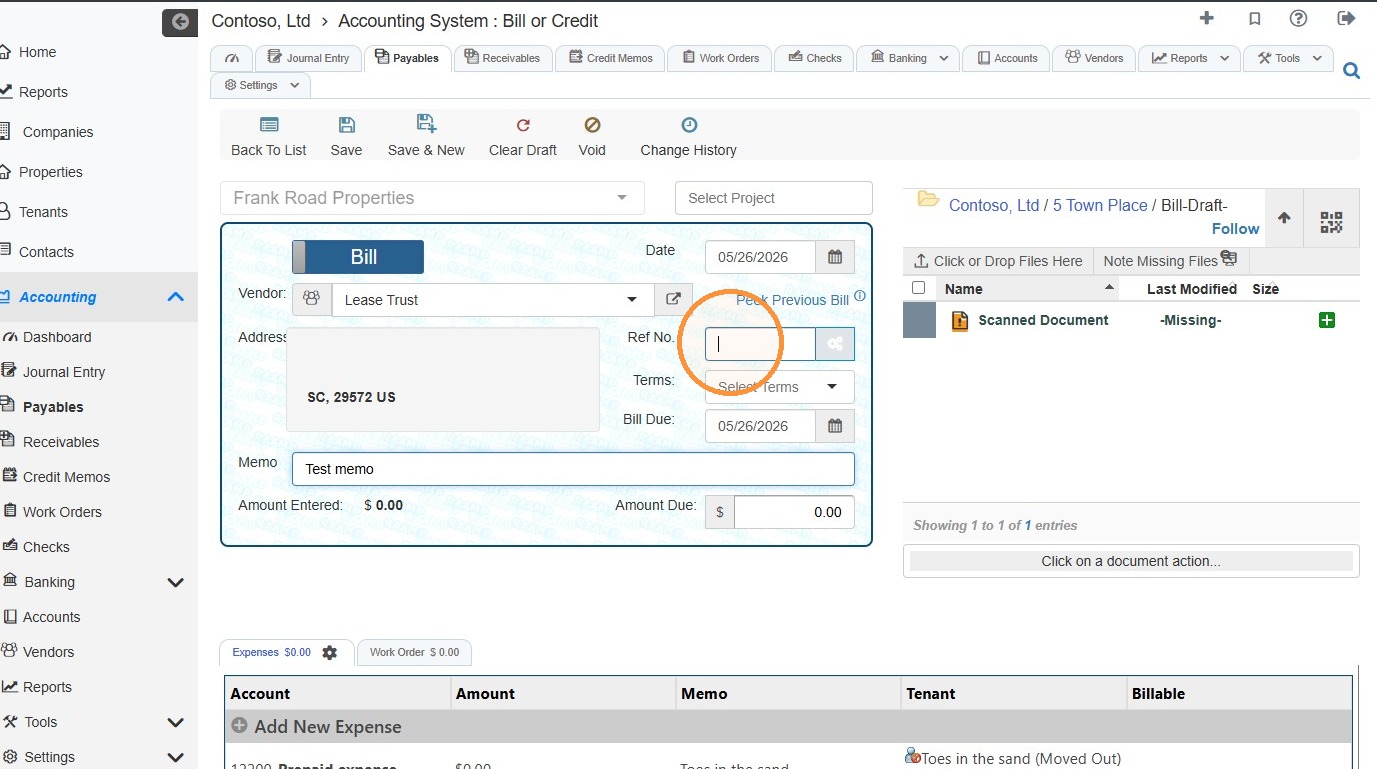
9. Select the Ref No. field > Enter the Ref No.
NOTE: Would you like a reference number to be automatically generated? See the tutorial How to Create Auto-Incrementing Ref No.
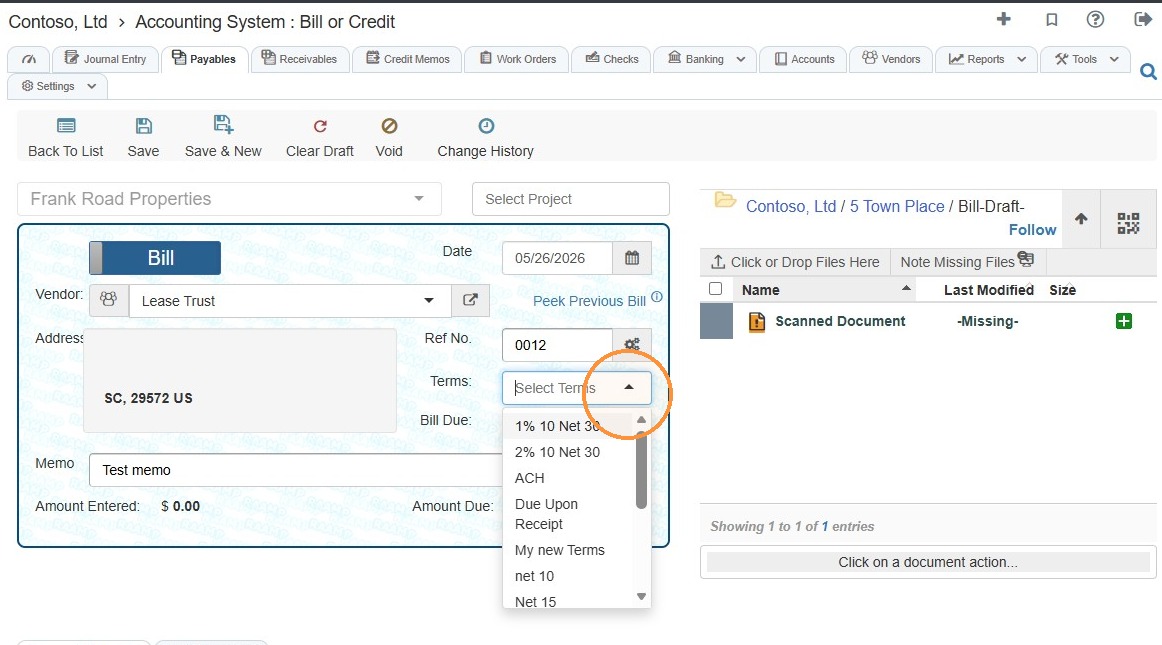
10. Select the Terms field > Select option from the dropdown menu.
NOTE: To add a Bill Term on the fly, type the terms > Select enter. You can learn more about adding bill terms here.
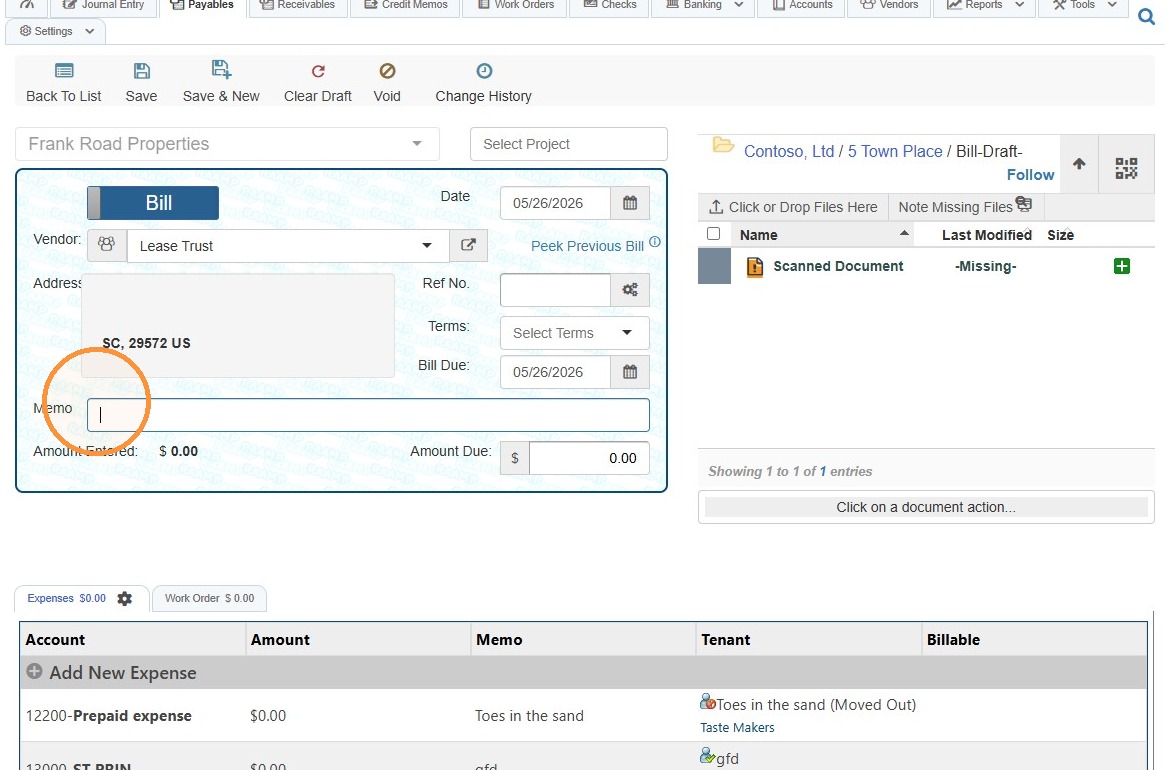
11. Select the Memo field to add a memo for the bill/credit.
The memo will be displayed on the check if the payment is made by check.
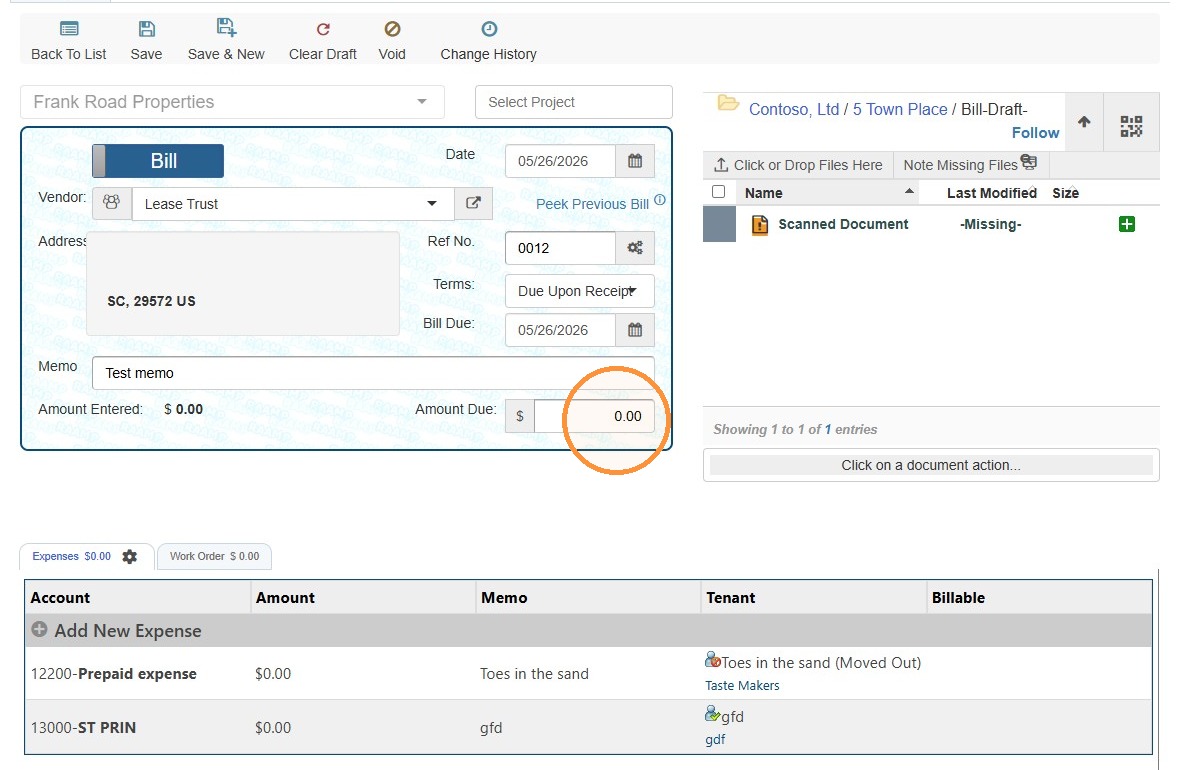
12. Select the Amount Due field > Enter the appropriate amount due.
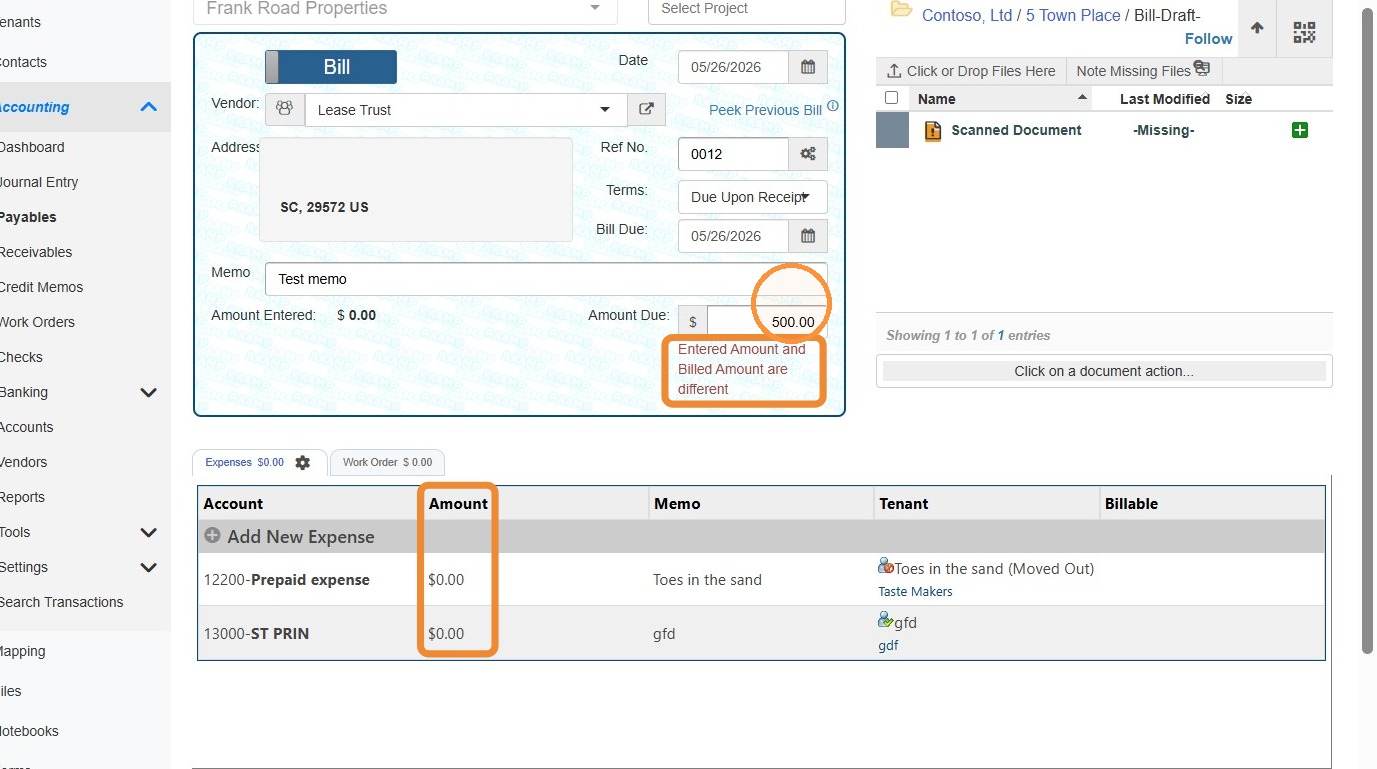
13. If the Amount Due is different than the billed amount in the expense list, you'll receive the following message: Entered Amount and Billed Amount are different.
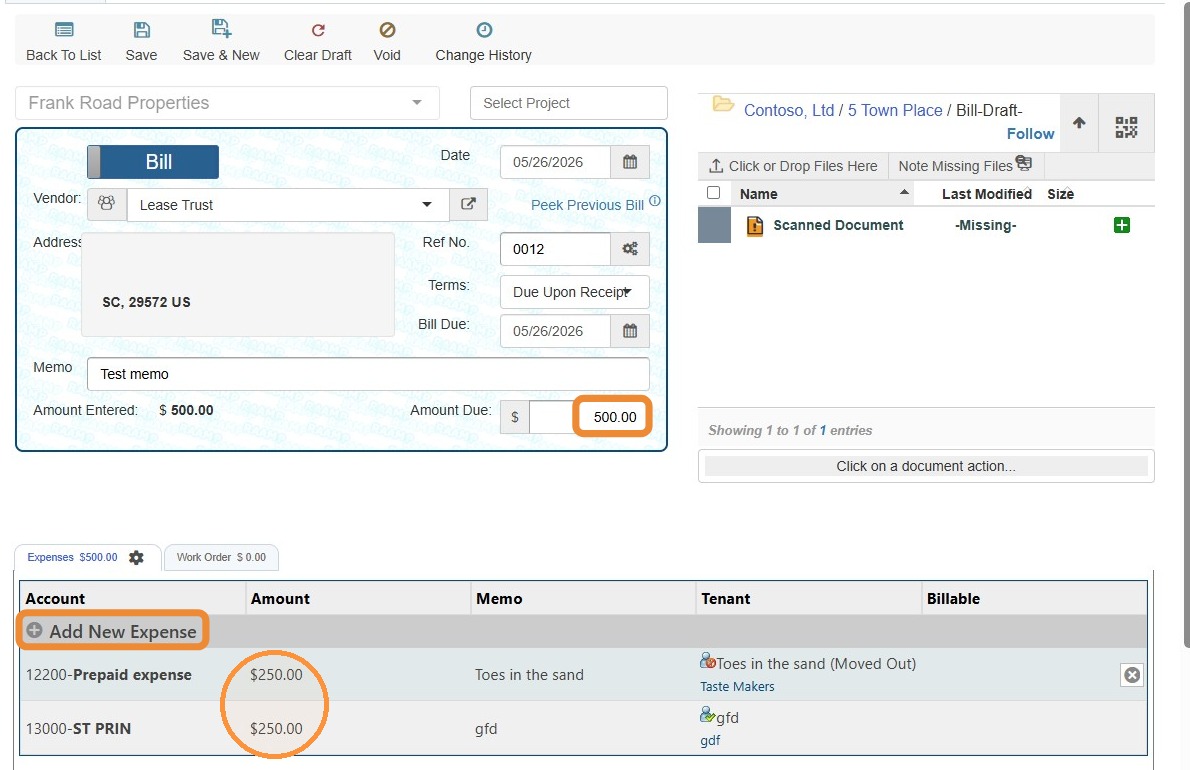
14. Select a field in the expense list, or select Add New Expense to reconcile the expense list and the amount due.
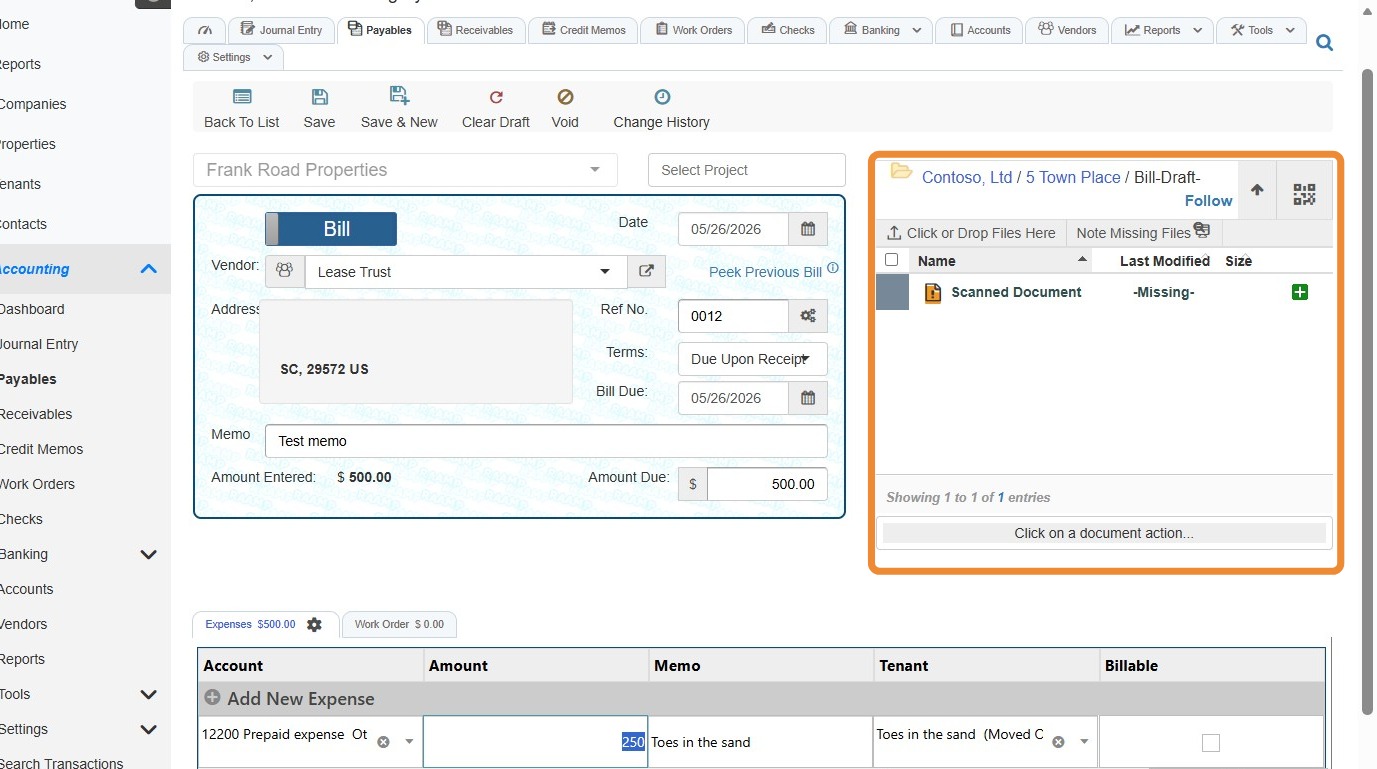
15. Upload related documents by selecting Click or Drop Files Here to download files from your computer.
If a file is missing, select Note Missing Files to flag it. Learn how to generate a missing files report here.
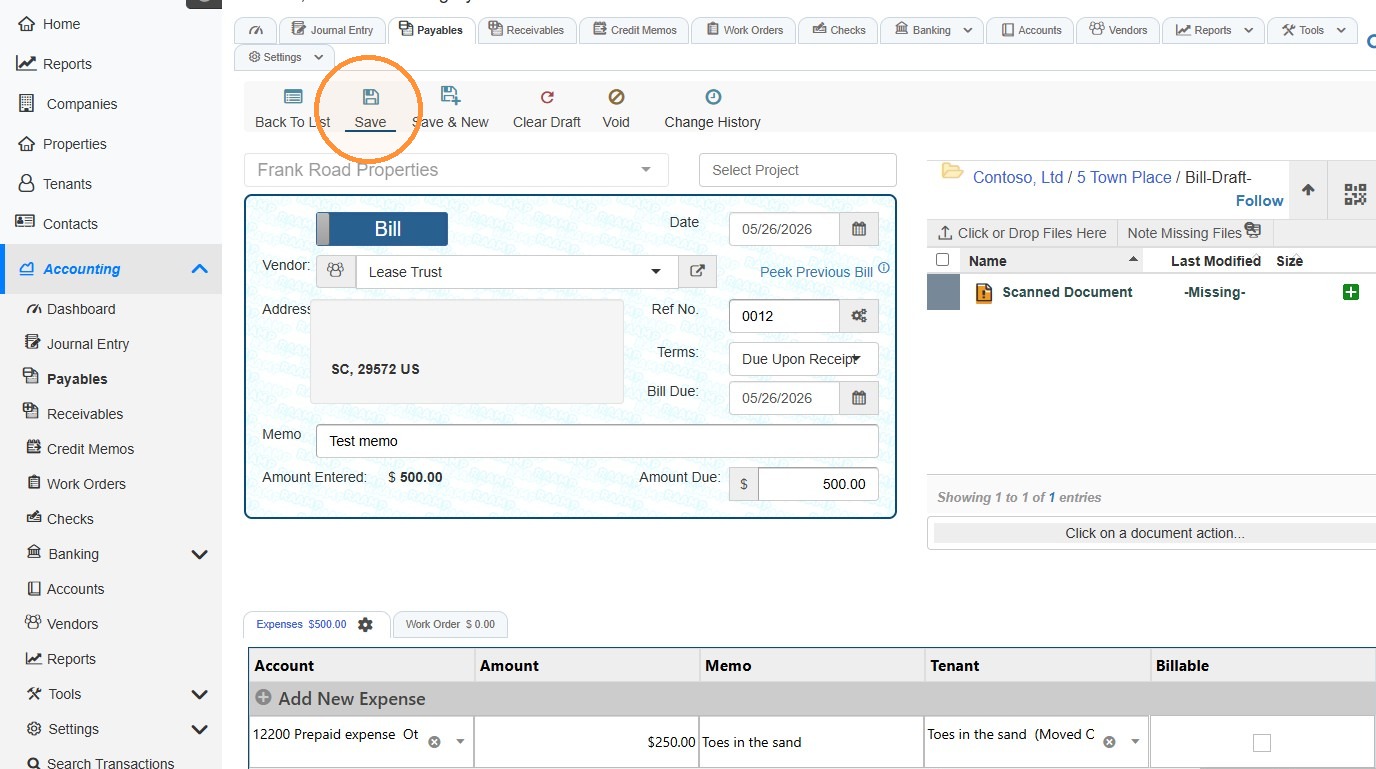
16. Select Save.
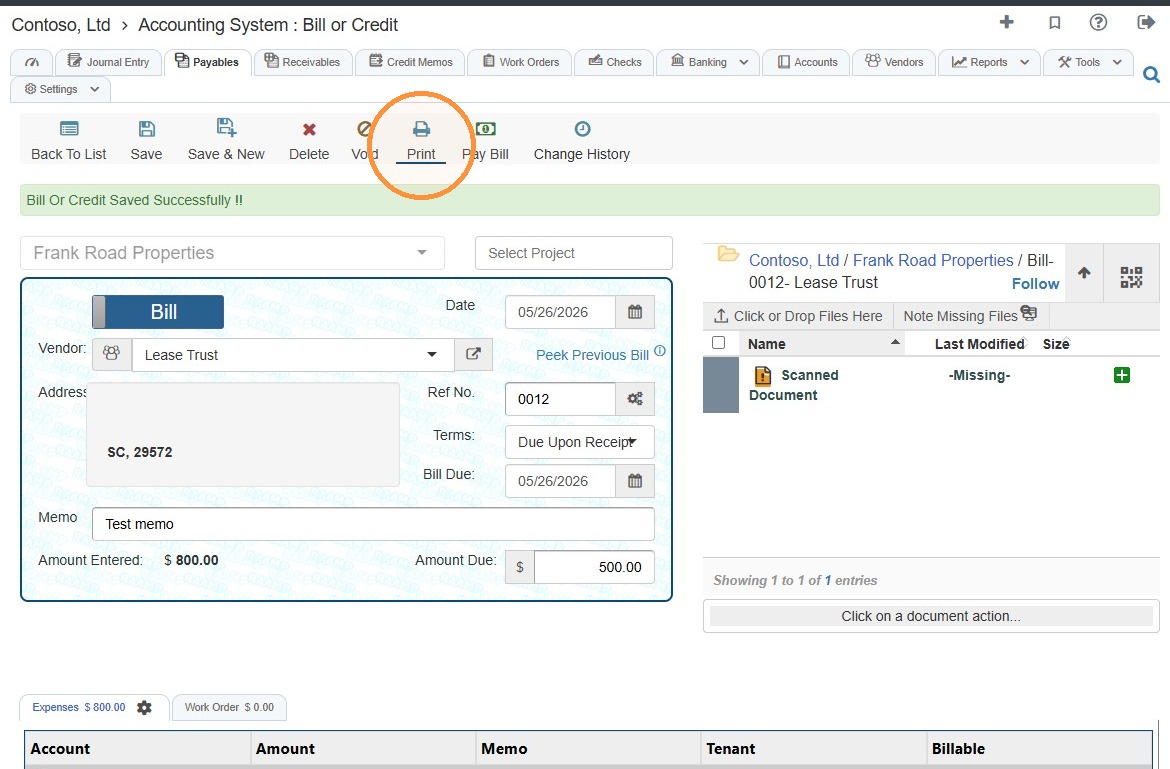
17. Select Print if you need to print the bill or to save a PDF of the bill.
How to Change Entity Type
Alert: If you need to change the entity type, follow the steps below.
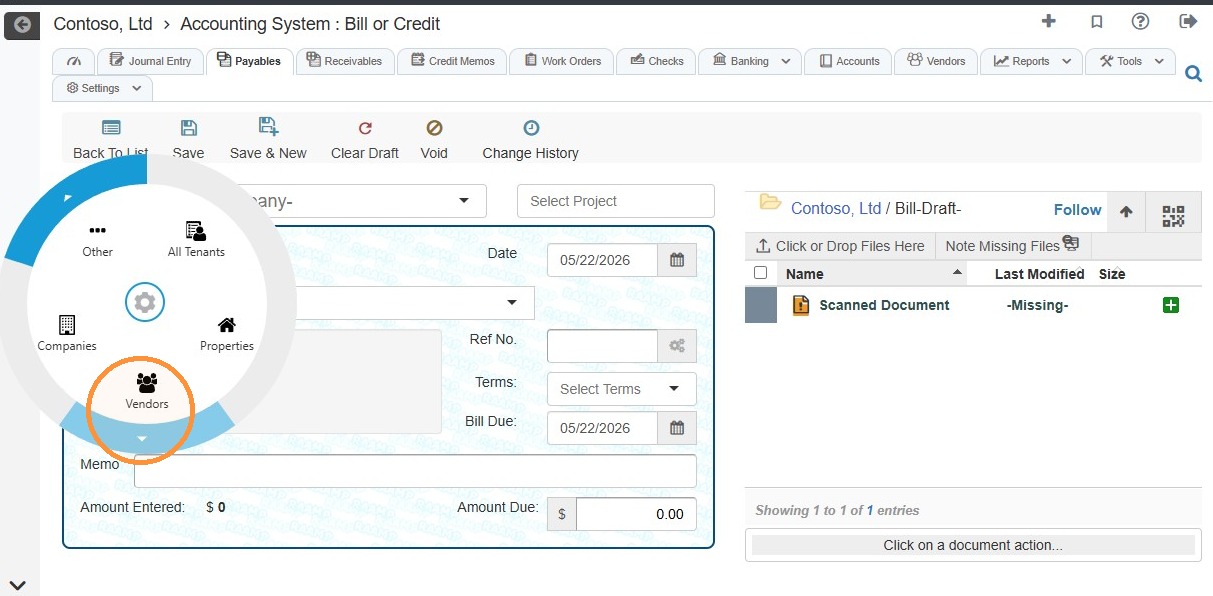
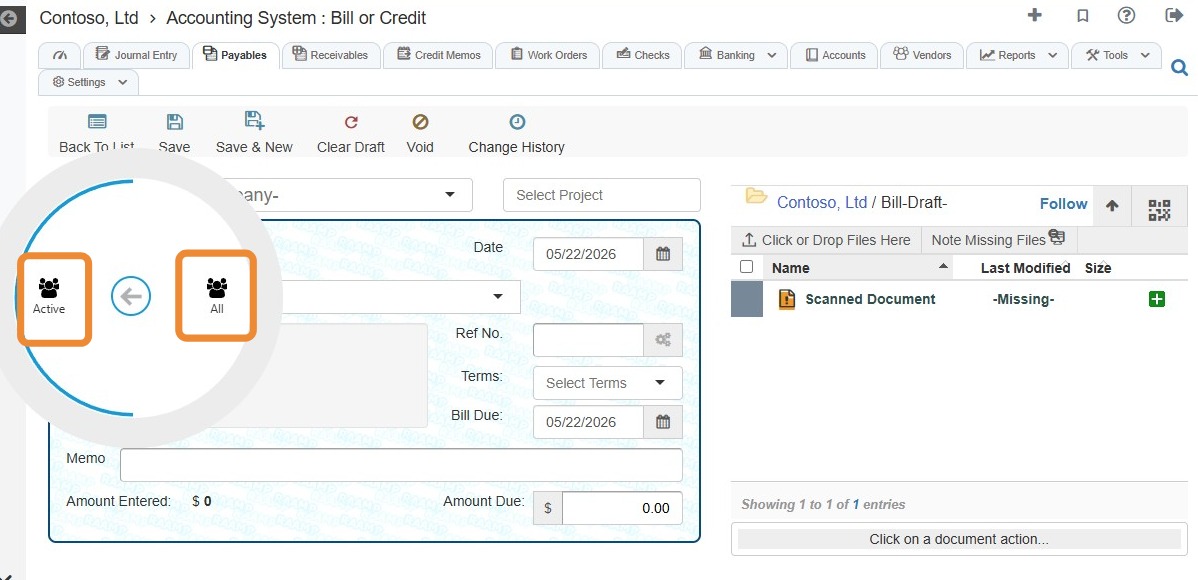
By default, RAAMP invoices active tenants and pays active vendors. However, RAAMP allows you to invoice or pay any Company Entity, regardless of their status, by using an integrated menu.
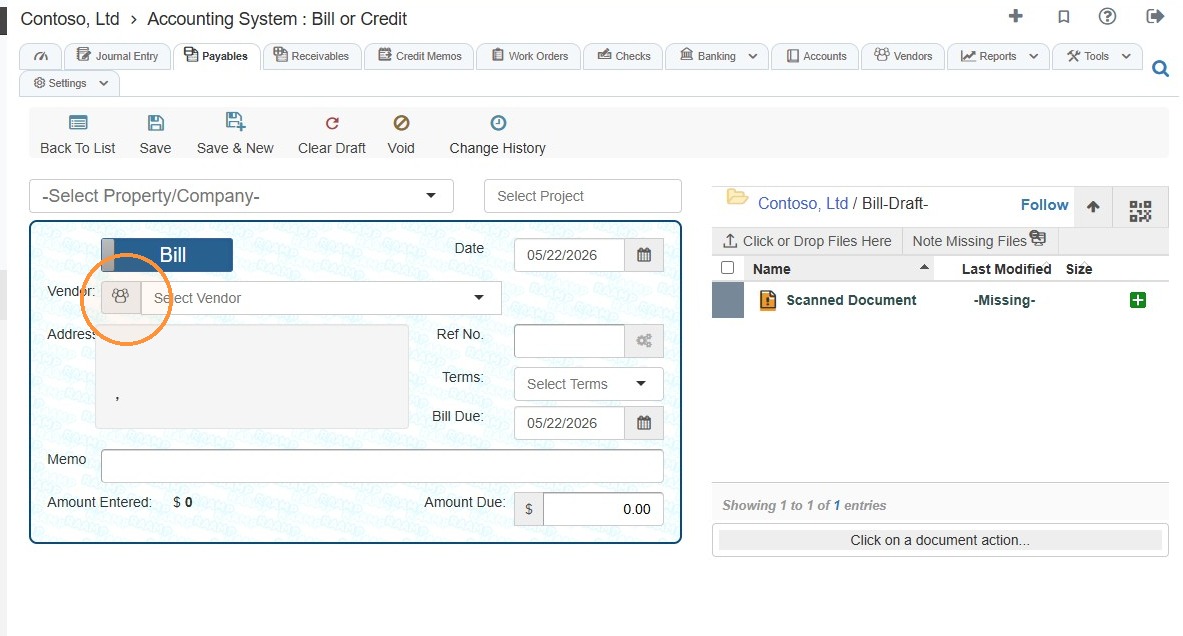
18. Select the Vendor icon.
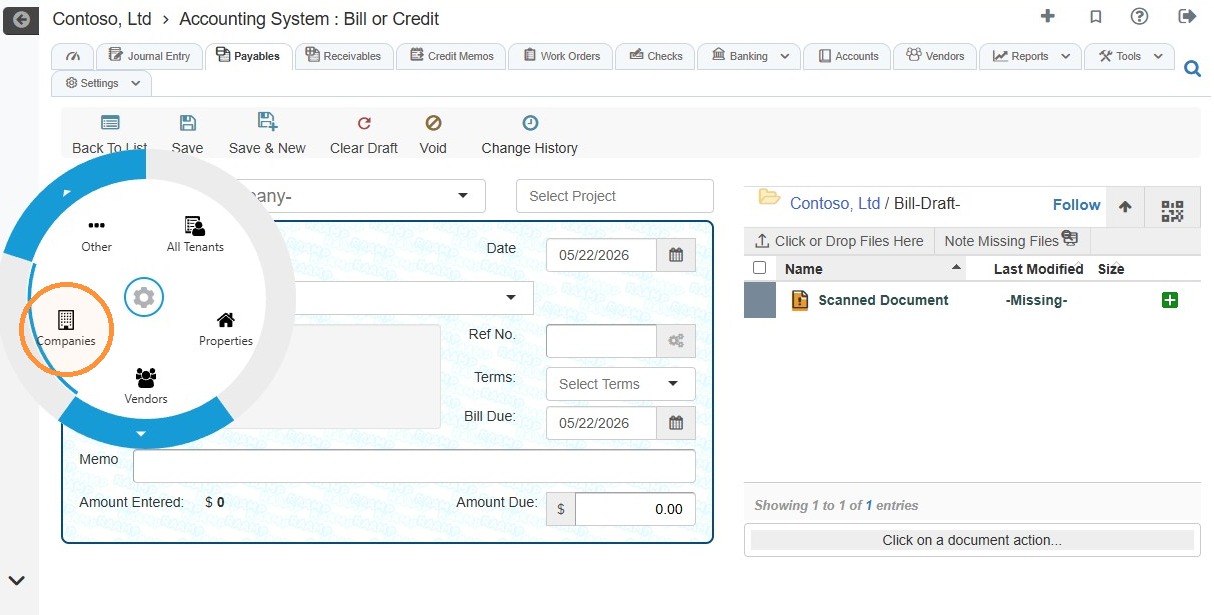
19. Choose the entity type from the radial menu.
For example, if you want to pay a company, select Company.
20. You can choose between Active or All vendors/tenants.
Related Tutorial(s):