How to Link and Verify Bill Pay Account (RAAMP PAY)
How to Link and Verify Bill Pay Account (RAAMP Pay) in RAAMP
This guide shows how to link and verify a RAAMP Pay funding account (via Plaid or microdeposits), connect it to a specific property/company, and configure fee expense settings so you can send payments. It also explains adding payee ACH details and using the Pay Bill workflow, plus three places to confirm a bill’s paid status—helpful to finish setup and ensure payments clear.
Before You Begin
Alert: BEFORE YOU BEGIN:
- Confirm the company has been created with the appropriate company information. If a company has not been created, see How to Add a Company.
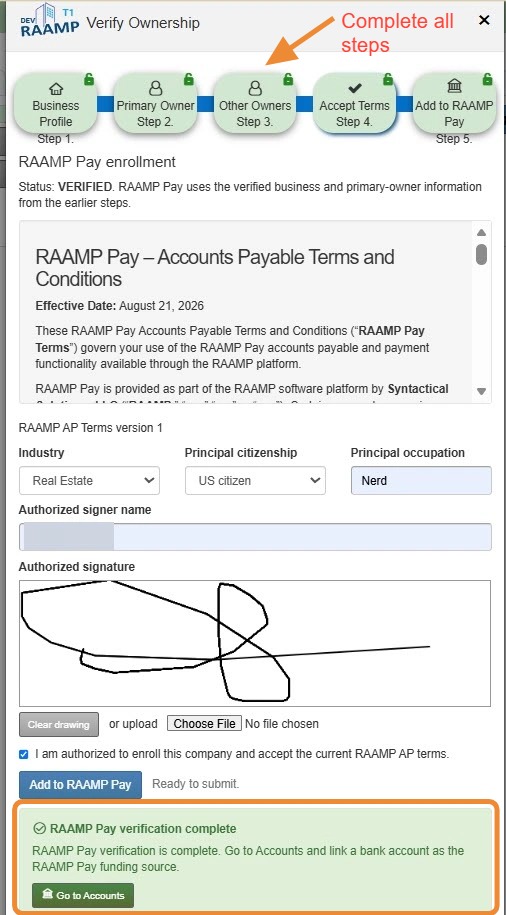
- Verify the company's ownership has been confirmed. Add to RAAMP Pay is step 5 of the process. If steps 1-4 are completed, you can skip to step 5. You'll recieve a success message when RAAMP Pay verification is complete:
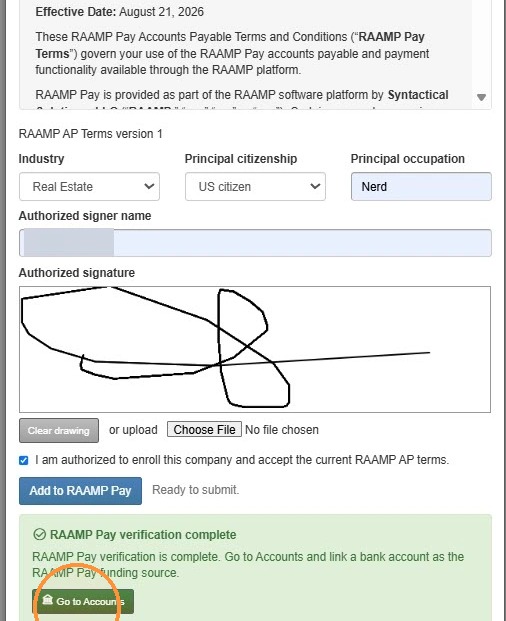
RAAMP Pay verification complete
RAAMP Pay verification is complete. Go to Accounts and link a bank account as the RAAMP Pay funding source.
See How to Verify Ownership and Agreement for Franchise Use.
Tip: Verification can take up to 72 hours. You will not be able to link RAAMP Pay until verification is complete.
How to Link RAAMP Pay (Bill Pay Account)
1. Select Go to Accounts.
Alternatively, from the navigation menu, select Accounting > Select Accounts.
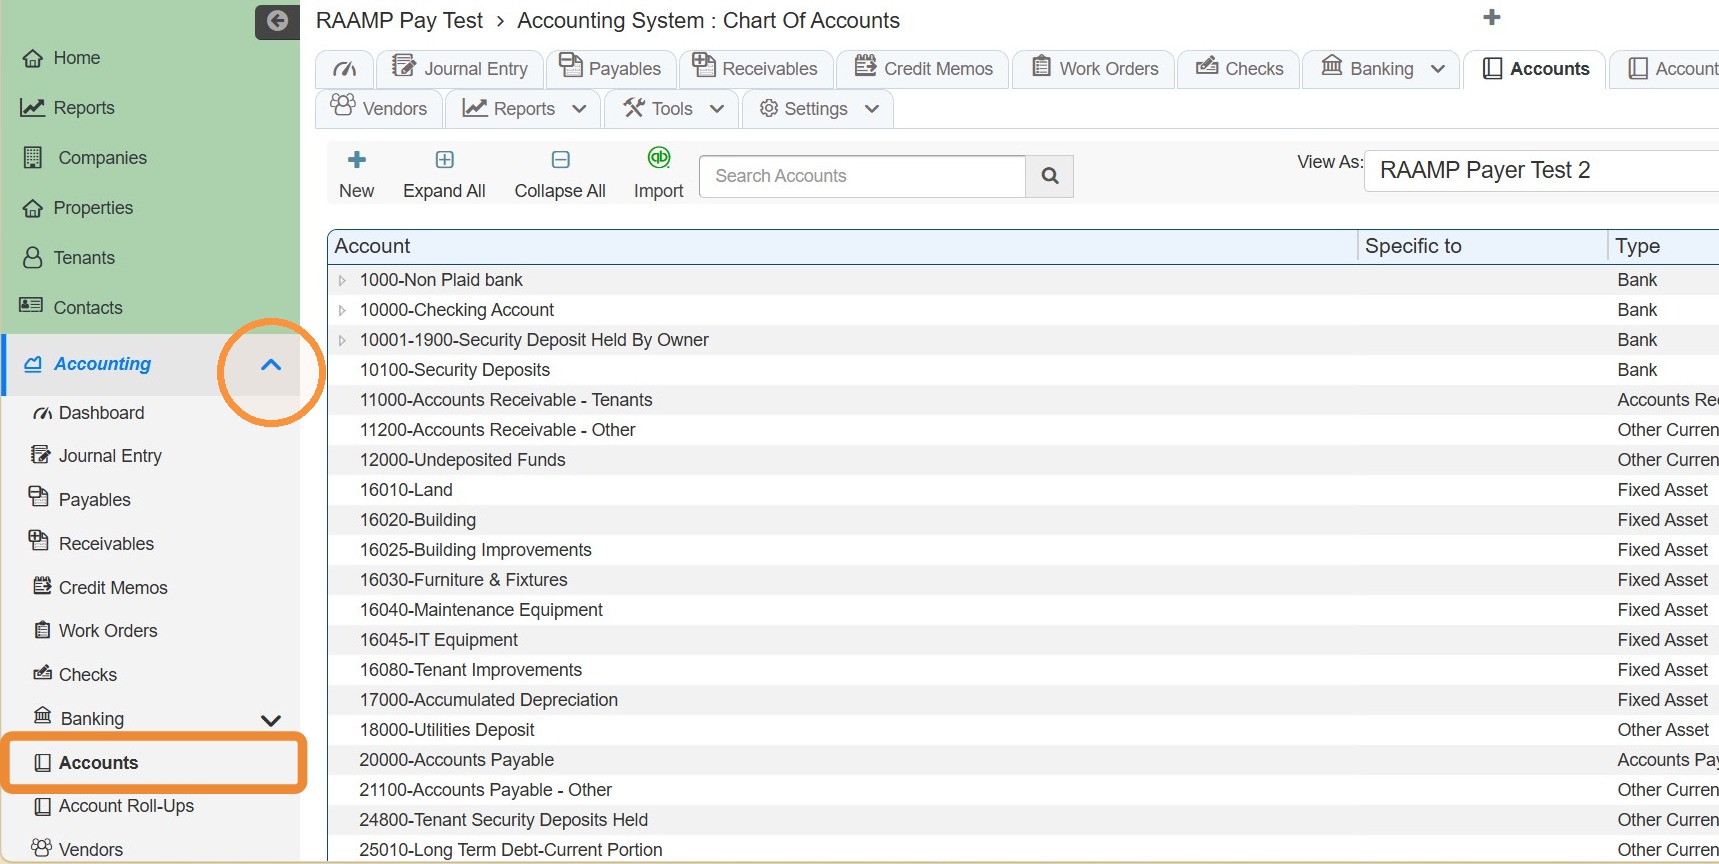
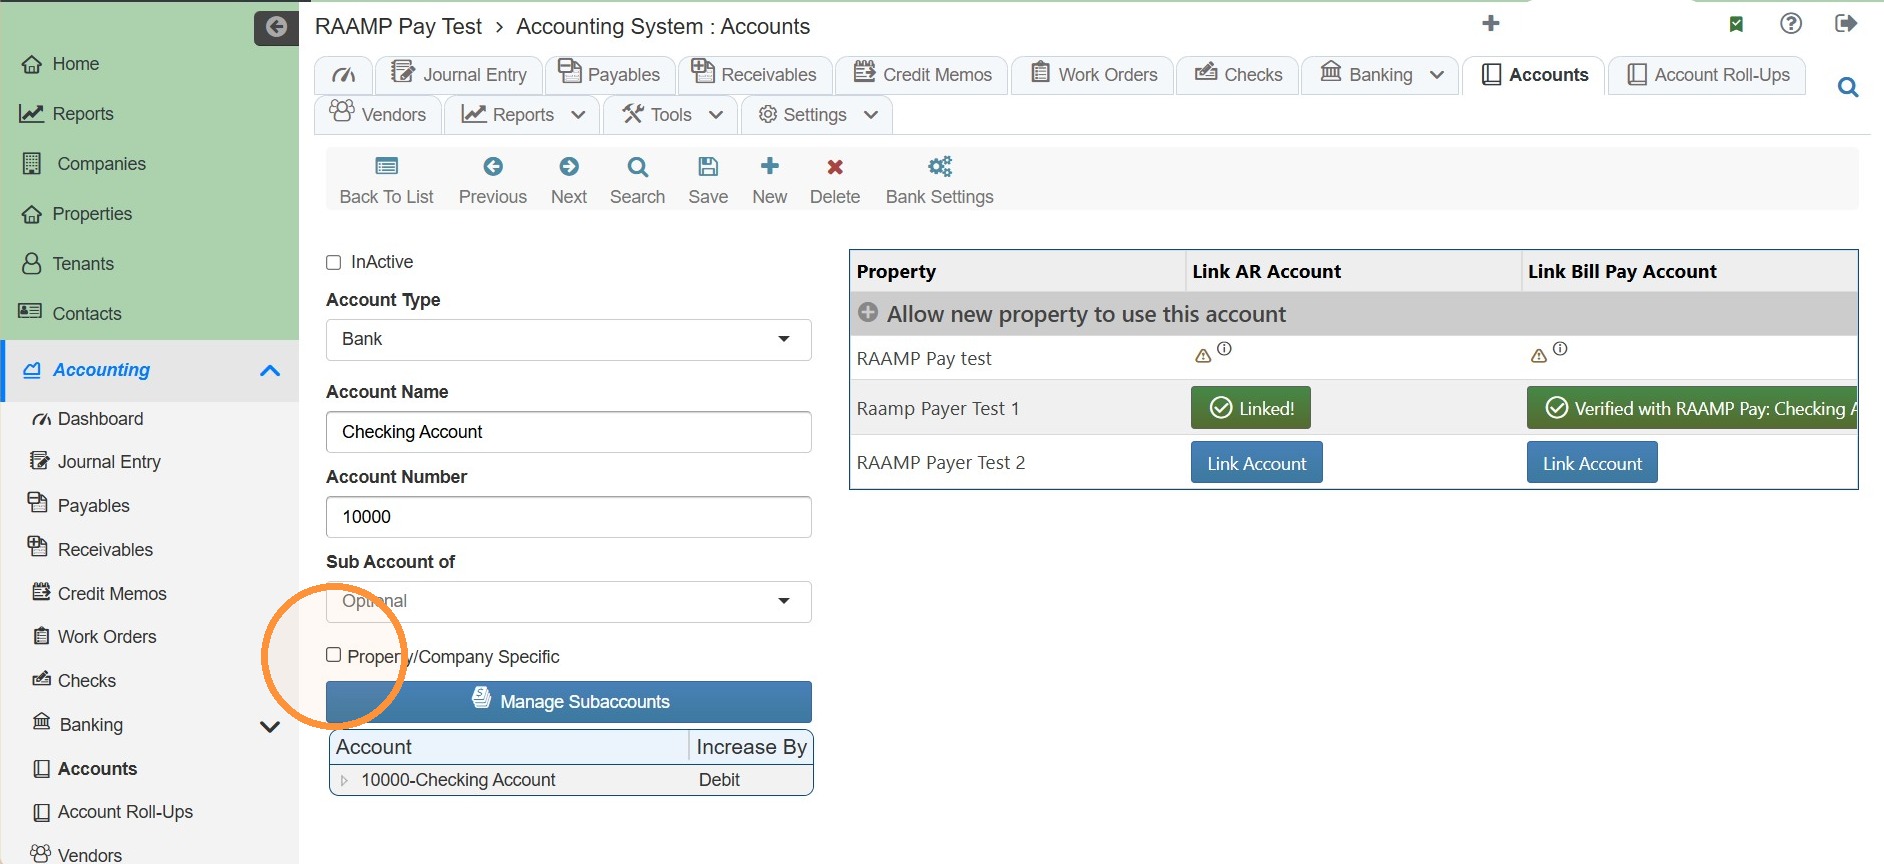
2. Select the account to link bill pay account to.
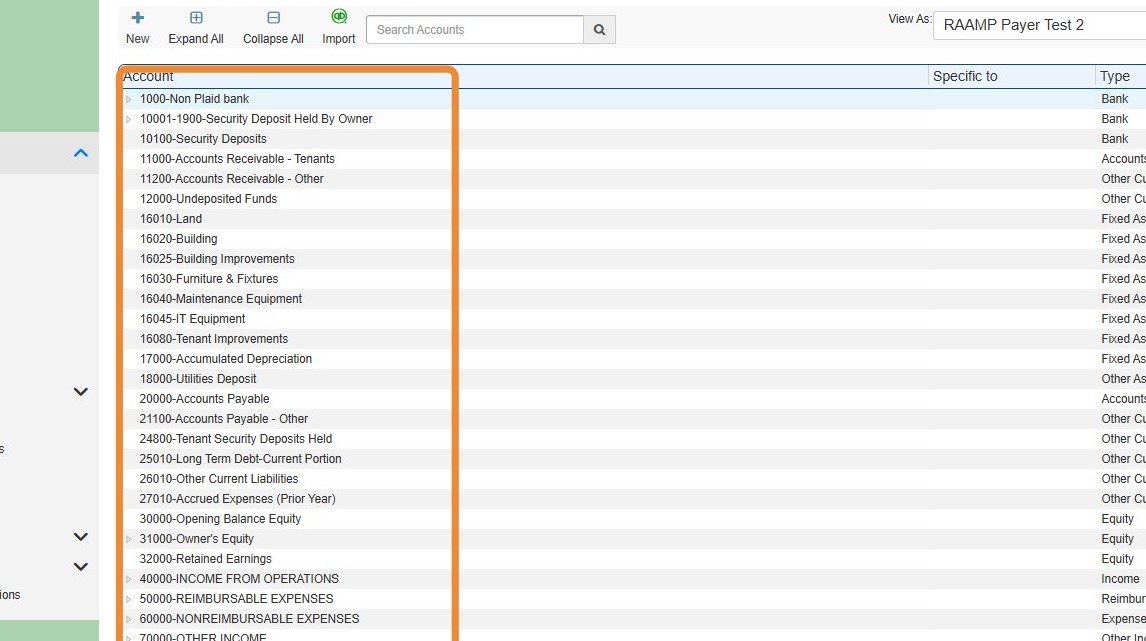
3. It's best that any bank checking or operating account is property-specific.
Select the Property/Company Specific checkbox.
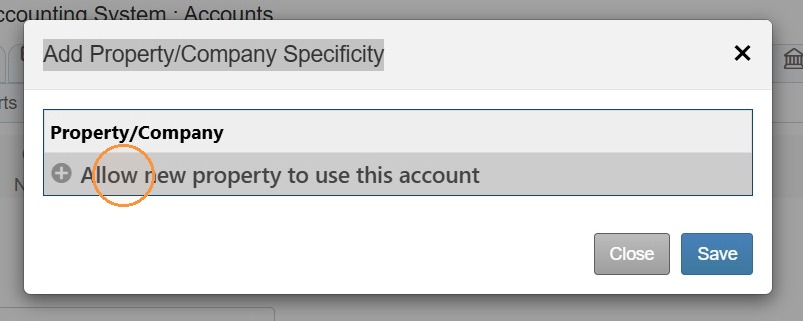
4. Select Allow new property to use this account.
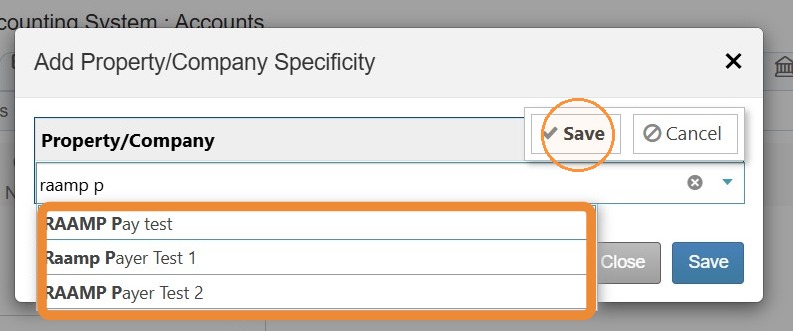
5. Select the property/company > Select Save.
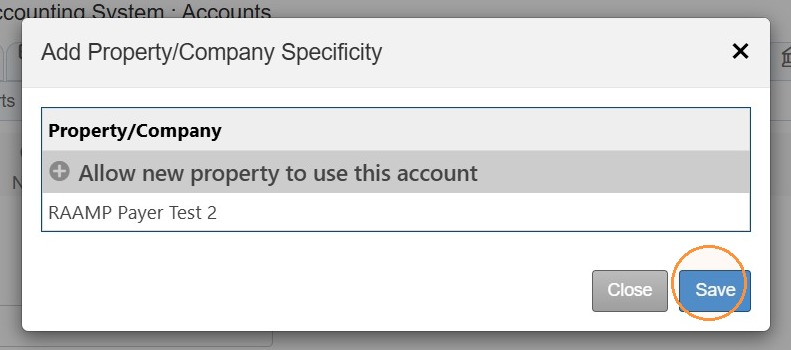
6. Select Save.
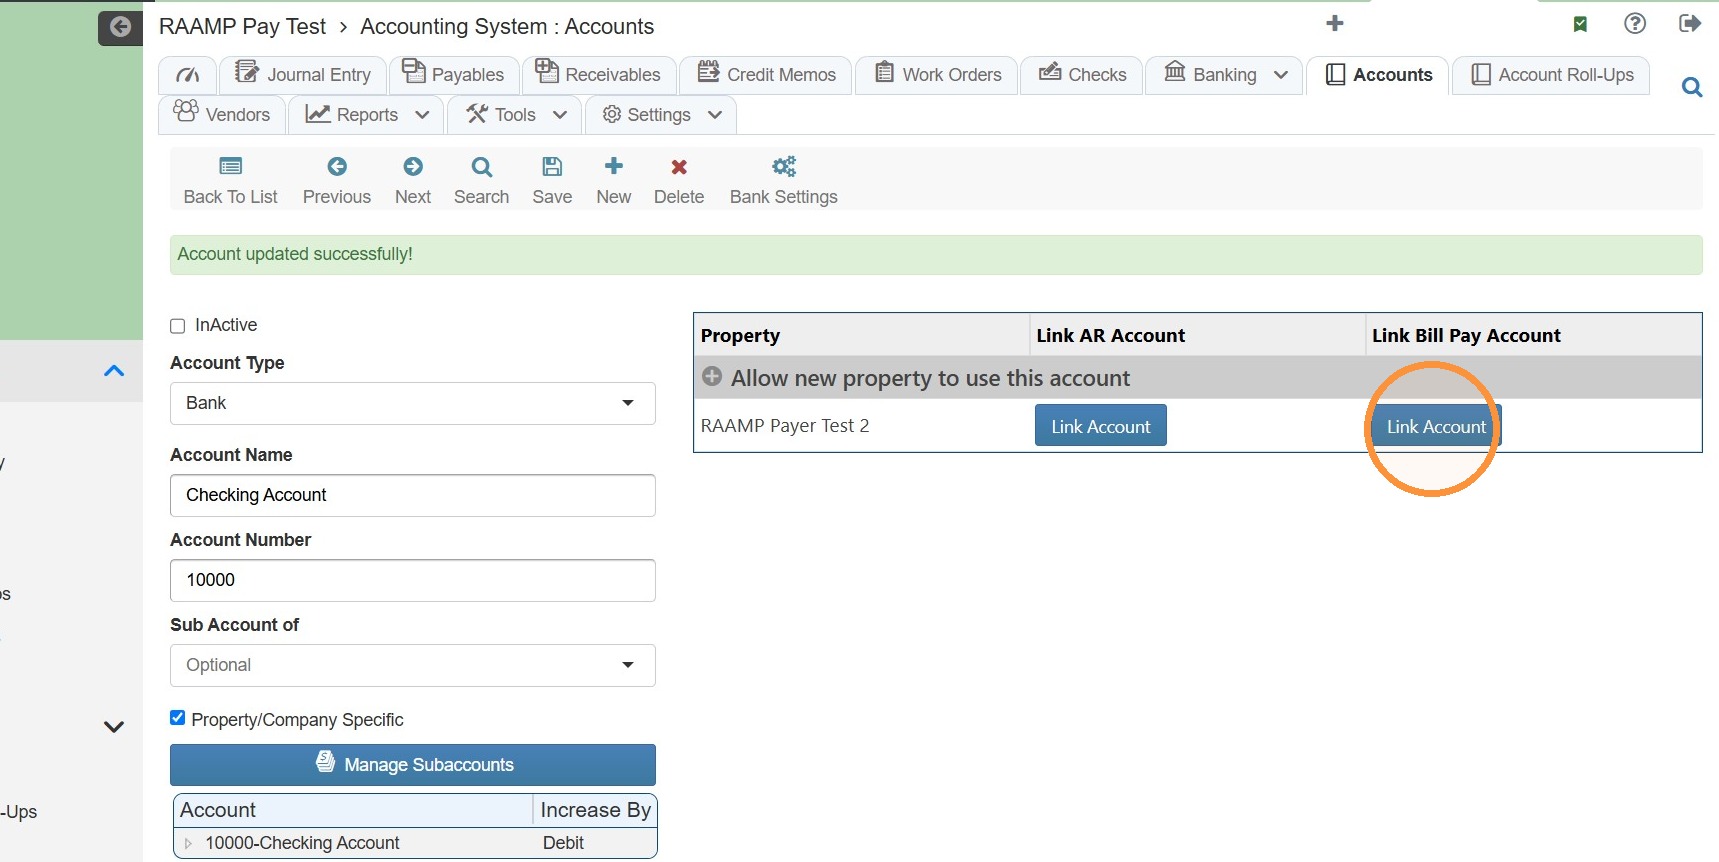
7. Under the Link Bill Pay Account heading, select Link Account.
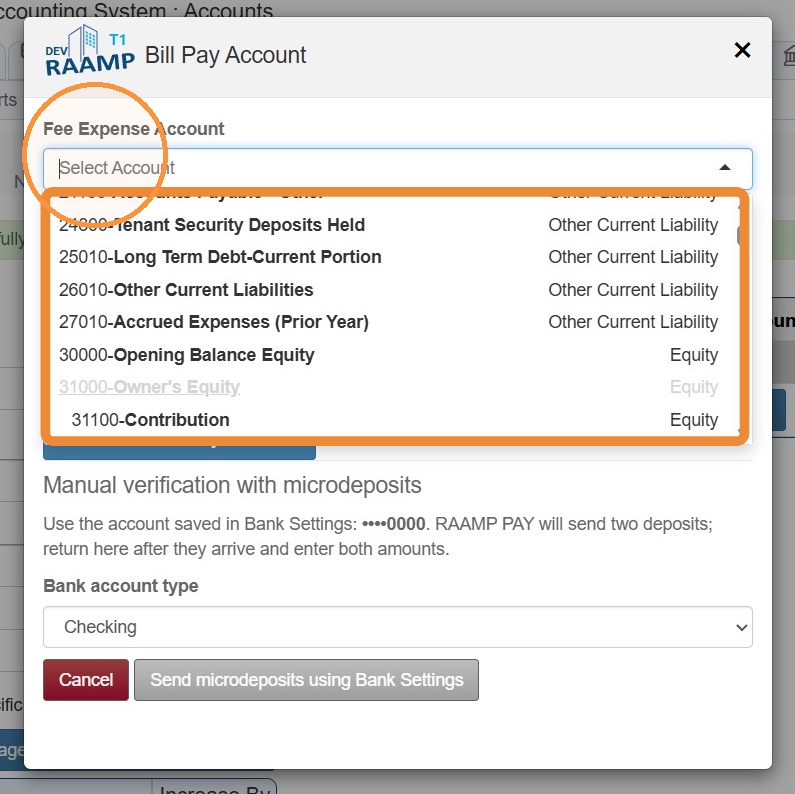
8. Select the Fee Expense Account dropdown menu > Select the appropriate expense account.
How to Connect with Plaid (Recommended Method)
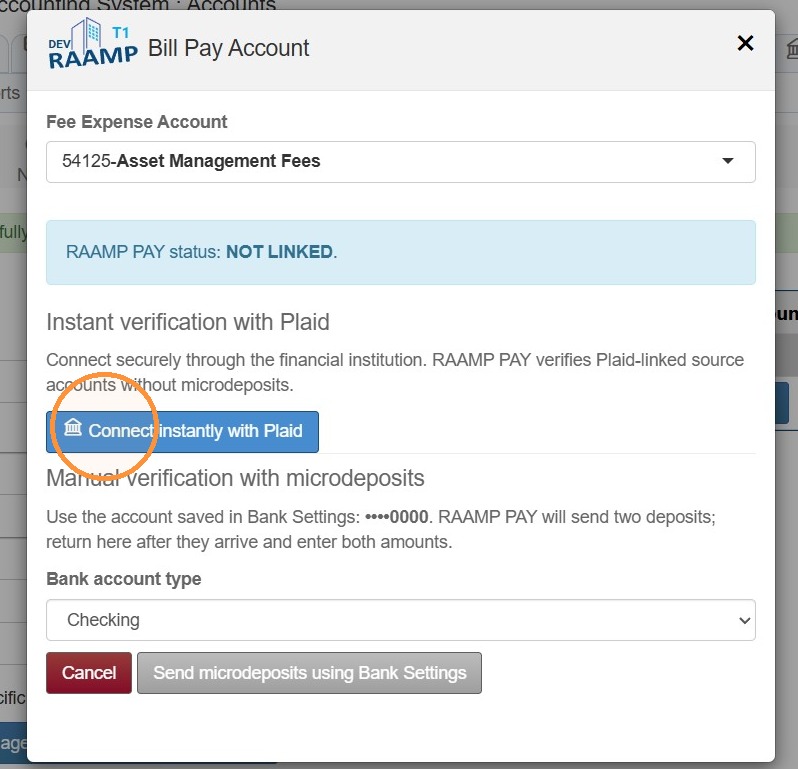
9. RAMMP recommends selecting Connect Instantly with Plaid.
Connecting with Plaid allows RAAMP to check account balances, assist with bank recs, and more.
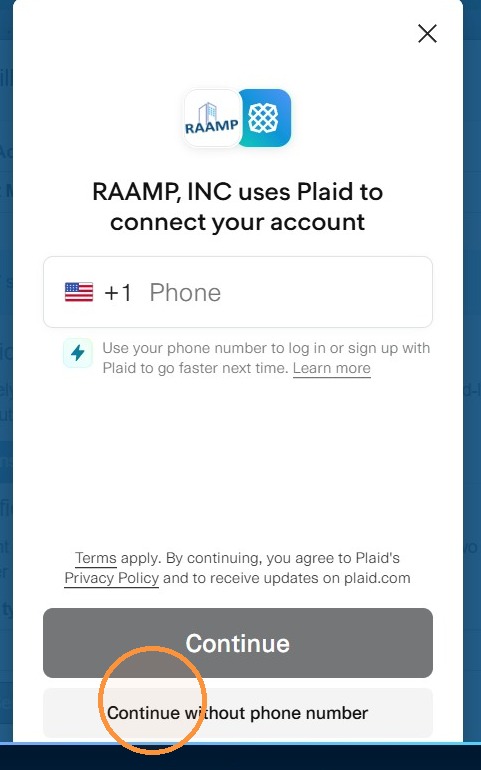
10. Select Continue without phone number.
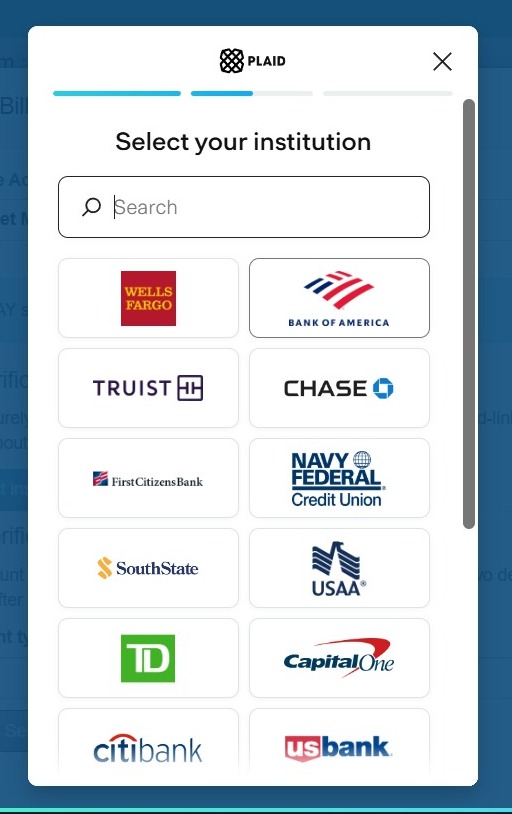
11. Select your institution.
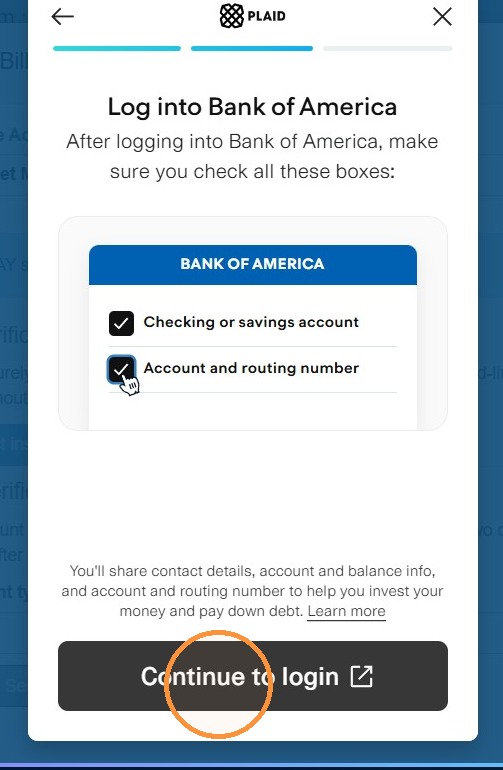
12. Select Continue to login.
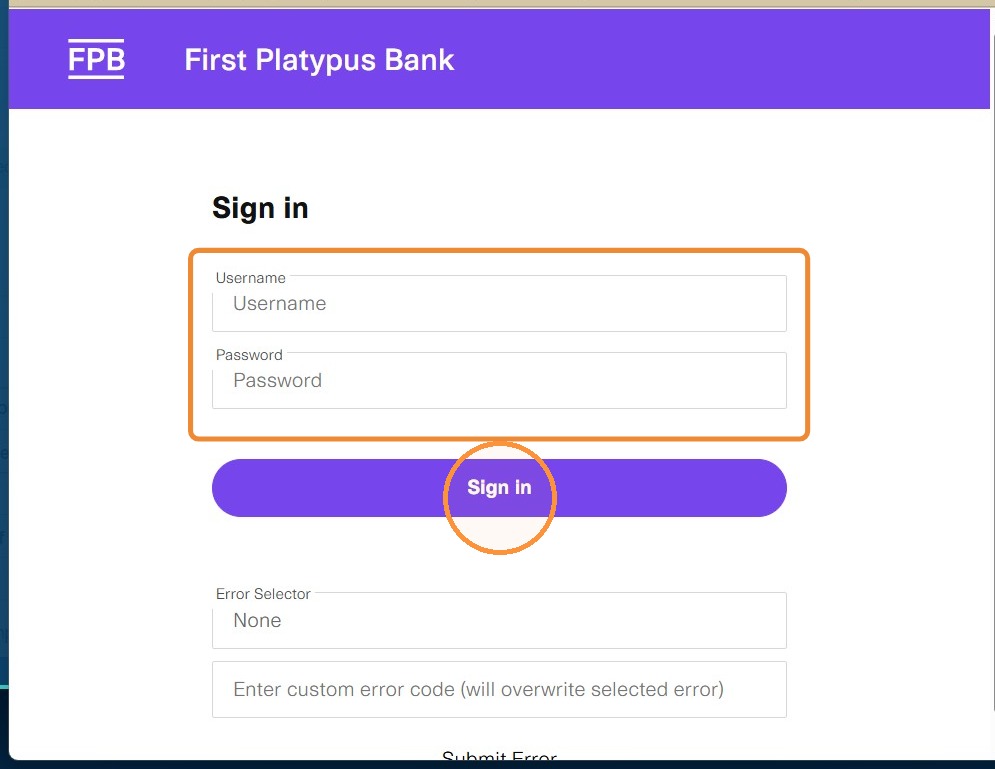
13. Enter your Username and Password > Select Sign In.
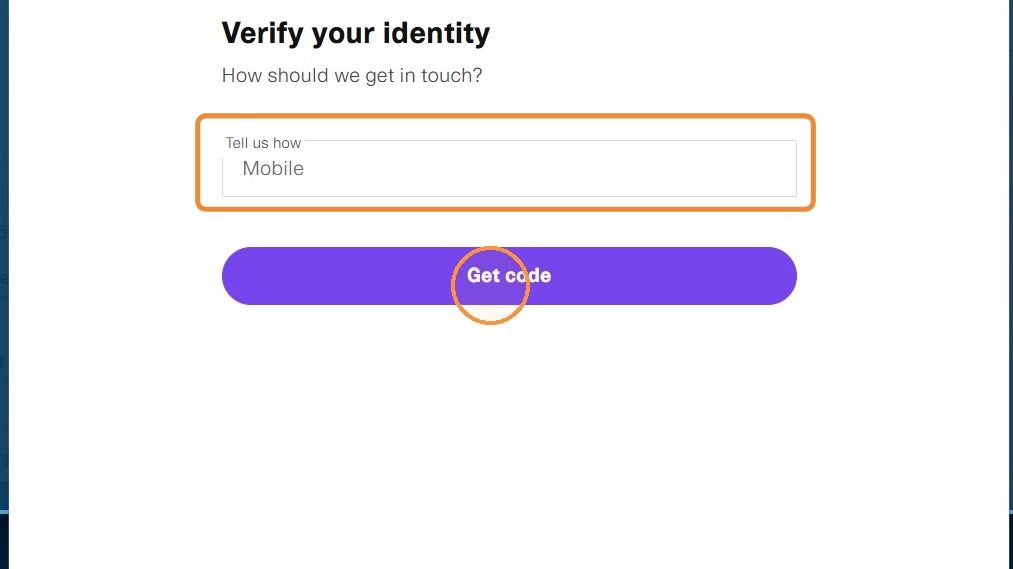
14. Select how to receive code > Select Get Code.
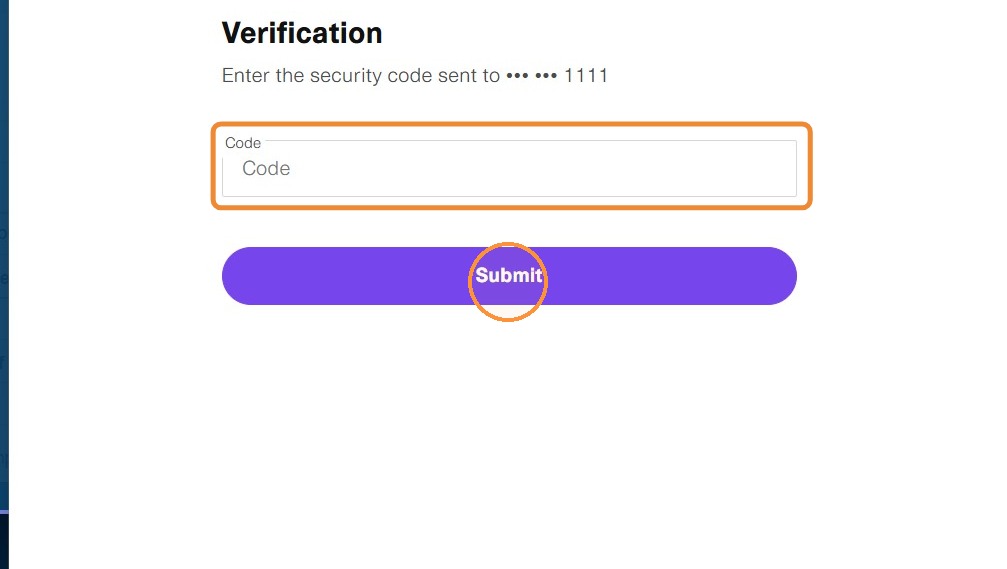
15. Enter the verification code > Select Submit.
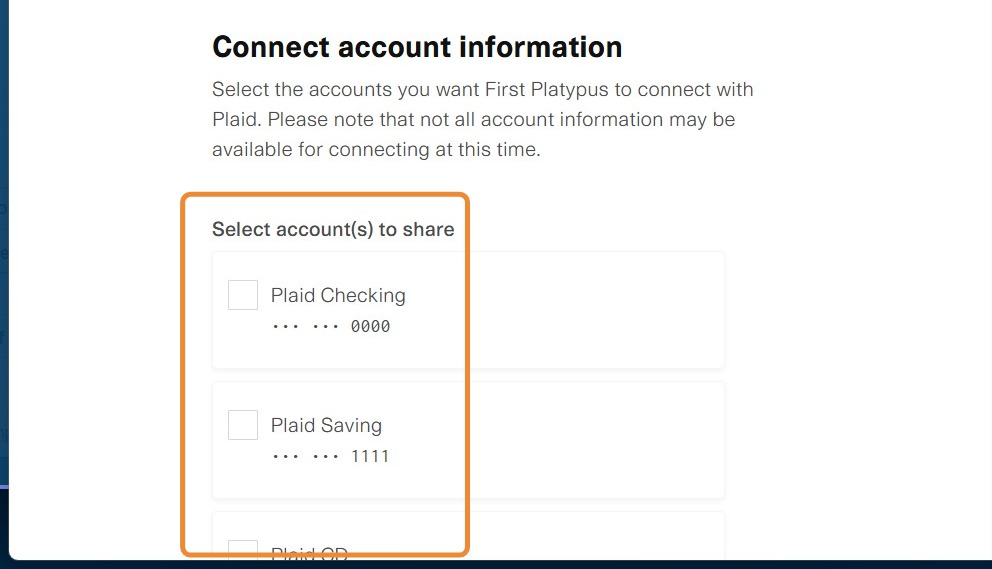
16. Select the account to share.
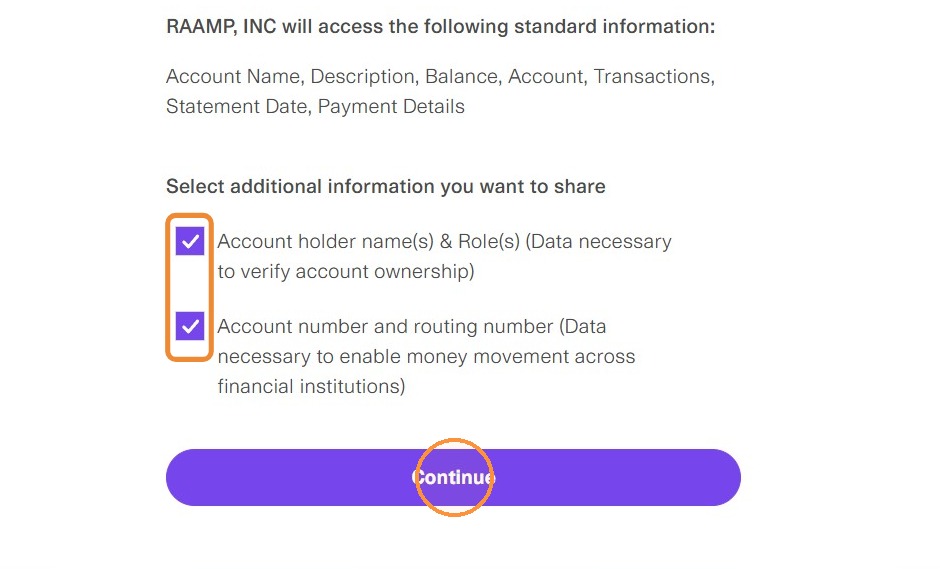
17. Select the checkboxes > Select Continue.
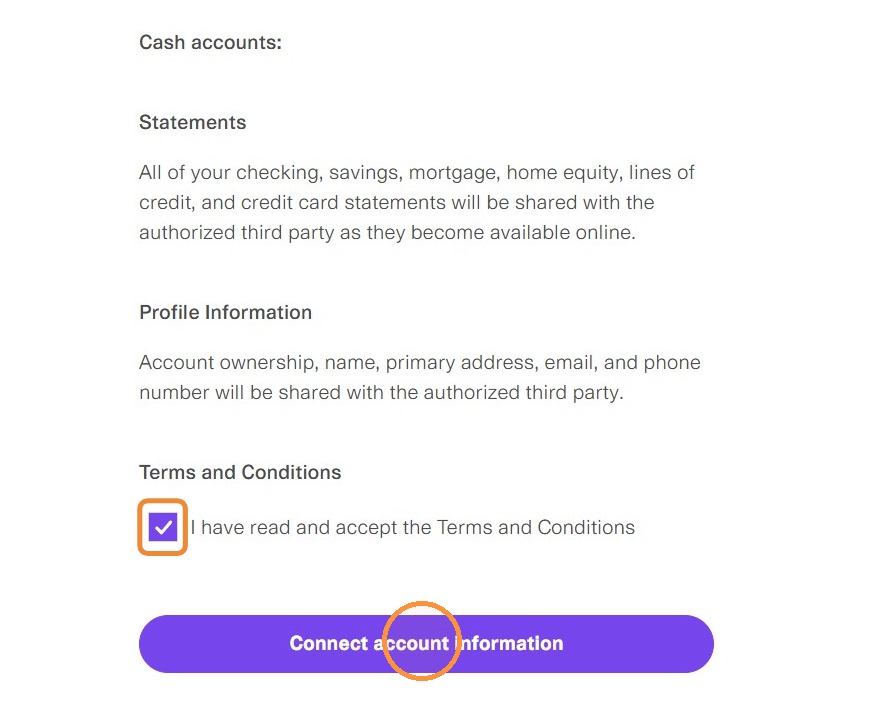
18. Select the I have read and accept the Terms and Conditions checkbox > Select Connect account information.
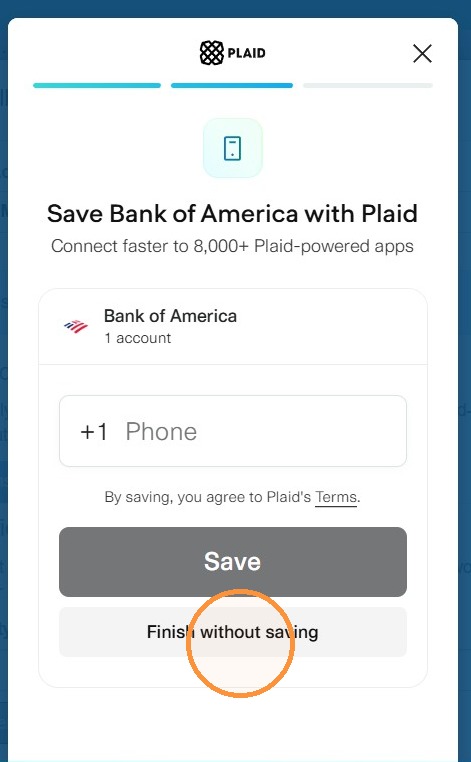
19. Select Finish without saving.
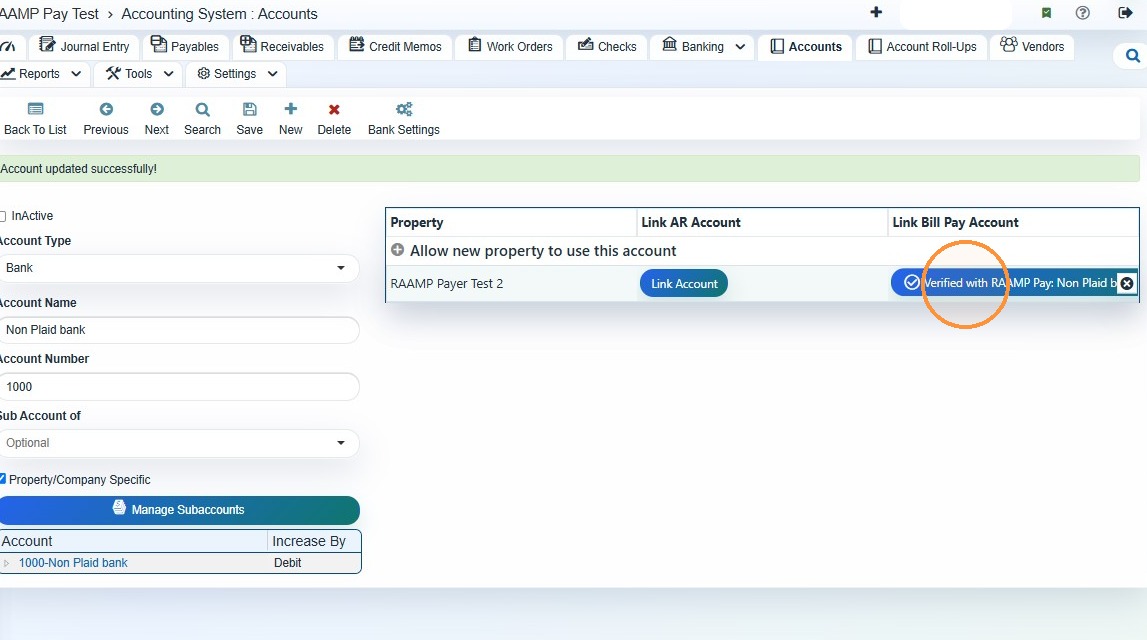
20. You'll receive a verified message.
How to Connect with Microdeposits
Tip: This method will take 2-5 business days to process.
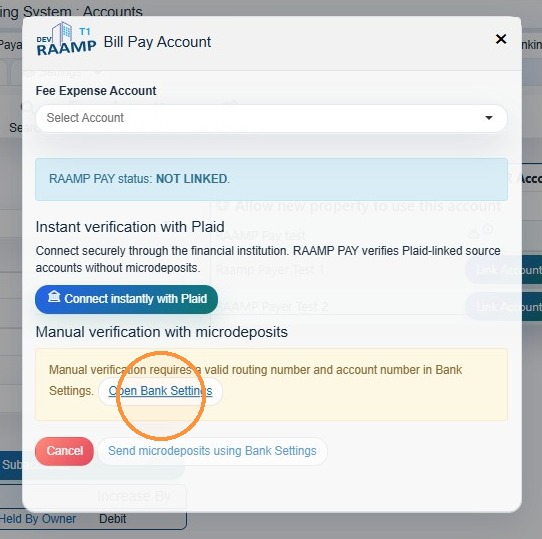
21. Select Open Bank Settings.
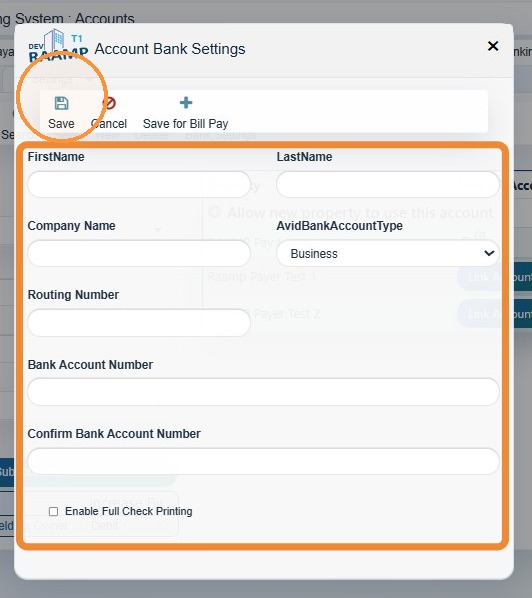
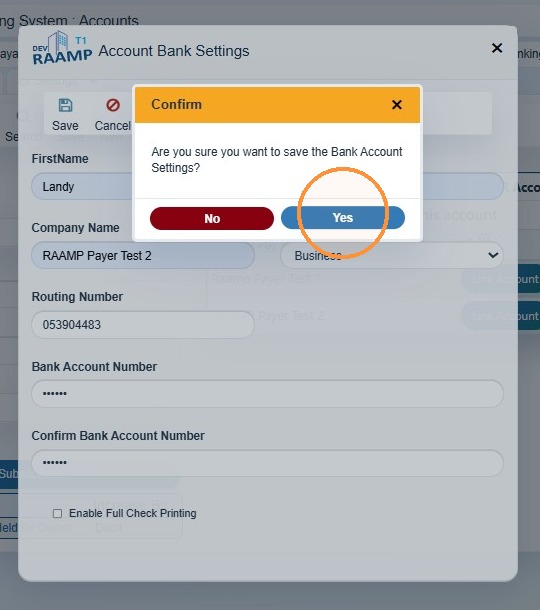
22. Enter Account Bank Settings information > Select Save.
23. Select Yes to confirm.
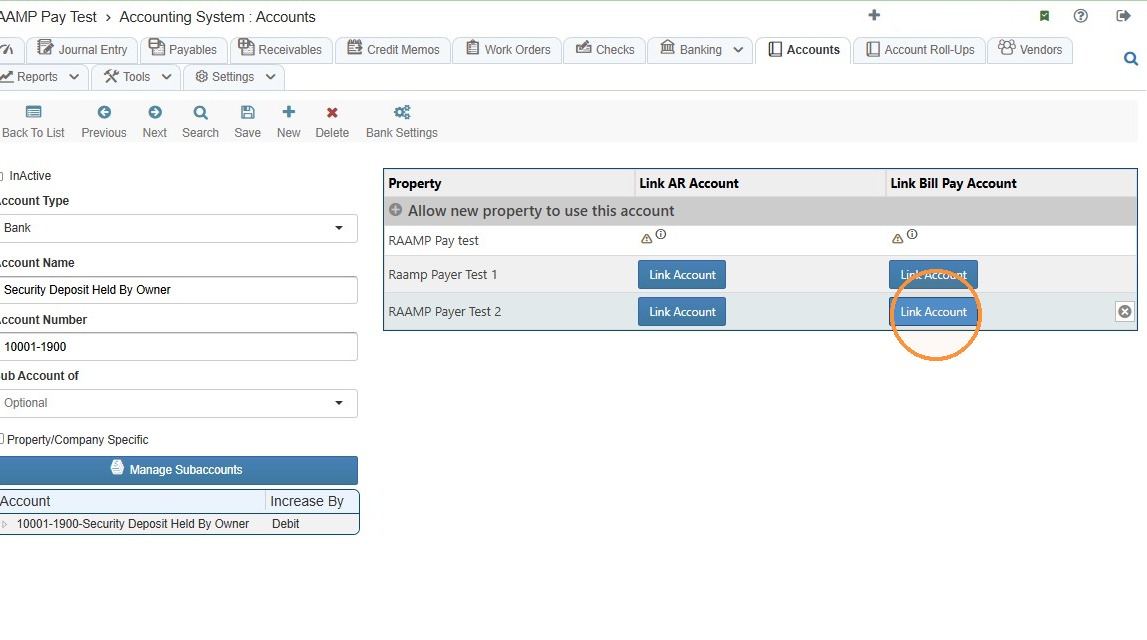
24. Select Link Account.
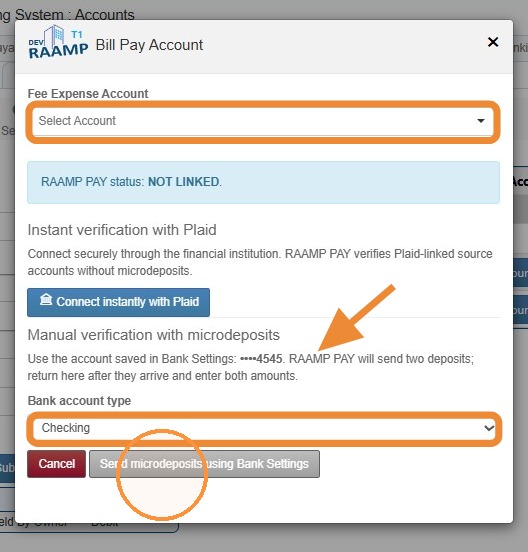
25. Select the Fee Expense Account dropdown menu > Select the appropriate expense account.
You'll see the message: Use the account saved in Bank Settings: XXX. RAAMP PAY will send two deposits; return here after they arrive and enter both amounts.\ \ Select the Bank account type dropdown > Select the appropriate account type > Select Send microdeposits using Bank Settings.
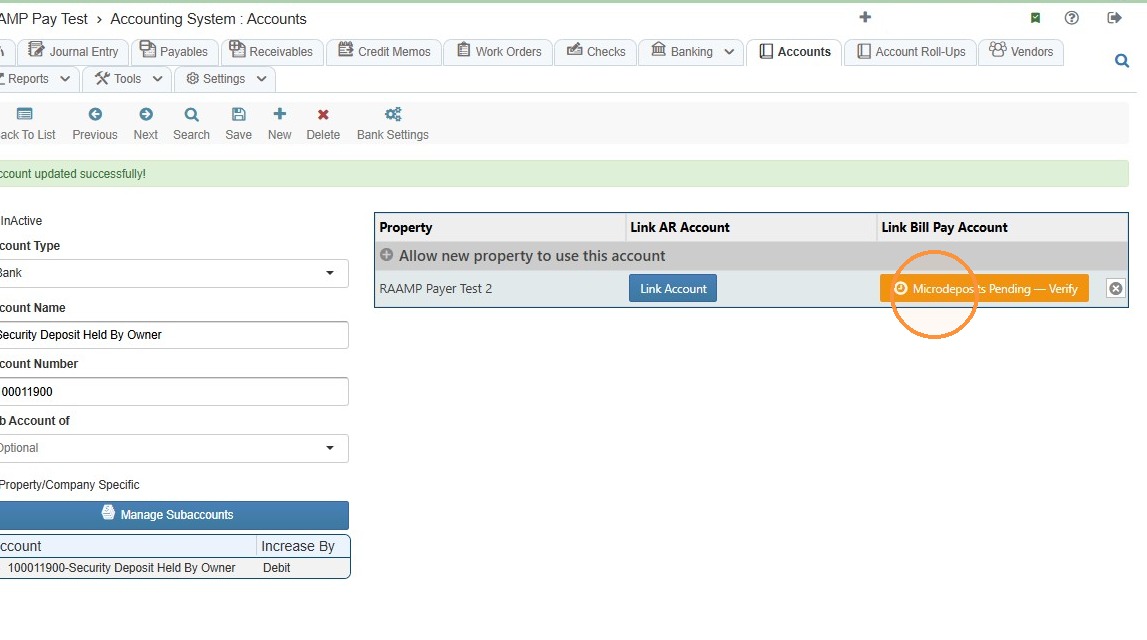
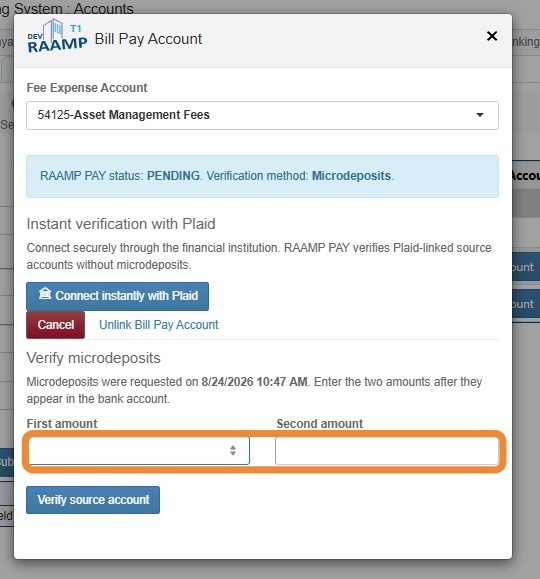
26. Once you receive the microdeposits, come back to Accounts > Select Microdeposits Pending — Verify.
27. Enter the first amount and second amount.
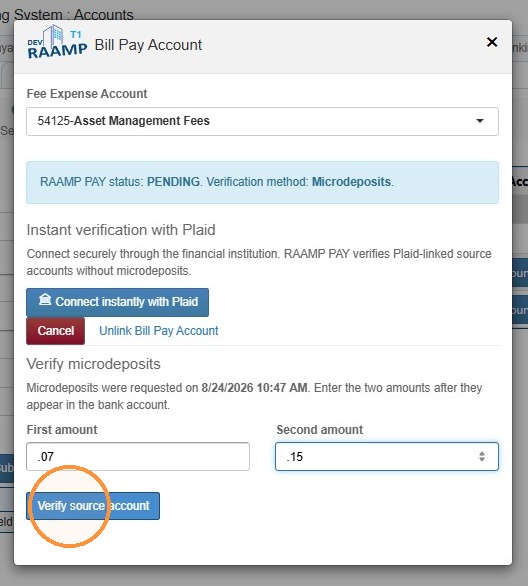
28. Select Verify source account.
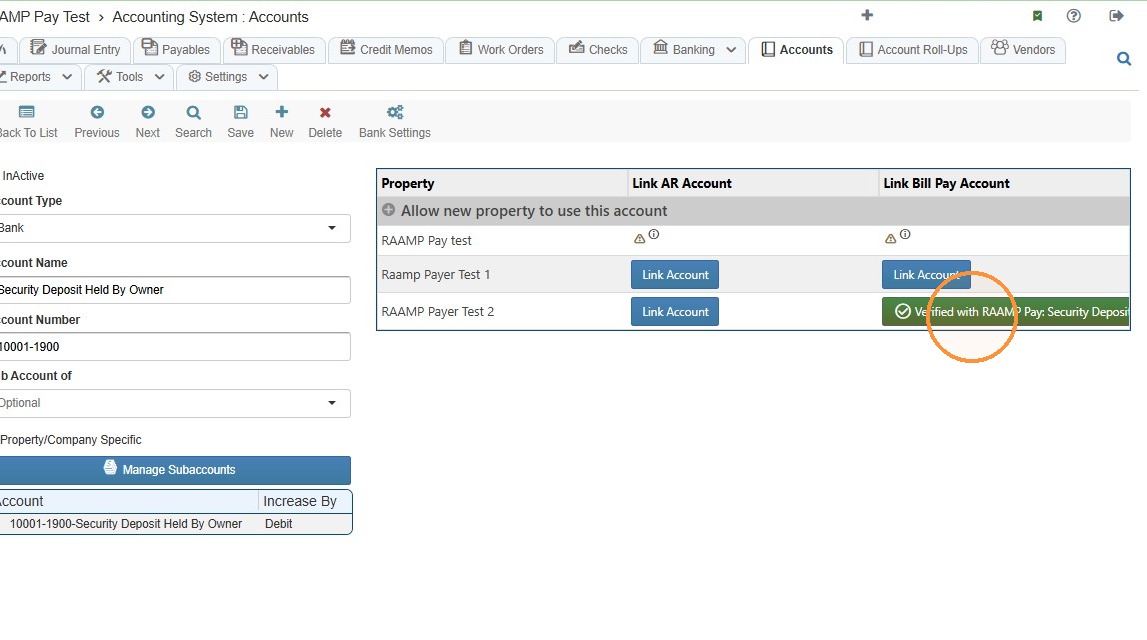
29. You'll receive a verified message.
Tip: See How to Use Bill Pay (RAAMP Pay) to learn how to pay a bill using RAAMP Pay.